 Save
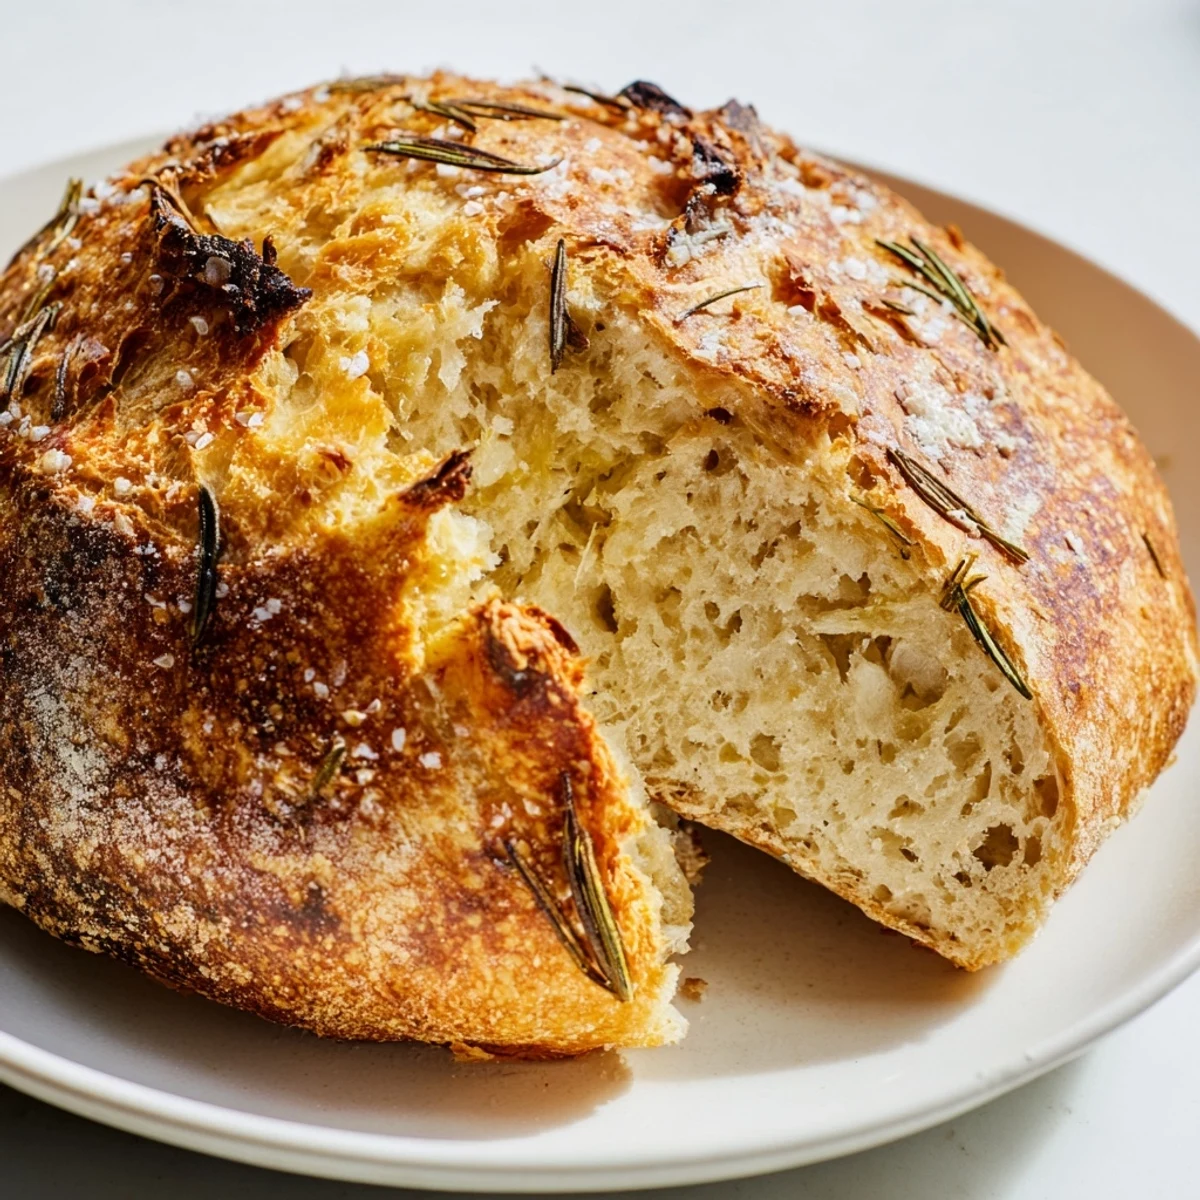
Save Master the art of Dutch oven bread with this aromatic garlic rosemary loaf. The secret lies in roasting fresh garlic until caramelized, then incorporating it into a simple dough enriched with fragrant rosemary. Baking in a preheated Dutch oven creates professional steam, resulting in that coveted crackling crust and tender crumb. With just 20 minutes of active preparation and hands-off rising time, you'll enjoy bakery-quality bread that pairs beautifully with soups, olive oil, or simply warm from the oven.
The first time I made this bread, my entire apartment smelled like an Italian bakery. My neighbor actually knocked on my door to ask what I was baking, and I ended up sharing a still-warm slice with her right there in the hallway. That's the kind of bread this is.
Last winter, I started making this bread every Sunday afternoon. It became a ritual that grounded my whole week, and my friends started timing their visits to catch it fresh from the oven. Now I can't imagine a weekend without that comforting rhythm of kneading and waiting.
Ingredients
- Bread flour: Higher protein content gives this bread its structure and chewy crumb
- Active dry yeast: Make sure your water is warm but not hot, or you'll kill the yeast
- Fine sea salt: Enhances flavor and helps strengthen the gluten structure
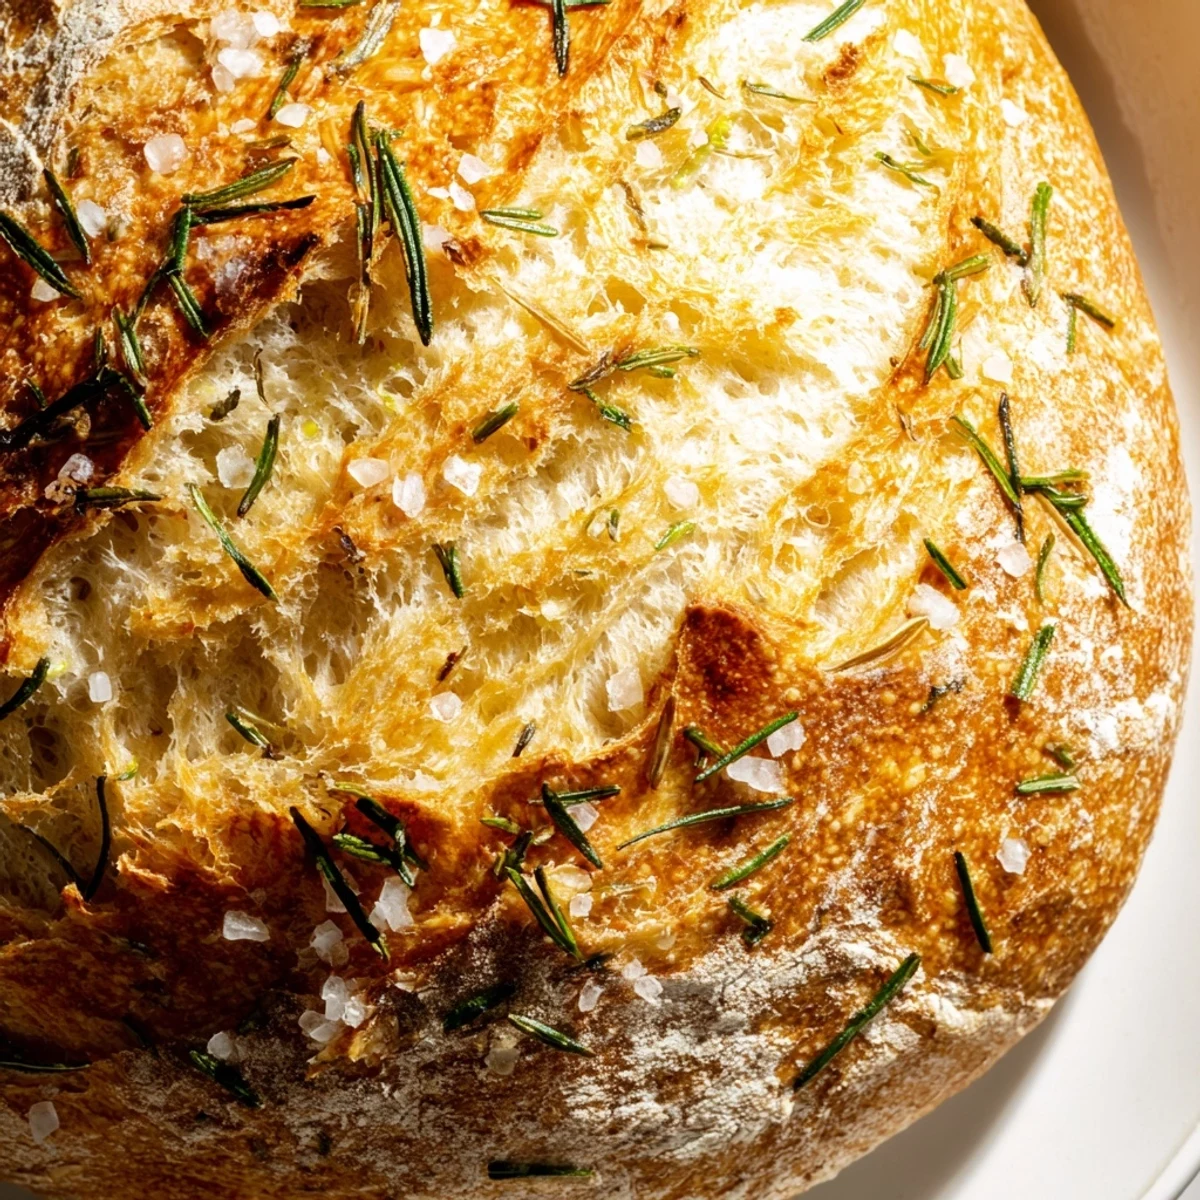
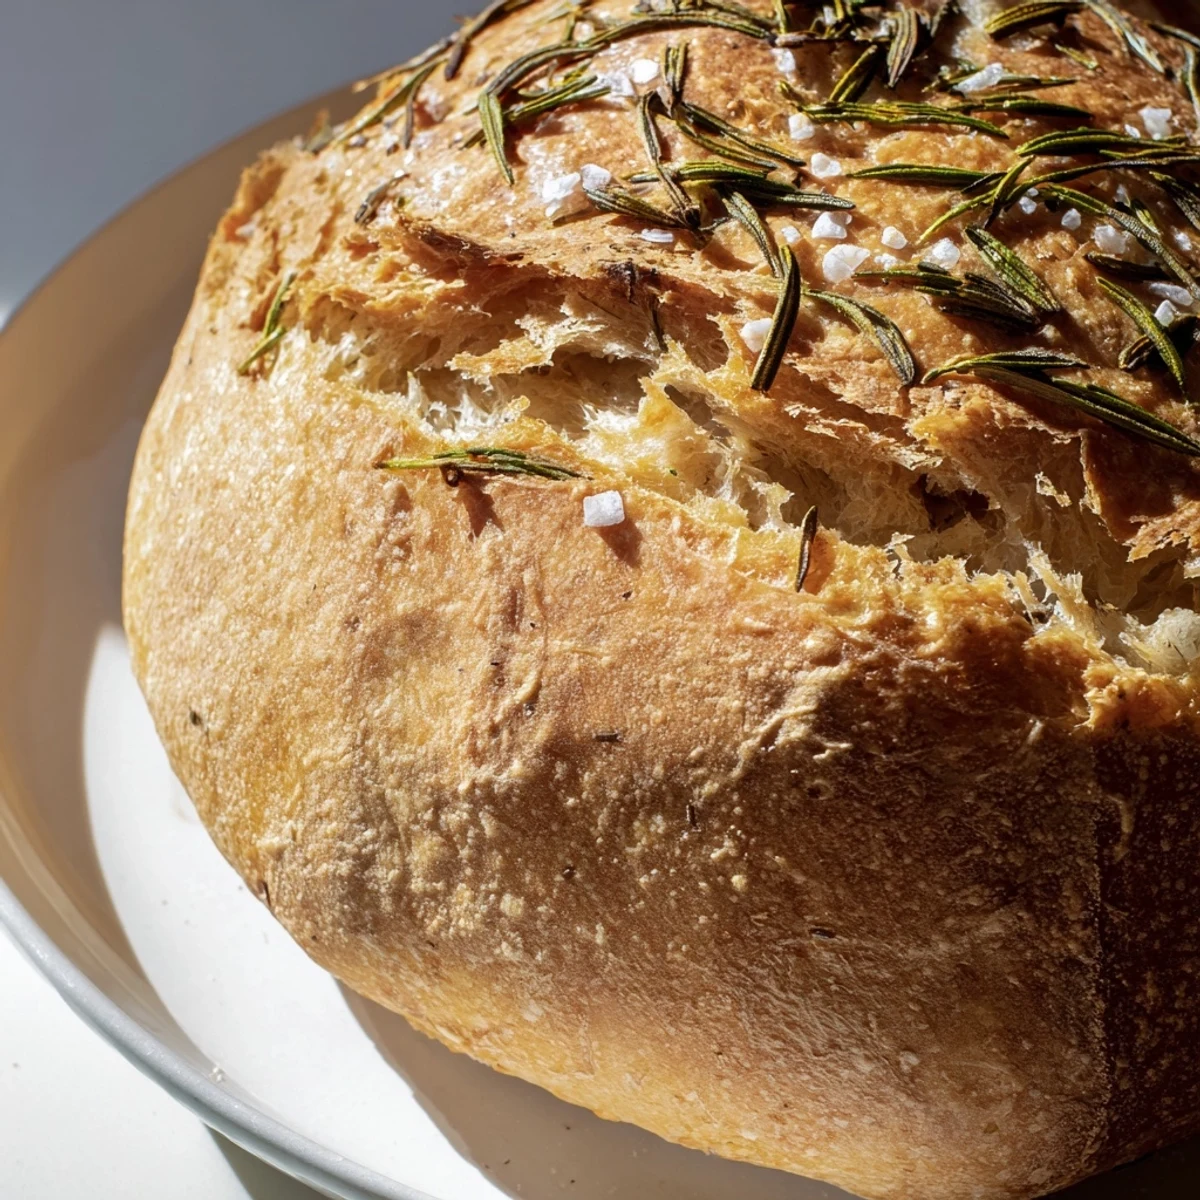
- Fresh rosemary: Use fresh, not dried, it makes all the difference in the final flavor
- Whole garlic head: Roasting mellows the garlic into sweet, spreadable cloves
- Olive oil: Adds richness and helps the crust achieve that beautiful golden color
- Flaky sea salt: The finishing touch that adds crunch and bursts of flavor
Instructions
- Roast the garlic first:
- Slice the top off your garlic head, drizzle with olive oil, wrap tightly in foil, and roast at 400°F for about 35 minutes until the cloves are soft and golden. Let it cool slightly before squeezing those roasted cloves out of their skins.
- Mix your dough:
- Combine flour, yeast, and salt in a large bowl, then add the lukewarm water and stir until you have a shaggy, sticky dough. Fold in your mashed roasted garlic and chopped rosemary until distributed throughout.
- Let it rise:
- Cover your bowl with plastic wrap or a clean kitchen towel and set it somewhere warm for 1 to 2 hours. The dough should double in size and look beautifully bubbly on top.
- Shape the loaf:
- Turn your dough onto a floured surface and fold the edges toward the center to form a round ball. Place it seam-side down on parchment paper, brush with olive oil, and sprinkle with flaky salt and extra rosemary.
- Second rise:
- Cover your shaped dough and let it rest for 30 minutes while you preheat your Dutch oven.
- Preheat your Dutch oven:
- Place your empty Dutch oven with its lid into the oven and heat to 450°F for at least 30 minutes. This step is crucial for achieving that crispy crust.
- Bake covered:
- Carefully lift the parchment paper and lower your dough into the screaming-hot Dutch oven. Cover with the lid and bake for 30 minutes to trap steam.
- Finish baking:
- Remove the lid and bake for another 12 to 15 minutes until the crust is deeply golden brown and sounds hollow when tapped.
- Cool completely:
- Transfer the bread to a wire rack and let it cool for at least 30 minutes before slicing into it. I know it's hard to wait, but cutting too early ruins the texture.
 Save
Save This bread has become my go-to host gift, arriving at dinner parties wrapped in a clean kitchen towel. There's something deeply satisfying about sharing food you created with your own hands, watching people's faces light up with that first warm bite.
Making It Your Own
I've experimented with adding roasted shallots alongside the garlic, and swapping rosemary for fresh thyme when that's what I have on hand. Sometimes I'll even add some chopped Kalamata olives for a salty, tangy twist that my family fights over.
The Science Behind the Steam
The Dutch oven acts like a mini steam oven, trapping moisture from the dough to create that blistered, bakery-style crust. I learned this the hard way when I tried baking it on a regular baking sheet and ended up with a dull, tough loaf. The trapped steam is the secret ingredient.
Storage and Freezing Tips
This bread keeps surprisingly well, wrapped in a cloth for up to two days, though the crust will soften. For longer storage, slice it before freezing and you can grab individual slices to toast straight from frozen.
- Wrap cooled bread tightly in plastic and then foil before freezing
- Thaw slices in a 350°F oven for about 10 minutes to refresh the crust
- Never refrigerate bread, it actually goes stale faster in the fridge
 Save
Save There's nothing quite like tearing into a loaf of homemade bread while it's still warm from the oven. I hope this recipe finds a regular place in your kitchen, just as it has in mine.
Recipe FAQs
- → Why bake bread in a Dutch oven?
-
A Dutch oven traps steam during baking, creating the perfect environment for a crispy, crackling crust and soft interior. It mimics professional steam-injected ovens.
- → Can I use dried rosemary instead of fresh?
-
Fresh rosemary provides superior flavor, but you can substitute 1 teaspoon dried rosemary. Add it directly to the dough rather than as a topping.
- → How do I know when the bread is done?
-
The bread is ready when it's deeply golden brown and sounds hollow when tapped on the bottom. An instant thermometer should read 200-205°F internally.
- → Can I make this without a Dutch oven?
-
Yes, use a heavy oven-safe pot with a tight-fitting lid or place a metal pan of water on the bottom rack of your oven to create steam.
- → How should I store this bread?
-
Store at room temperature in a paper bag for up to 2 days. For longer storage, slice and freeze in freezer bags for up to 3 months.
- → What can I serve with this bread?
-
Pair with olive oil and balsamic vinegar, serve alongside hearty soups and stews, or enjoy simply toasted with butter and additional roasted garlic.