 Save
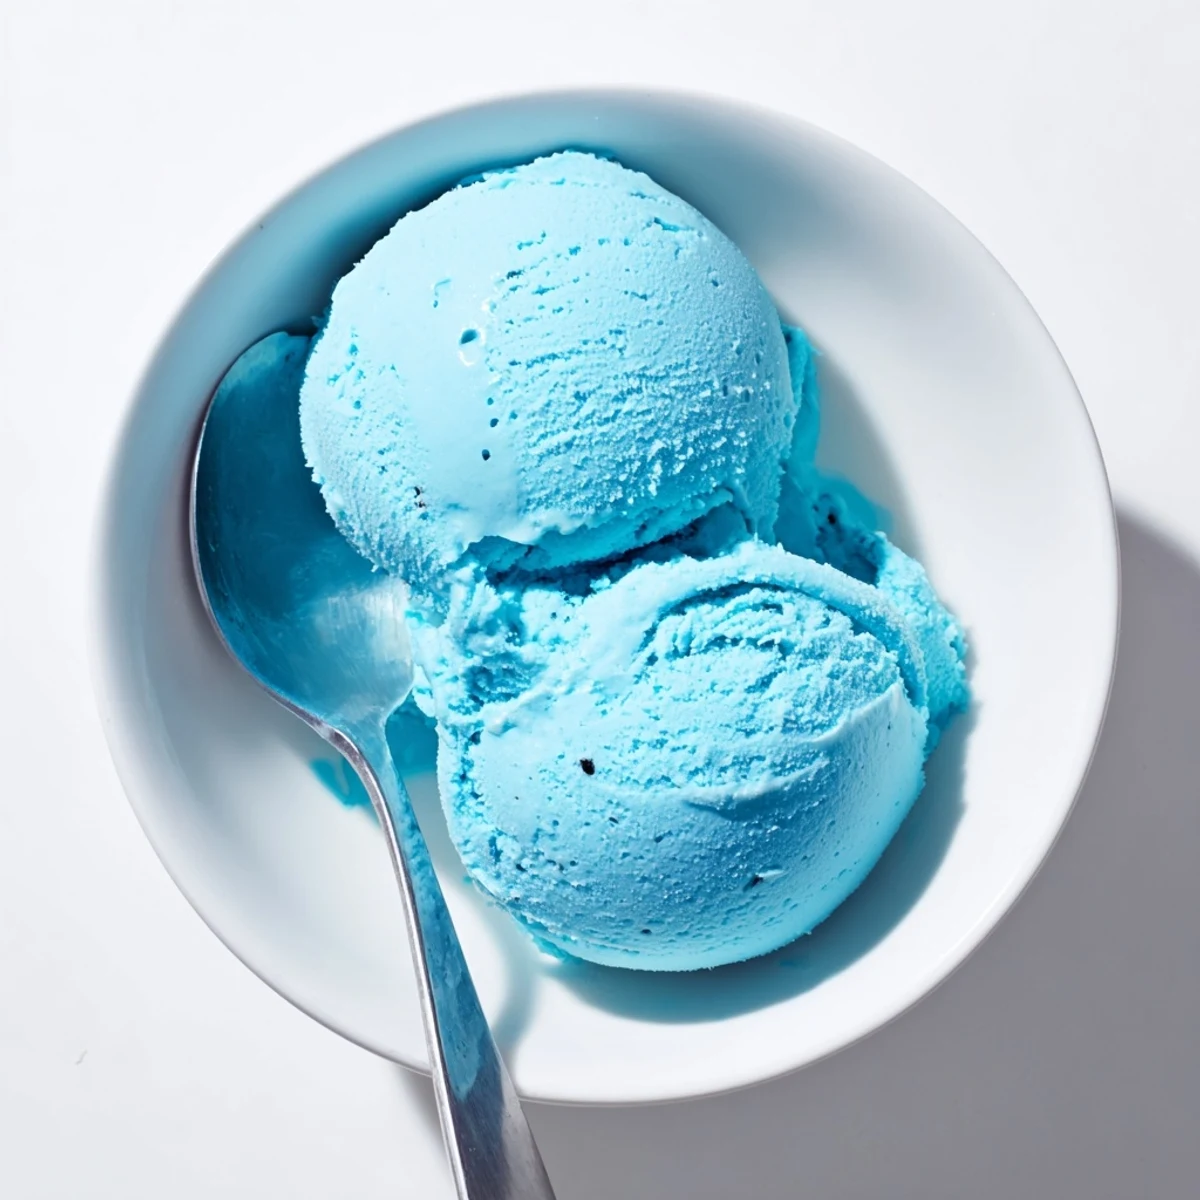
Save Blue Moon ice cream is a nostalgic Midwestern favorite known for its striking blue color and mysterious fruity flavor. This homemade version combines a rich custard base of heavy cream, egg yolks, and sugar with almond, raspberry, and vanilla extracts plus a splash of lemon juice.
The mixture is gently cooked until thickened, chilled thoroughly, then churned in an ice cream maker for a smooth, creamy finish. The result is a whimsical dessert that captures the magic of old-fashioned ice cream parlors right in your own kitchen.
The fluorescent glow of a small town ice cream parlor sign on a humid July evening is burned into my memory, and that electric blue scoop they handed me through the window changed everything. Blue Moon ice cream tasted like nothing I could name, somewhere between fruit loop cereal milk and a citrus grove dreamscape. I spent years convinced it was some magic flavor that could only exist in those little paper cups. Turns out, the secret is a layered dance of almond, raspberry, vanilla, and lemon that comes together in the most unexpectedly wonderful way.
My neighbor Cindy wandered over one Saturday afternoon while I was straining the custard, took one look at the neon blue liquid, and asked if I was making something radioactive. Three hours later she was standing in my kitchen with a spoon, scraping the bottom of the container and refusing to share with her kids.
Ingredients
- Heavy cream (2 cups): The fat content here is everything, so do not even think about substituting light cream or the texture will suffer terribly.
- Whole milk (1 cup): Balances the richness of the cream while keeping the base smooth and pourable before churning.
- Granulated sugar (3/4 cup): Dissolves into the warm base cleanly and keeps the frozen result scoopable rather than rock hard.
- Egg yolks (4 large): These create the luxurious custard foundation that separates homemade from ordinary.
- Lemon juice (1 tablespoon): Adds the bright citrus whisper that makes Blue Moon so impossible to pin down flavorwise.
- Almond extract (1/2 teaspoon): The backbone of that signature marshmallowy depth people associate with this flavor.
- Raspberry extract (1/2 teaspoon): Layers a subtle berry note that plays beautifully against the citrus and almond.
- Vanilla extract (1/2 teaspoon): Rounds out every edge and ties the whole flavor profile into something cohesive.
- Blue raspberry drink mix powder (1/4 teaspoon, optional): Boosts both color and that nostalgic fruity tang without overpowering the other extracts.
- Blue food coloring (few drops): This is where the magic happens, so add gradually until you hit that unmistakable electric shade.
Instructions
- Warm the cream base:
- Pour the cream, milk, and sugar into a medium saucepan and set it over medium heat, stirring now and then until you see gentle steam rising and the sugar has melted away completely.
- Temper the egg yolks:
- Whisk your yolks in a bowl, then drizzle in about half a cup of the hot cream mixture in a slow thin stream while whisking like your arm depends on it, so the eggs warm gently without scrambling.
- Cook the custard:
- Pour the tempered yolk mixture back into the pot and cook over low heat, stirring constantly with a wooden spoon, until the custard coats the back of it and reaches between 170 and 175 degrees Fahrenheit.
- Strain and cool:
- Push the custard through a fine mesh sieve into a clean bowl to catch any stray cooked bits, then let it sit for ten minutes so the heat settles.
- Add flavor and color:
- Stir in the lemon juice, almond extract, raspberry extract, vanilla, and drink mix powder if using, then add blue food coloring drop by drop until the color makes you grin.
- Chill thoroughly:
- Cover the bowl and tuck it into the fridge for at least four hours, though overnight is even better if you can stand the wait.
- Churn the ice cream:
- Pour the chilled base into your ice cream maker and churn following the manufacturer's directions until it looks thick and softly frozen like soft serve.
- Freeze to firm up:
- Scoop the churned ice cream into a freezer safe container, seal it up, and let it firm in the freezer for at least two hours before diving in.
 Save
Save Scooping this into a waffle cone and handing it to my daughter on the back porch while the evening cicadas started up was one of those small perfect moments that sneak up on you.
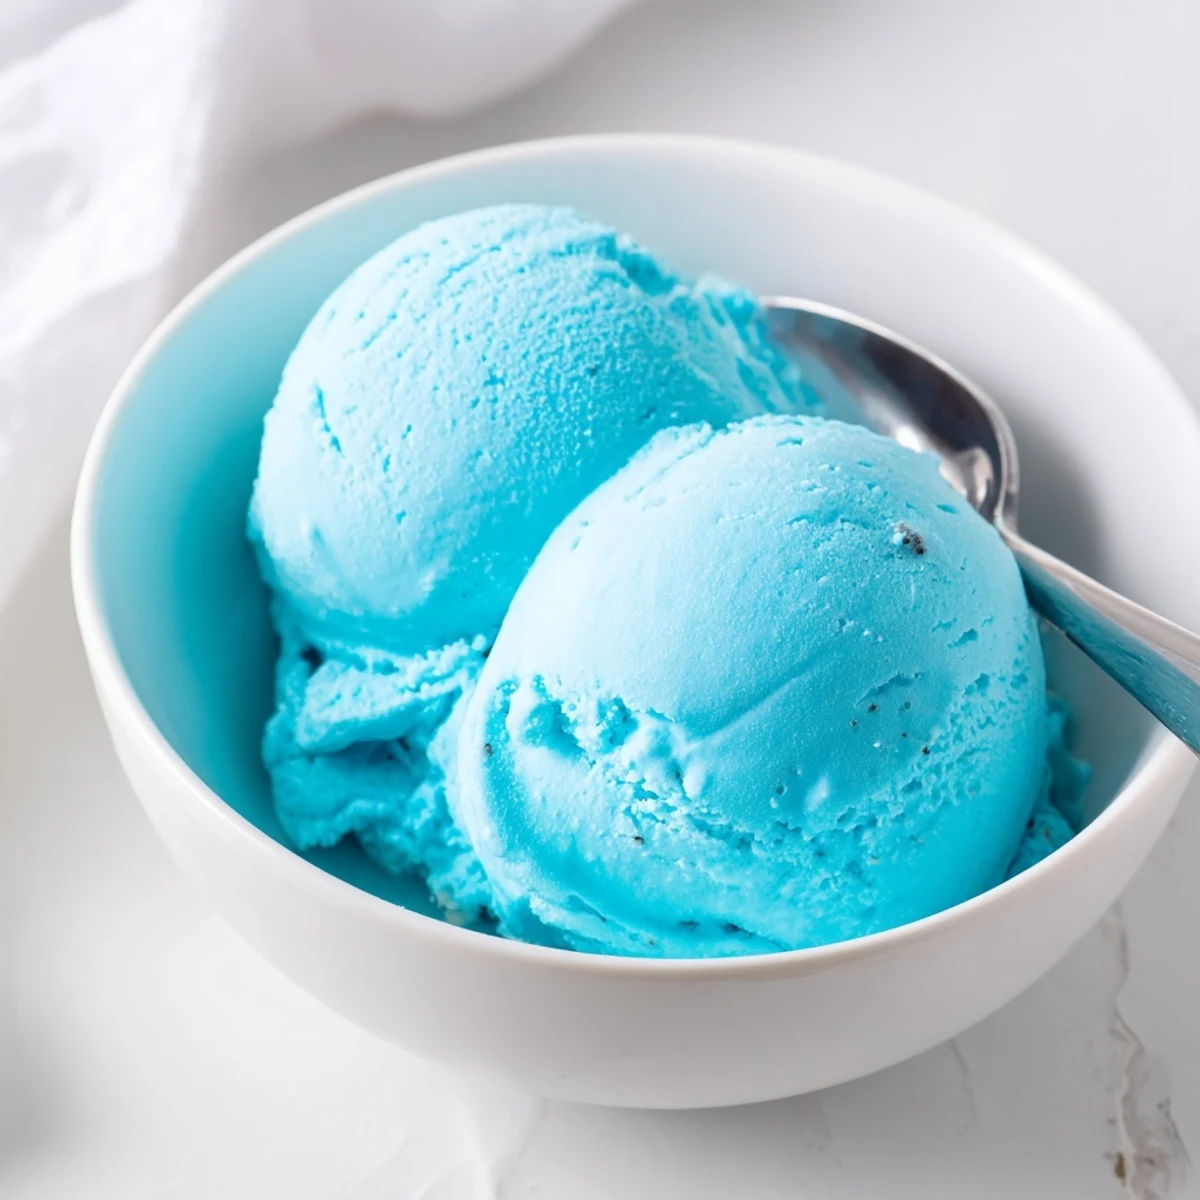
Getting That Perfect Blue Color
Getting the shade right took me several batches of ugly teal and muddy purple before I realized less is more with food coloring. Liquid food coloring gives a softer pastel blue, while gel coloring packs enough pigment to reach that vivid electric blue with just a tiny dab. If you want to skip artificial dyes entirely, butterfly pea flower powder creates a gorgeous natural blue, though the flavor edges slightly earthy and the shade is less neon.
The Ice Cream Maker Matters
A frozen bowl machine works perfectly well for this recipe as long as the bowl has been in the deepest part of your freezer for at least 24 hours beforehand. Compressor models let you churn batch after batch without planning ahead, which is how I ended up making Blue Moon three weekends in a row last summer. Either way, make sure your chilled base is genuinely cold all the way through before you pour it in, because lukewarm base into a warm bowl will give you soup.
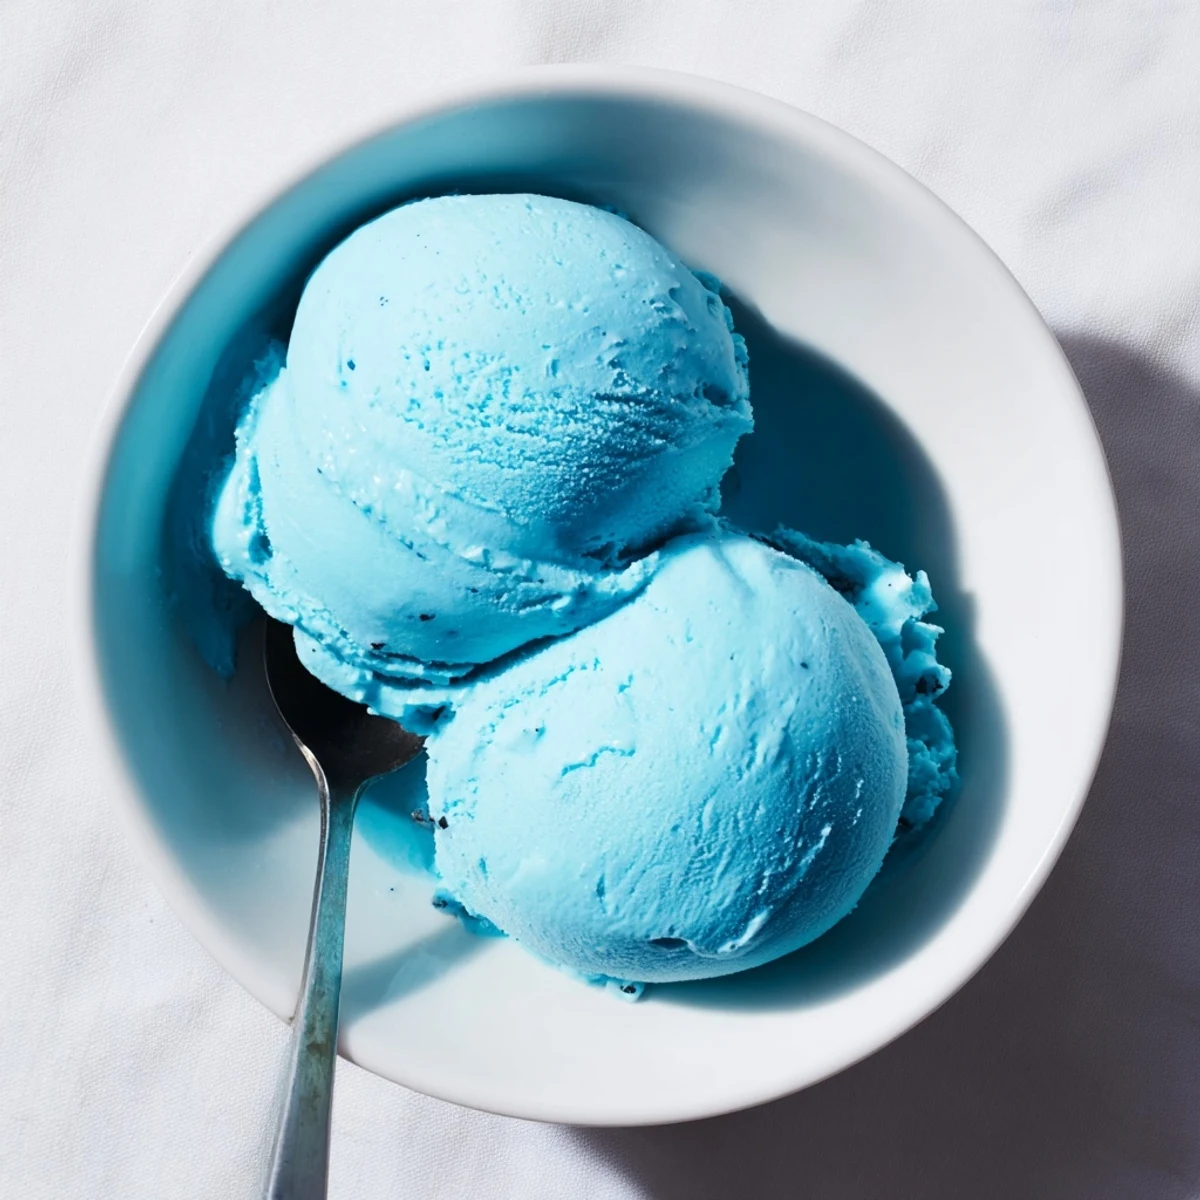
Serving and Storing Your Batch
Homemade ice cream is best eaten within the first week, when the texture is still velvety and scoopable straight from the freezer. Let the container sit on the counter for about five minutes before scooping to make serving easier and to let the flavors wake up.
- Press a piece of plastic wrap directly against the surface before sealing to prevent ice crystals from forming on top.
- A waffle cone or a simple sugar cone makes every scoop taste like it came from a parlor window.
- This flavor pairs unexpectedly well with a drizzle of hot fudge or a handful of fresh raspberries on top.
 Save
Save That first spoonful of something you made from scratch, that tastes exactly like a childhood you thought only existed behind a parlor counter, is worth every minute of tempering and stirring and waiting. Share it with someone who remembers.
Recipe FAQs
- → What does Blue Moon ice cream taste like?
-
Blue Moon ice cream has a unique flavor profile combining sweet citrus notes with hints of almond, raspberry, and vanilla. Some people describe it as reminiscent of Fruity Pebbles or a fruity cereal milk flavor. The taste is sweet, slightly tangy, and refreshingly light.
- → Can I make Blue Moon ice cream without an ice cream maker?
-
Yes, you can pour the chilled custard into a shallow dish and freeze it, stirring vigorously every 30 minutes for about 3 to 4 hours to break up ice crystals. The texture will be slightly less smooth than machine-churned ice cream but still delicious.
- → Why is Blue Moon ice cream blue?
-
The signature blue color comes from blue food coloring added to the custard base. Traditionally, ice cream parlors used commercial blue dye. You can also use gel coloring for a deeper hue or natural alternatives like spirulina or butterfly pea flower powder.
- → How long does homemade Blue Moon ice cream last in the freezer?
-
Stored in an airtight freezer-safe container, homemade Blue Moon ice cream will keep well for up to 2 weeks. Beyond that, ice crystals may form and the texture can become grainy. Let it sit at room temperature for a few minutes before scooping for the best consistency.
- → Can I use natural food coloring instead of artificial dyes?
-
Absolutely. Butterfly pea flower powder or spirulina are great natural alternatives for achieving the blue color. Keep in mind that natural colorings may produce a slightly different shade of blue and could impart a subtle earthy flavor to the finished ice cream.
- → Do I need to chill the custard overnight before churning?
-
While 4 hours of chilling is the minimum, overnight is strongly recommended. A thoroughly chilled custard base churns faster, produces smaller ice crystals, and yields a smoother, creamier final product with better flavor development.