 Save
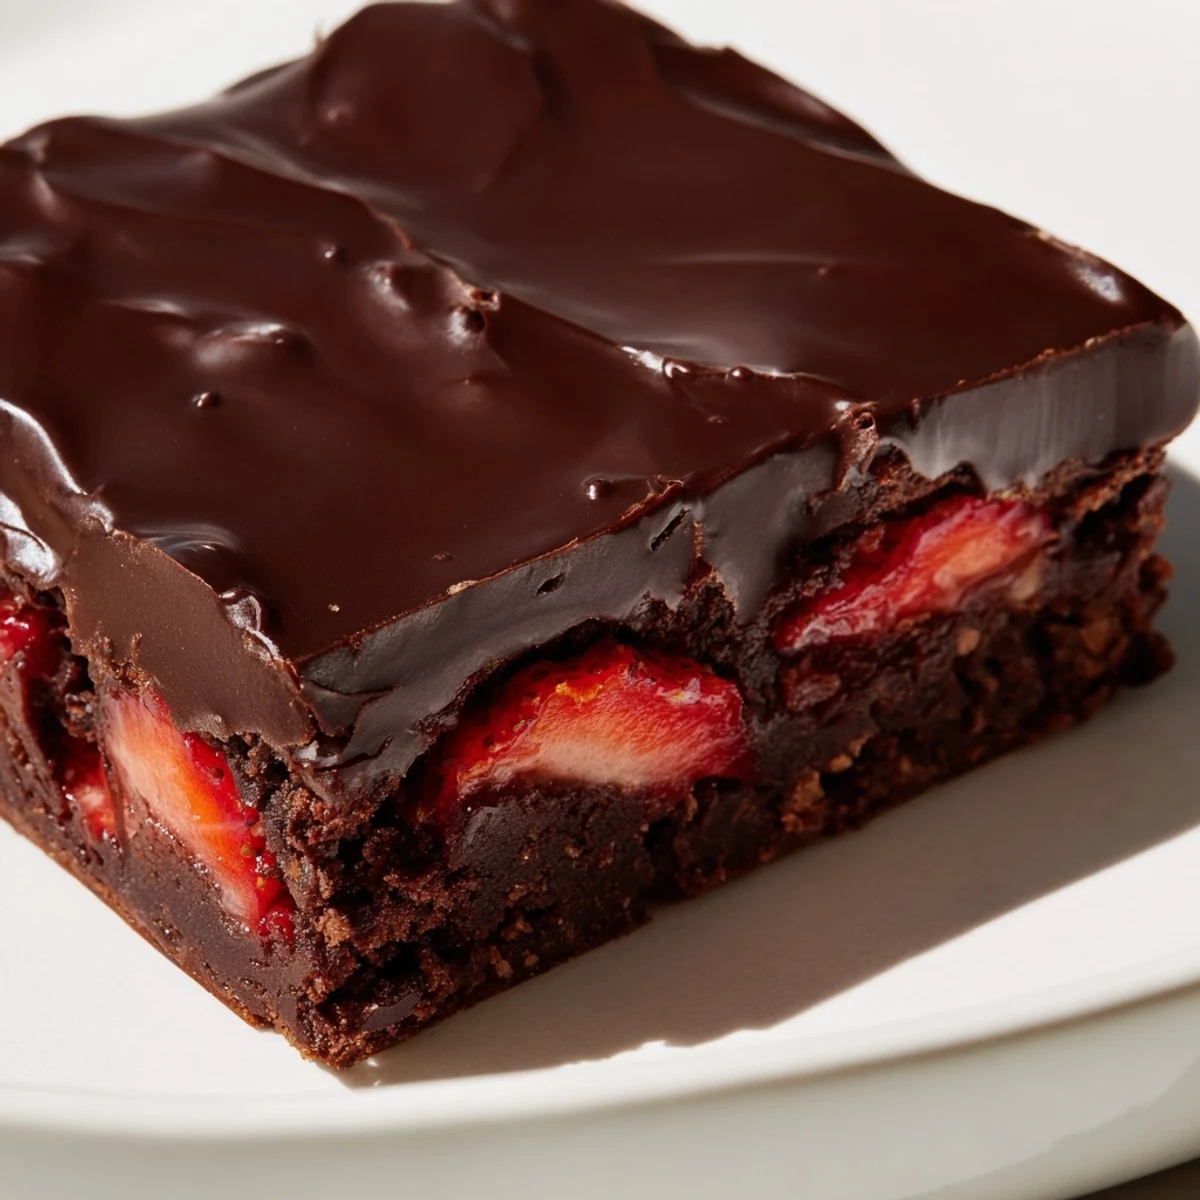
Save These chocolate covered strawberry brownies bring together a dense, fudgy base with a layer of ripe, juicy strawberries and a snappy chocolate topping. The brownie batter comes together in one bowl—melted butter and chocolate are whisked with sugars, eggs, and vanilla before flour is folded in.
Once baked and cooled, sliced strawberries are arranged across the surface, and a thin layer of melted chocolate mixed with coconut oil is poured over the top. After a short chill in the fridge, the chocolate sets into a clean, glossy shell that slices neatly into squares.
Each bite delivers three distinct textures: chewy brownie, soft fruit, and crisp chocolate coating. They store well in the refrigerator for up to three days and make an impressive addition to any dessert spread or gathering.
The oven door had barely clicked shut when my kitchen filled with that deep, warm cocoa smell that makes everything else fade away. I was attempting these brownies for a friends birthday, fully expecting them to flop because baking and I have a complicated relationship. But when I pulled them out and saw those strawberries nestled under a glossy chocolate shell, I actually laughed out loud at how pretty they looked. Nobody believed I made them from scratch.
Serving these at a dinner party is almost unfair because people assume you spent all day in the kitchen. I set them on a simple white plate and watched three guests reach for seconds before the main course plates were cleared.
Ingredients
- 115 g unsalted butter: Good butter is the backbone of a rich brownie so do not substitute with margarine here.
- 180 g semisweet chocolate chips (for the brownie): These melt into the butter and create that deeply fudgy texture we all want.
- 150 g granulated sugar and 55 g brown sugar: Using both sugars gives you a crackly top with a chewy center.
- 2 large eggs: Room temperature eggs blend more smoothly into the warm chocolate mixture.
- 1 tsp pure vanilla extract: Always use pure extract because imitation vanilla leaves a flat, artificial taste.
- 90 g all purpose flour: Measuring by weight is best but if you spoon and level gently it works fine.
- 1/4 tsp salt: Just a pinch makes the chocolate taste more intense and balanced.
- 300 g fresh strawberries hulled and sliced: Smaller berries are often sweeter so grab those if you see them at the market.
- 180 g semisweet chocolate chips (for the coating): This second batch gets melted with oil for that beautiful snappy shell.
- 1 tbsp coconut oil or neutral vegetable oil: The oil thins the chocolate just enough to pour and gives it that professional shine.
Instructions
- Get your oven and pan ready:
- Preheat to 175 degrees Celsius and line your 22 by 22 centimeter baking pan with parchment paper, letting the edges hang over like little handles for easy removal later.
- Melt the chocolate and butter:
- Combine the butter and 180 grams of chocolate chips in a microwave safe bowl and heat in 30 second bursts, stirring patiently between each round until the mixture is silky smooth.
- Build the batter:
- Whisk both sugars into the melted chocolate, then beat in the eggs one at a time followed by the vanilla until everything looks glossy and united.
- Add the dry ingredients:
- Fold in the flour and salt with a spatula, stirring just until the last streak of white disappears because overmixing makes brownies tough.
- Bake and cool completely:
- Spread the batter evenly in your prepared pan and bake for 25 to 30 minutes until a toothpick comes out with moist crumbs, then let it cool entirely in the pan without rushing this step.
- Arrange the strawberries:
- Lay strawberry slices in a single even layer across the cooled brownie surface, covering as much ground as you can without stacking them on top of each other.
- Make the chocolate coating:
- Melt the remaining chocolate chips with the oil in the microwave, stirring until the mixture is completely smooth and catches the light like a mirror.
- Pour and spread the coating:
- Pour the melted chocolate over the strawberries and gently tilt the pan back and forth so it flows into every gap and coats all the fruit evenly.
- Chill until set:
- Refrigerate for at least 30 minutes until the top layer is firm to the touch and makes a satisfying sound when you tap it with your fingernail.
- Slice and serve:
- Grab the parchment overhang to lift the whole slab out of the pan, then use a sharp knife to cut into twelve squares, wiping the blade between cuts for clean edges.
 Save
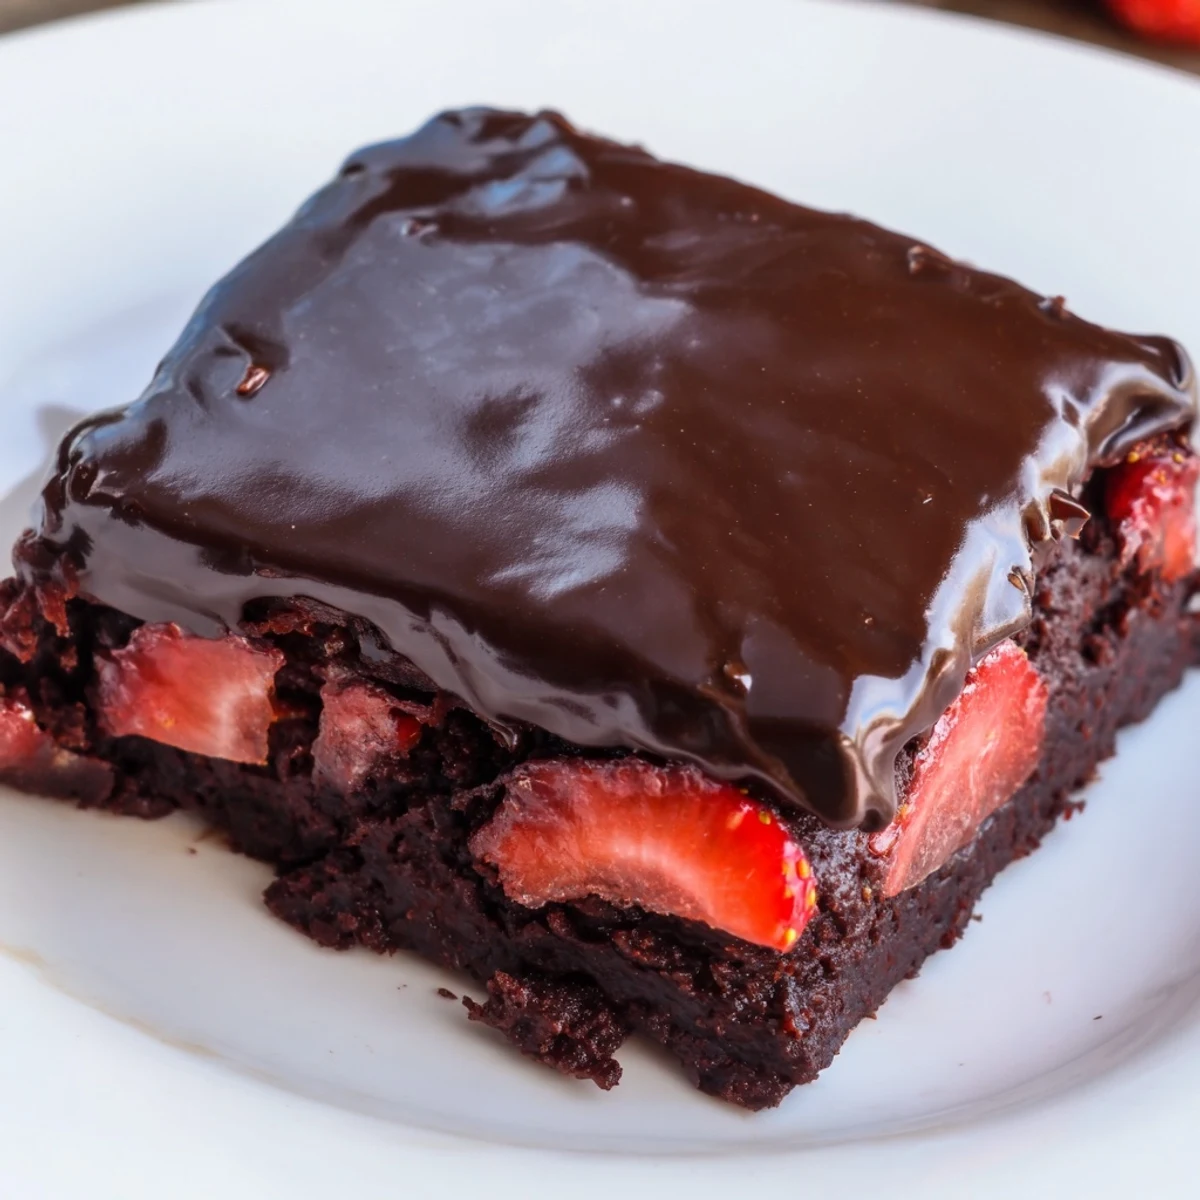
Save The moment someone bites through that crisp chocolate top and hits the layer of cold, sweet strawberry is pure magic. I watched my toughest food critic friend close her eyes and go quiet for a full ten seconds.
Picking the Right Strawberries
Farmers market strawberries in late spring are unbeatable for this recipe because they are smaller, sweeter, and less watery than the giant supermarket ones. If grocery store berries are your only option, taste one first and if it tastes like nothing, a tiny sprinkle of sugar on the slices for ten minutes helps bring out their natural flavor.
The Chocolate Coating Matters More Than You Think
I once tried skipping the oil in the topping and ended up with a thick, stubborn layer that refused to spread evenly and cracked in weird places when it set. That single tablespoon of coconut oil is the difference between a clumpy mess and that smooth, snappy shell that makes people think you bought these at a chocolatier.
Storing and Serving Like a Pro
These brownies hold beautifully in the refrigerator for up to three days if you keep them in an airtight container with parchment between layers. Serve them cold or let them sit at room temperature for about ten minutes so the strawberry layer softens slightly.
- A white chocolate drizzle over the top before the coating sets looks stunning for holidays or special occasions.
- Dark chocolate works beautifully in both the brownie and the coating if you prefer a less sweet dessert.
- Always check your chocolate chip labels for allergen cross contamination if you are serving someone with sensitivities.
 Save
Save Some recipes are just recipes, but this one has a way of turning an ordinary afternoon into a small celebration. Keep it in your back pocket for whenever you need to impress without the stress.
Recipe FAQs
- → Can I use frozen strawberries instead of fresh?
-
Fresh strawberries are strongly recommended for this preparation. Frozen berries release excess moisture as they thaw, which can seep into the brownie layer and prevent the chocolate coating from setting properly. If frozen is your only option, thaw and pat the slices completely dry with paper towels before arranging them on the brownie surface.
- → How do I get clean slices when cutting these brownies?
-
Ensure the chocolate coating is fully set by refrigerating for at least 30 minutes before slicing. Use a sharp knife dipped in hot water and wiped dry between each cut. Lifting the entire slab out of the pan using the parchment overhang makes cutting much easier and more precise.
- → What type of chocolate works best for the coating?
-
Semisweet chocolate chips with a touch of coconut oil produce a smooth, glossy finish that snaps when chilled. Dark chocolate can be used for a more intense, less sweet result. Avoid milk chocolate for the coating, as it tends to be too soft and may not set firmly enough for clean slicing.
- → Can these be made ahead of time?
-
Yes, they actually benefit from being made a few hours ahead so the coating has time to fully set. Store them in an airtight container in the refrigerator for up to three days. Bring them to room temperature for about 15 minutes before serving for the best texture and flavor.
- → How can I tell when the brownie base is properly baked?
-
Insert a toothpick into the center of the brownie layer—it should come out with a few moist crumbs clinging to it, not wet batter. The edges will look set and slightly pulled away from the sides of the pan. Overbaking will result in a cakey rather than fudgy texture, so check at the 25-minute mark.
- → Is there a substitute for coconut oil in the chocolate coating?
-
Any neutral vegetable oil such as canola, sunflower, or grapeseed oil will work in place of coconut oil. The purpose of the oil is to thin the melted chocolate slightly and help it achieve a smooth, snappy finish once chilled. Avoid olive oil, as its flavor will compete with the chocolate.