 Save
Save Combine melted butter and sugar, then whisk in eggs, vanilla and red food coloring before folding in flour and cocoa to form a fudgy red velvet batter. Press most into an 8-inch pan. Beat cream cheese with sugar, egg and vanilla until silky and pour over the base. Dollop reserved batter and swirl for a marbled top. Bake 33–37 minutes, cool completely, then chill at least 1 hour for clean slices. Use gel coloring for a deeper hue and avoid overmixing to keep a tender, fudgy crumb; serve chilled with berries or a dusting of powdered sugar.
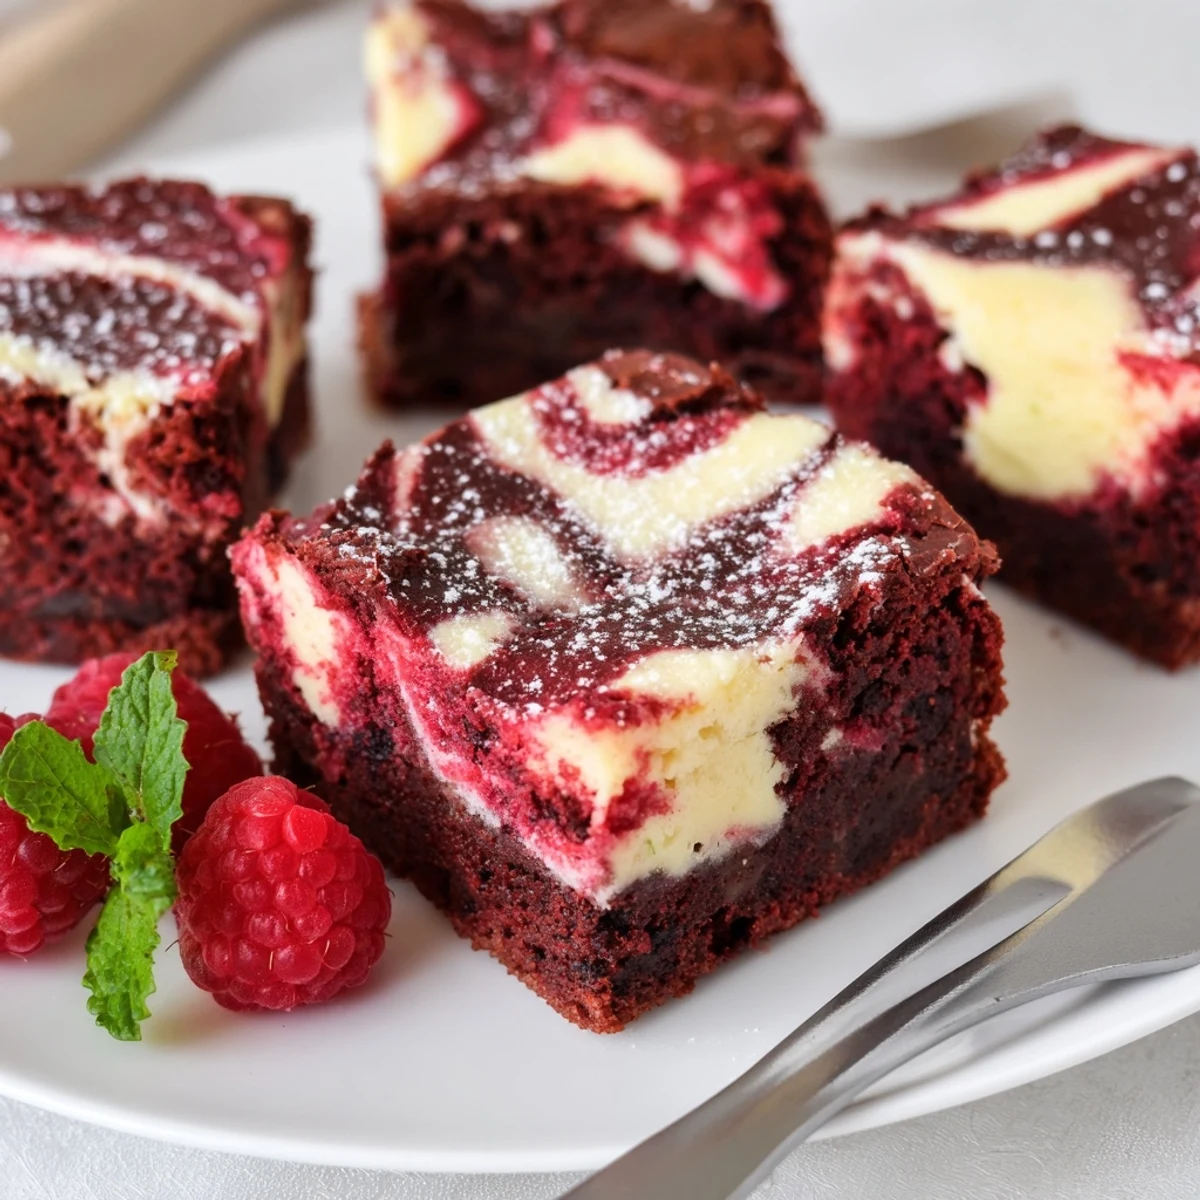
Some desserts whisper their arrival in the kitchen—but these Red Velvet Brownies With Cheesecake Layer always make a statement from the moment you draw the whisk through the thick, lush batter. The first time I baked them, there was a late-afternoon hush and the air already hinted at something sweet. My cat eyed me warily from the counter as I marbled the two batters, unconvinced by my confidence. The end result was a treat that looked like I’d spent hours, but tasted even better than it looked.
One Saturday last fall, my neighbor stopped by just as I was slicing a batch to cool—and ended up staying with coffee until we’d nearly polished off the pan. There’s something about the red velvet and cheesecake combo that seems to draw people into the kitchen, where conversations last just a little longer.
Ingredients
- Unsalted butter: Using melted butter keeps the brownie layer fudgy—just don’t let it get too hot or you risk scrambling the eggs.
- Granulated sugar: The right amount brings out the cracks on top and balances both layers perfectly.
- Eggs: I always use room temperature eggs so both layers mix smoothly without clumps.
- Vanilla extract: A good splash boosts both the brownie richness and the cheesecake tanginess.
- Red food coloring: I’ve tried both liquid and gel; gel gives a deep, dramatic red without thinning the batter.
- All-purpose flour: Measure lightly to keep the texture tender instead of dense.
- Unsweetened cocoa powder: Even just two tablespoons gives the brownies their classic chocolate flavor.
- Salt: A pinch makes the flavors pop—I learned the hard way not to forget it.
- Cream cheese: It’s essential for the creamy topping, and letting it fully soften avoids lumpy batter.
Instructions
- Get the oven ready:
- Set the oven to 175°C (350°F) and line your pan with parchment paper, leaving edges to lift the brownies out later—your future self will thank you.
- Mix the red velvet brownie layer:
- Whisk melted butter with sugar until glossy, then blend in eggs, vanilla, and that dazzling red food coloring until it feels almost too vibrant.
- Add the dry stuff:
- Sift in flour, cocoa powder, and salt; fold gently until just combined, then spread about three-quarters of the velvety batter into your lined pan.
- Whip up the cheesecake layer:
- Beat cream cheese and sugar until creamy, then mix in the egg and vanilla until you have a gleaming, smooth topping.
- Layer and swirl:
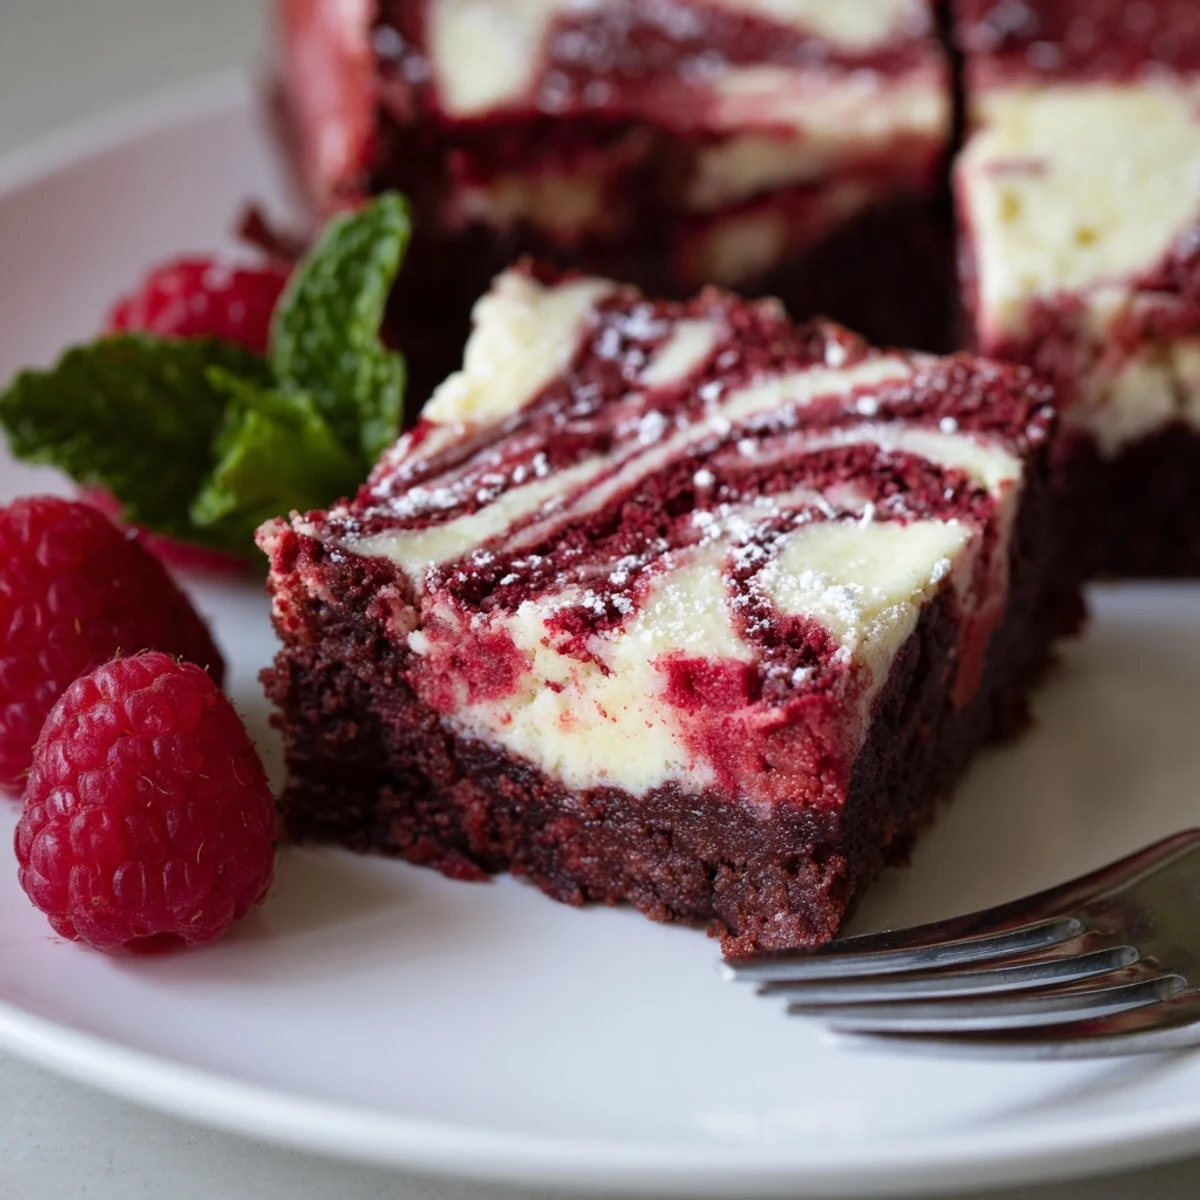
- Pour the cheesecake batter over the red velvet base, spread it out, then dot the top with dollops of reserved brownie batter and drag a skewer through for a marbled masterpiece.
- Bake to perfection:
- Pop the pan on the middle rack for 33 to 37 minutes; when a toothpick comes out just a little moist, you’re golden.
- Cool and chill:
- Let the brownies cool completely in the pan, then chill for at least an hour—this sets the layers and makes slicing clean and easy.
 Save
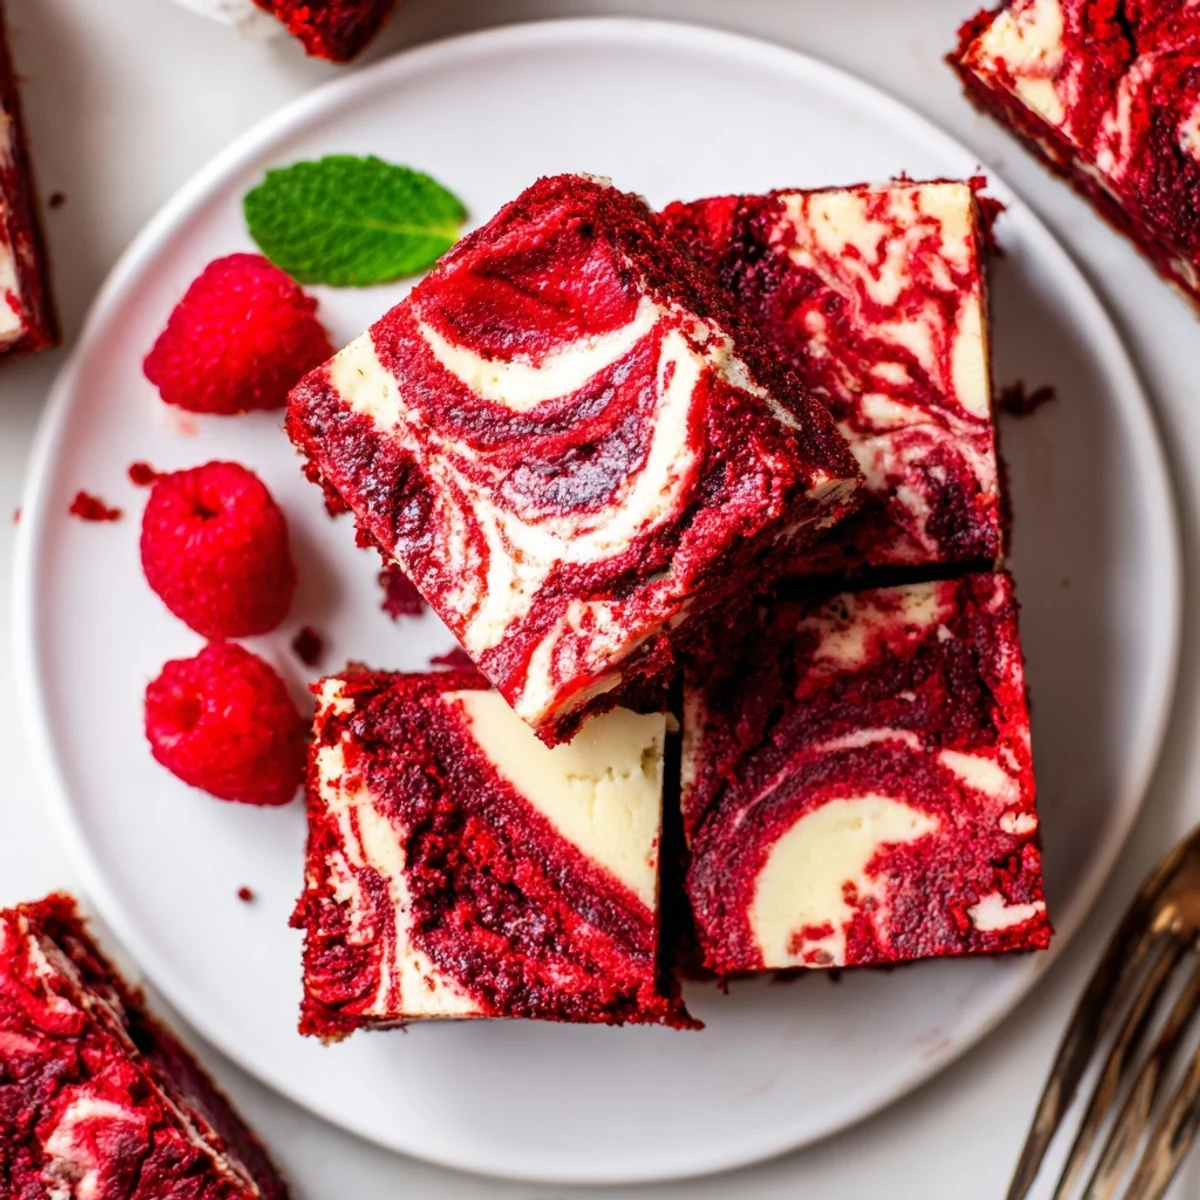
Save One bite at a family birthday, and everyone found their favorite part—my cousin can’t resist the bright swirls, my mom goes for the tangy middle, and I love the fudgy edges. Suddenly, red velvet brownies became a new tradition alongside the old classics.
How to Swirl Like a Pro
After a few early attempts that looked more abstract art than elegant marbling, I learned to use a toothpick and move in gentle, fluid motions. If you swirl too much, the layers lose their drama, so less is definitely more. A little patience yields those picture-perfect ribbons.
Serving These Brownies
They taste best served chilled, ideally with a cup of coffee or a handful of fresh raspberries. The coolness heightens the cheesecake tang and makes each slice decadently refreshing. Never be afraid to dust on a little extra powdered sugar if you want to impress.
Making It Your Own
Try stirring chocolate chips into the brownie batter for a chocolate-lover’s twist—it’s a little move that always wins points at parties. You could even swap the vanilla extract in the cheesecake layer for a hint of citrus zest if you’re feeling adventurous. Experimentation is half the fun with these beauties.
- Don’t skip lining the pan—it makes life easier.
- If your cream cheese is a bit cold, a few seconds in the microwave help.
- Always let the brownies chill fully before slicing for sharp, clean edges.
 Save
Save This recipe always brings a little drama to dessert—and every bite feels like something special. Bake, share, and savor: there’s nothing like a homemade swirl to sweeten the day.
Recipe FAQs
- → How do I know when the center is done?
-
The center should be mostly set with a few moist crumbs; a toothpick inserted will come out with slight crumbs but not wet batter. Edges will be slightly firmer while the center finishes setting as it cools.
- → Can I use gel food coloring instead of liquid?
-
Yes. Gel color delivers a more vibrant hue with less liquid added, so use sparingly until you reach the desired red. Stir gently to avoid overmixing the batter.
- → Any tips for a smooth cheesecake layer?
-
Soften cream cheese to room temperature and beat with sugar until completely smooth before adding the egg and vanilla. Scrape the bowl to avoid lumps and stop mixing as soon as the mixture is uniform.
- → How should I store these marbled bars?
-
Keep chilled in an airtight container for up to 4 days. For longer storage, freeze slices wrapped tightly for up to 2 months; thaw in the fridge before serving.
- → Can I add mix-ins like chocolate chips?
-
Yes—sprinkle chips over the brownie layer before pouring the cheesecake mixture for pockets of chocolate. Use semi-sweet or dark chips to balance the tang of the cheesecake.
- → How do I get clean, neat slices?
-
Chill the baked bars thoroughly for at least 1 hour, then run a hot, dry knife through slices, wiping the blade between cuts. This minimizes smearing and preserves the marbled pattern.