 Save
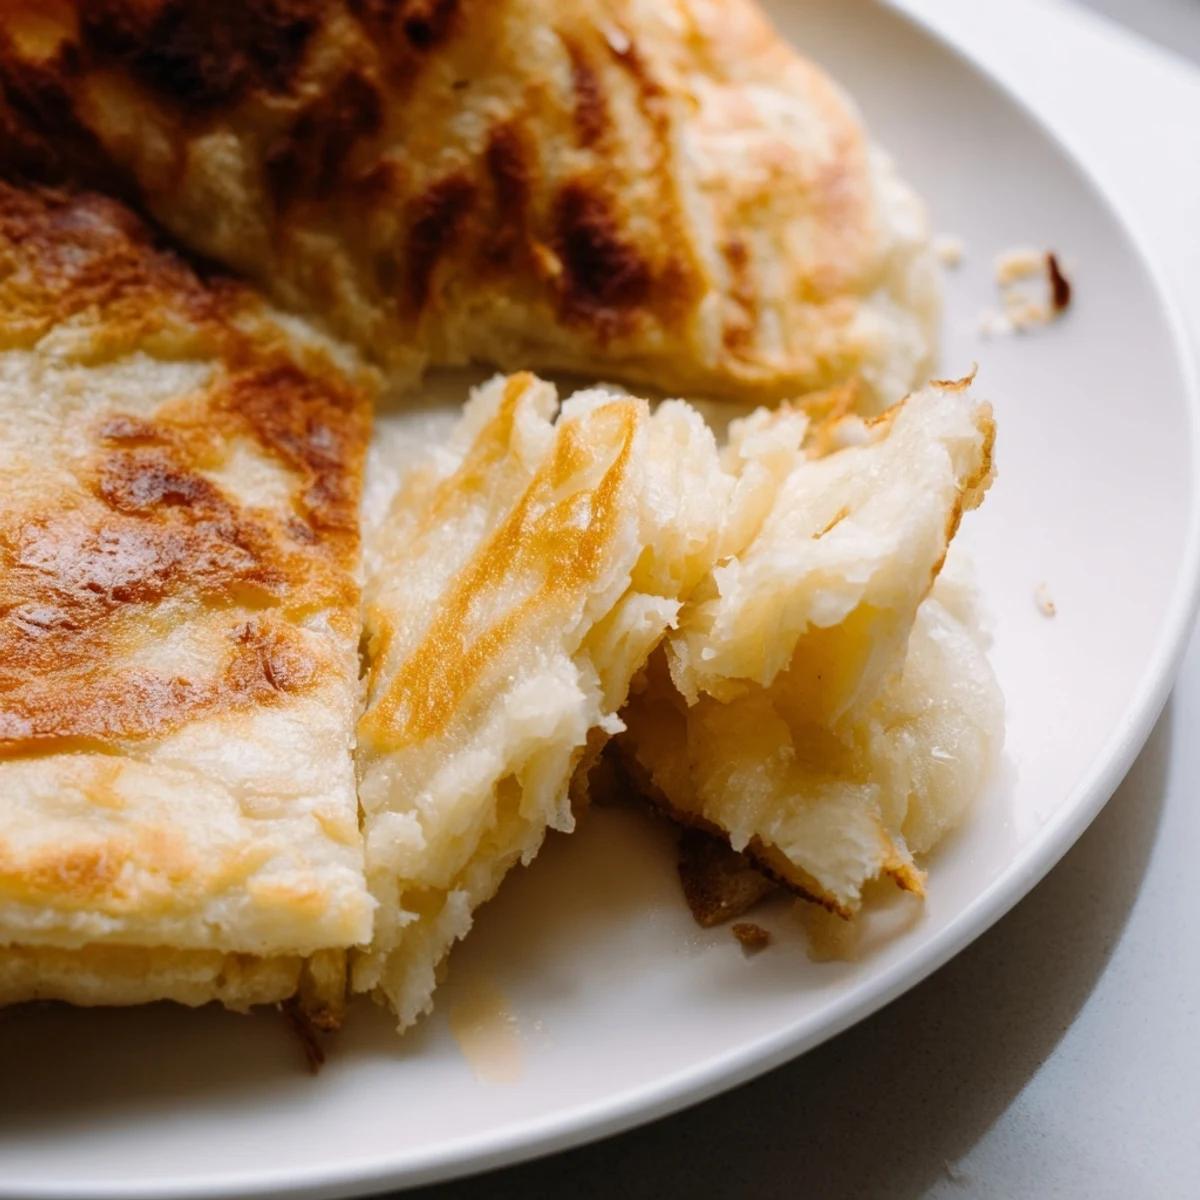
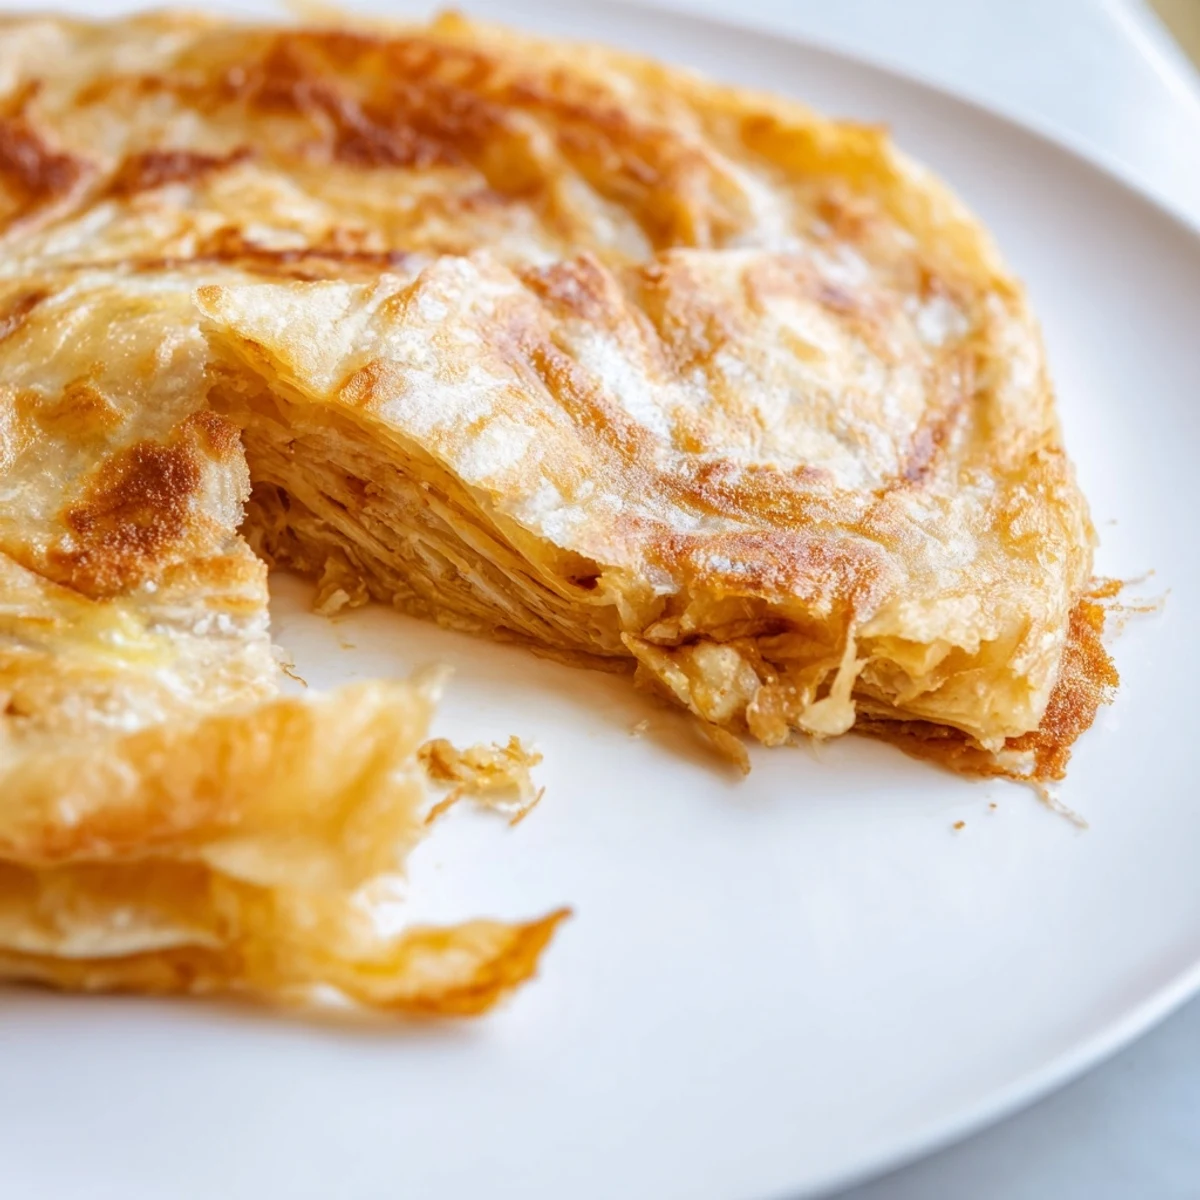
Save Flaky Roti Canai brings the beloved Malaysian flatbread tradition to your kitchen. This iconic bread achieves its signature texture through a unique resting period and special folding technique that creates delicate layers. The dough, enriched with condensed milk and ghee, develops both structure and tenderness over two hours of resting. The magic happens during shaping—stretching the dough until translucent, then folding and rolling it builds those sought-after flaky layers that puff up beautifully when cooked.
Perfect alongside rich dhal or spicy chicken curry, this versatile bread also stands alone as a satisfying snack. The technique requires some practice, but the reward of fresh, warm roti with crispy exterior and pillowy interior makes every effort worthwhile.
The first time I watched a street vendor in KL make roti canai, I stood there for twenty minutes, mesmerized by the way he flipped and stretched the dough until it became paper-thin. When I tried replicating that motion in my tiny apartment kitchen, half my dough ended up on the floor and the other half looked like a tortured map. But that first bite of even my misshapen effort, with those buttery layers puffing apart in my hands, made me understand why this bread is everywhere in Malaysia.
My roommate walked in while I was mid stretch, saw me practically dancing around my oiled countertop, and asked if I was conducting some kind of kitchen interpretive dance. By the time we sat down to eat, ghee dripping down our wrists, we had gone through three rotis between us and I realized this recipe was dangerous for my self control. Now I double the batch just to be safe.
Ingredients
- All purpose flour: Forms the structure, and bread flour works too if you want extra chewiness
- Salt and sugar: Essential balance, the sugar helps browning while salt keeps it from being one note sweet
- Condensed milk: This is the secret ingredient that makes Malaysian roti so tender and gives it that characteristic subtle sweetness
- Melted ghee: Use real ghee if you can find it, the nutty flavor is unmistakable and worth the hunt
- Warm water: Not hot, or you might mess with the dough development, just pleasantly warm to the touch
- Additional ghee for cooking: Generously brushing the skillet creates those crispy, golden edges that make roti irresistible
Instructions
- Mix and knead your dough:
- Combine flour, salt, and sugar in a large bowl, then make a well in the center and pour in melted ghee, condensed milk, and warm water. Mix with your hand until a shaggy dough forms, then turn it onto a surface and knead for 8 to 10 minutes until the dough is smooth, elastic, and slightly tacky.
- Rest and divide:
- Shape the dough into a smooth ball, coat it lightly with ghee, cover, and let it rest for 20 minutes to relax the gluten. Divide into 6 equal portions, roll each into a smooth ball, coat generously with ghee, arrange on a greased tray, cover tightly with plastic wrap, and let rest at room temperature for at least 2 hours.
- Stretch into thin sheets:
- Oil your work surface and hands thoroughly, take one dough ball and flatten it with your palms, then using the backs of your hands, gently stretch and pull the dough from the center outward until it is almost translucent and about 18 inches wide, working quickly to prevent it from tearing.
- Create the layers:
- Fold the stretched dough into a long rectangle by bringing the sides inward, then roll it up tightly like a Swiss roll from one end to the other. Coil the rolled dough into a spiral, tuck the end underneath, and repeat with the remaining dough balls.
- Cook to golden perfection:
- Heat a non stick skillet over medium heat and brush lightly with ghee. Flatten one spiral portion with your hands into a 6 to 7 inch round, place it in the hot skillet, and cook for 2 to 3 minutes per side until both sides are golden brown and crispy with visible flaky layers.
- The final clap:
- Remove the cooked roti from the skillet and immediately clap it between your hands two or three times to separate the layers and create that signature fluffy texture. Serve hot while the ghee is still glistening.
 Save
Save Last Ramadan, I made a batch to break fast with my neighbors, and watching the kids eyes light up as they pulled apart the layers reminded me why I bothered learning this finicky bread. Food has this way of turning strangers into friends, especially when it is something you have stretched and sweated over literally.
The Art of Stretching
The stretching technique takes practice, and my first dozen attempts ranged from passable to disastrous. What finally clicked for me was oiling my hands repeatedly and using the backs of my hands rather than my fingertips, which prevented my nails from catching and tearing the delicate dough. Work quickly but confidently, because the longer you hesitate, the more the dough resists.
Make Ahead Strategy
You can prepare the spiraled dough through the shaping step, refrigerate them overnight on a greased tray covered tightly with plastic, and let them come to room temperature for 30 minutes before cooking. This actually improves the flavor, and having the spirals ready to go means hot roti in under ten minutes when you need them most.
Serving Suggestions
While roti canai is perfect with any curry, my favorite way to eat it is torn into pieces and dipped into dhal, letting the lentils soak into every flaky layer. For a sweet version that children adore, sprinkle sugar over the hot roti and fold it into quarters, letting the sugar melt into that gorgeous ghee coating.
- Eat roti immediately while hot, because the texture changes as it cools and loses that irresistible crispness
- Keep cooked rotis warm in a low oven covered with a clean towel while you finish cooking the rest
- If you must reheat leftover roti, use a dry skillet over medium heat rather than a microwave to preserve the layers
 Save
Save There is something deeply satisfying about pulling apart a perfectly cooked roti and seeing those steamy layers separate, revealing all the work you put into folding and rolling. I hope this recipe brings as much joy to your table as it has to mine.
Recipe FAQs
- → What makes Roti Canai flaky?
-
The flakiness comes from the unique folding technique—stretching the dough thin, folding into a rectangle, rolling like a Swiss roll, then coiling into a spiral. This creates multiple layers that separate during cooking, resulting in the signature flaky texture.
- → Why is resting the dough important?
-
Resting for at least two hours allows the gluten to relax, making the dough pliable and easy to stretch without tearing. This resting period is essential for achieving the thin, almost translucent sheets needed for proper layer formation.
- → Can I make Roti Canai ahead of time?
-
You can prepare the dough and complete the shaping process ahead of time. Store the shaped spiral portions in the refrigerator for several hours. Bring to room temperature before flattening and cooking for best results.
- → What's the difference between ghee and oil?
-
Ghee adds rich flavor and enhances flakiness due to its milk solids, while oil is neutral and dairy-free. Ghee produces more golden coloring and a slightly crispier texture, making it the traditional choice for authentic Roti Canai.
- → Why do you clap the roti after cooking?
-
Gently clapping the cooked roti between your hands separates the layers and introduces air, creating that signature fluffy, multi-layered texture. This traditional technique helps achieve the pillowy interior that makes Roti Canai so distinctive.
- → What should I serve with Roti Canai?
-
Roti Canai pairs beautifully with dhal curry, chicken curry, or fish curry. For a sweet variation, enjoy it with sugar or condensed milk for dipping. The bread is also delicious on its own, fresh from the griddle.