Save
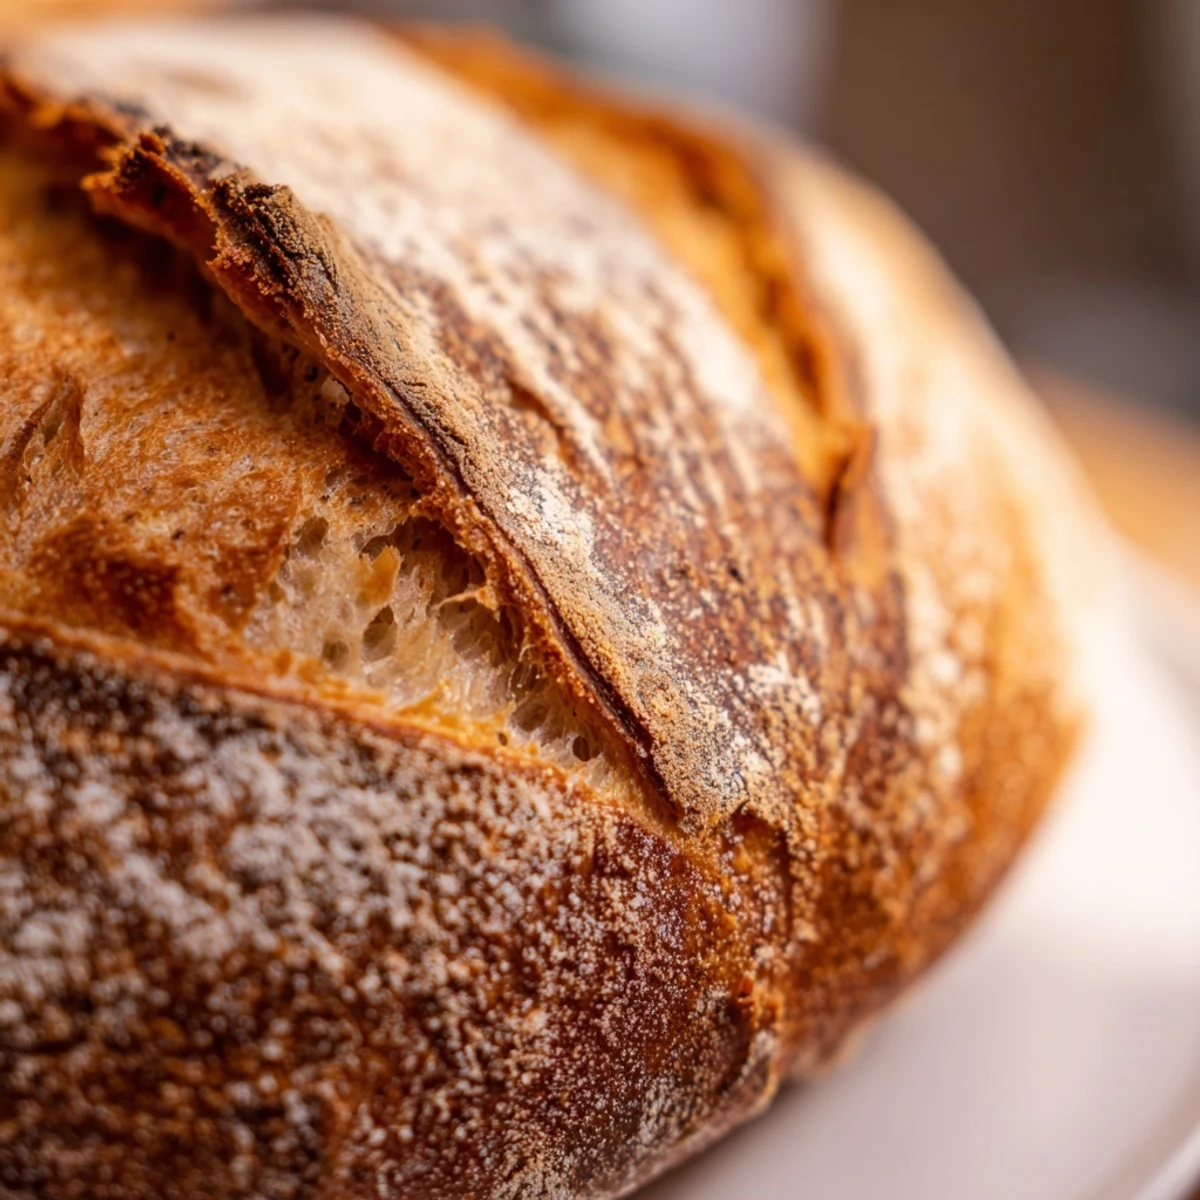
Save This traditional sourdough delivers exceptional flavor through wild yeast fermentation and a 12–18 hour resting period. The process creates an open, airy crumb with signature tanginess and a bakery-quality crust that crackles when sliced.
The stretch-and-fold technique develops strong gluten structure, while cold fermentation in the refrigerator deepens flavor complexity. Baking in a preheated Dutch oven creates steam for an ideal crust formation.
Perfect for beginners and experienced bakers alike, this versatile loaf accepts additions like seeds, nuts, or dried fruits. The result is an artisan-quality bread that rivals professional bakeries, requiring only patience and basic techniques.
My first sourdough starter lived in a mason jar on the counter, bubbling away like a tiny science experiment that demanded daily attention. The morning I finally baked that first loaf, the entire apartment filled with that distinctive tangy aroma that somehow feels both ancient and entirely new. Nothing compares to the crackle of a fresh sourdough crust breaking under your knife.
I once brought a warm loaf to a dinner party, and people kept asking what bakery I had visited. Watching faces light up when I explained I had made it myself never gets old. There is something profoundly satisfying about serving bread you nurtured through its entire life cycle.
Ingredients
- Bread flour: Higher protein content creates the structure needed for that perfect chewy crumb
- Water at room temperature: Cold water can slow fermentation, while hot water might damage your starter
- Active sourdough starter: This is your living ingredient, bubbling with wild yeast and beneficial bacteria
- Fine sea salt: Coarse salt will not distribute evenly, so reach for the fine variety for proper integration
Instructions
- The Autolyse Phase:
- Mix flour and water until just combined, then cover and rest for one hour. This hydrates the flour and begins gluten development without any effort from you.
- Incorporating the Starter:
- Add your starter and salt, then mix until the dough comes together in a shaggy mass. The dough will feel sticky at first, which is completely normal.
- Building Strength:
- Perform stretch and folds every thirty minutes for four sets, grabbing one edge of the dough and pulling it upward before folding it over the center. This gentle handling develops structure without deflating the dough.
- Shaping the Loaf:
- Turn the dough onto a lightly floured surface and fold the edges toward the center to create surface tension. Flip it over and rotate it against the counter to tighten the shape into a neat round or oval.
- Cold Fermentation:
- Place the dough seam side up in a floured proofing basket, then refrigerate overnight. The cold slows fermentation while developing incredible depth of flavor.
- Preheating Strategy:
- Preheat your oven to 450°F with a Dutch oven inside for at least thirty minutes. The trapped heat mimics a professional bread oven, creating that impressive oven spring.
- Scoring the Dough:
- Gently invert the dough onto parchment paper and use a sharp blade to make a confident slash across the surface. This creates a weak point where the bread can expand during baking.
- Baking with Steam:
- Transfer the dough into the hot Dutch oven and cover immediately. Bake covered for twenty minutes, trapping steam that keeps the crust soft while the interior expands.
- Developing the Crust:
- Remove the lid and bake another twenty minutes until the crust turns a deep golden brown. This final dry heat creates the crisp crackly exterior that makes sourdough so irresistible.
- The Hardest Part:
- Cool the loaf on a wire rack for at least one hour before slicing. Cutting into warm bread will release steam and leave you with a gummy crumb.
 Save
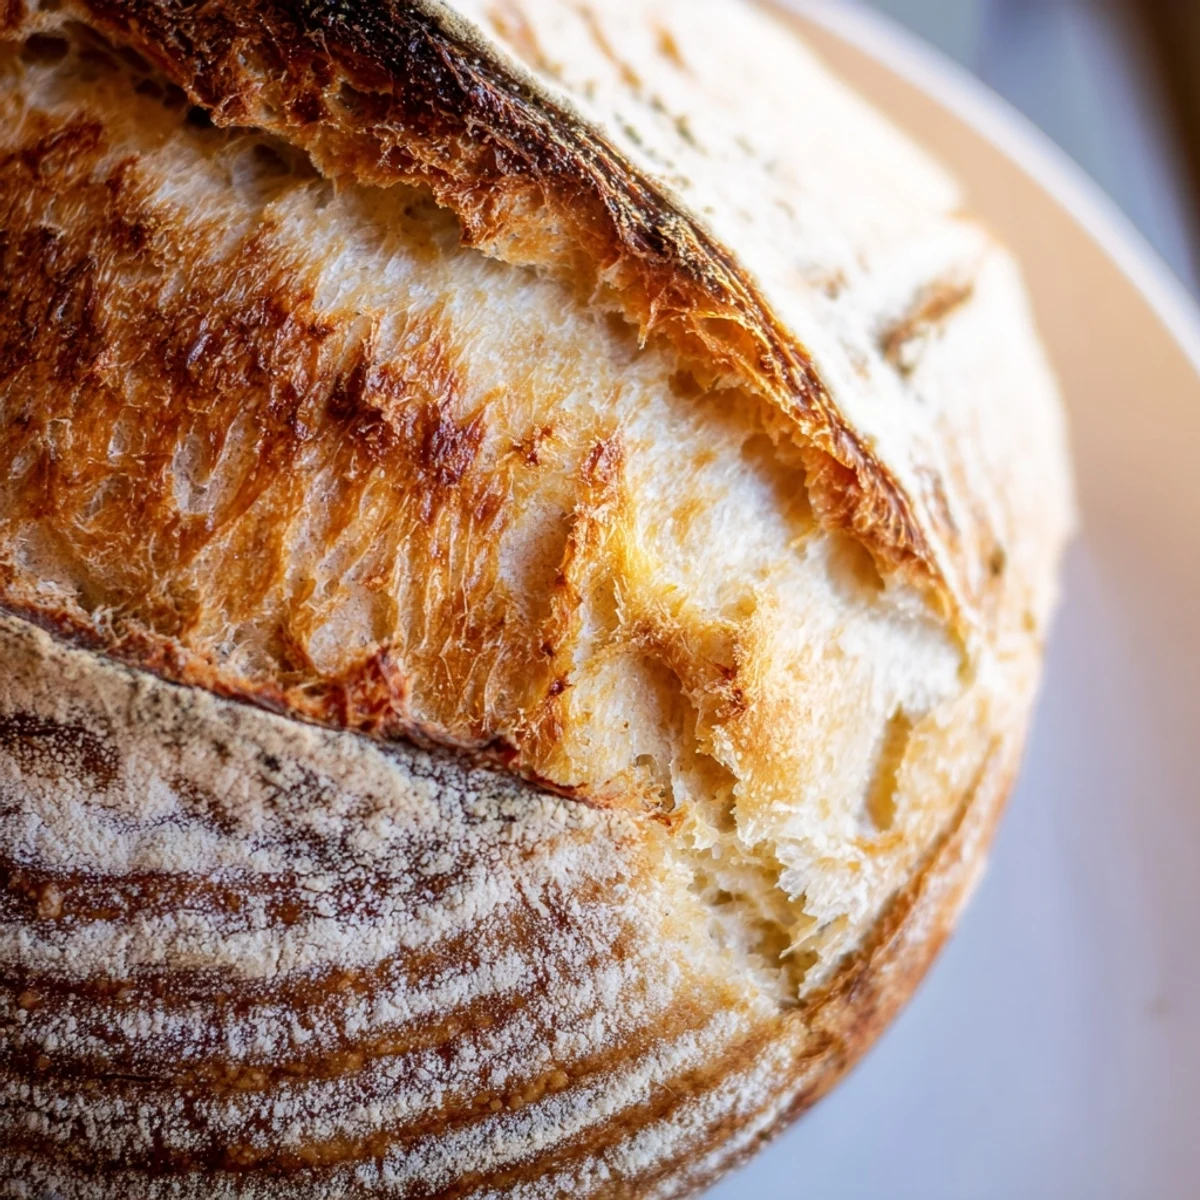
Save The day I finally achieved that perfect ear on my sourdough loaf, I took about twenty photos from every possible angle. Something about that distinctive ridge where the dough expanded during baking feels like a badge of honor.
Understanding Your Starter
Your sourdough starter is a living ecosystem of wild yeast and lactic acid bacteria. Feed it consistently at the same ratio, and it will reward you with reliable fermentation and beautiful oven spring.
Reading the Dough
Learning to identify when your dough has properly proofed takes practice. Look for visible bubbles on the surface, a slight dome shape, and that jiggly consistency when you gently shake the bowl.
Making It Your Own
Once you have mastered the basic technique, experiment by incorporating roasted garlic, toasted seeds, or dried herbs. These additions should be folded in after the first rise to avoid disrupting gluten development.
- Try replacing 10% of the bread flour with whole wheat for added nuttiness
- Add 50 grams of toasted sunflower seeds for texture and flavor
- Brush the baked loaf with water for a softer crust if you prefer
 Save
Save There is nothing quite like warm sourdough toast with salted butter, still faintly warm from the oven. This bread has a way of turning simple ingredients into something extraordinary.
Recipe FAQs
- → What makes sourdough different from regular bread?
-
Sourdough uses wild yeast and beneficial bacteria naturally present in flour rather than commercial yeast. This creates the characteristic tangy flavor, longer shelf life, and improved digestibility through fermentation that breaks down gluten and phytic acid.
- → How do I know when my dough is properly proofed?
-
The dough should have roughly doubled in size and show visible bubbles on the surface. When gently pressed with a finger, the indentation should slowly spring back halfway. Over-proofed dough will collapse, while under-proofed dough won't spring back at all.
- → Can I skip the Dutch oven baking method?
-
While possible, the Dutch oven creates essential steam for a crispy, blistered crust. Without it, you can create steam by placing a tray of ice cubes in the oven while preheating, though the crust may be slightly thinner and less pronounced.
- → Why is cold fermentation recommended?
-
Refrigerating the shaped dough for 8–12 hours slows fermentation, allowing flavors to develop complexity and depth. It also makes scheduling easier since you can bake the next morning, and the cold dough is easier to handle before baking.
- → How should I store homemade sourdough bread?
-
Store at room temperature in a paper bag or wrapped in a cloth for up to 3 days. Avoid plastic bags which trap moisture and soften the crust. For longer storage, slice and freeze in an airtight container, then thaw individual slices as needed.
- → What if I don't have an active sourdough starter?
-
You can create your own starter by combining equal parts flour and water, feeding it daily for 7–14 days until bubbly and active. Alternatively, some bakeries sell fresh starter, or you can use a hybrid method with small amounts of commercial yeast while building wild yeast culture.