 Save
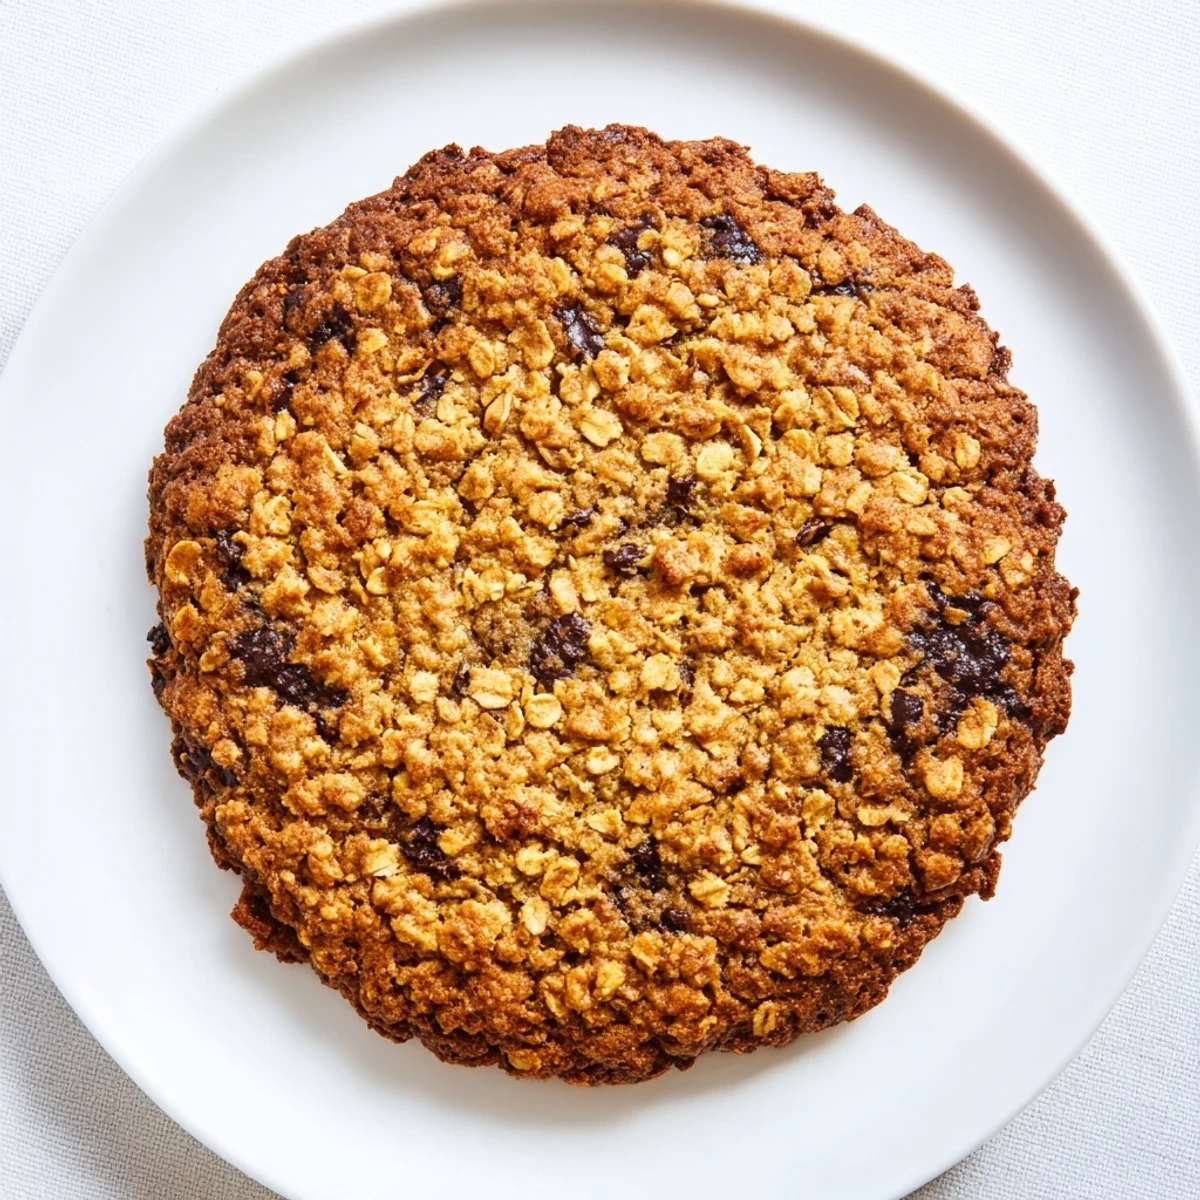
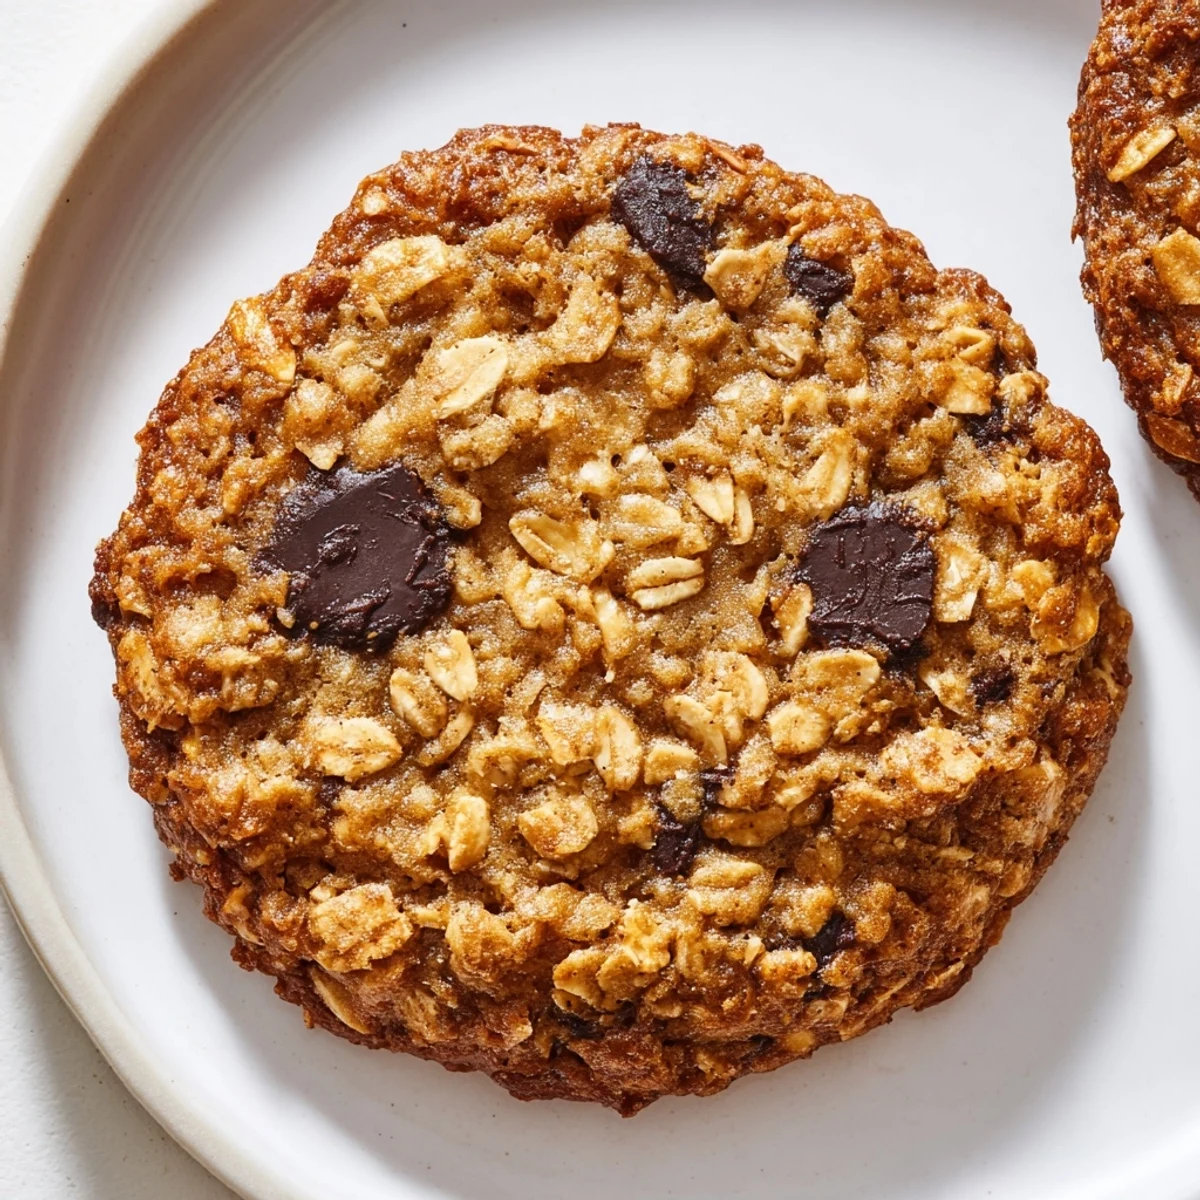
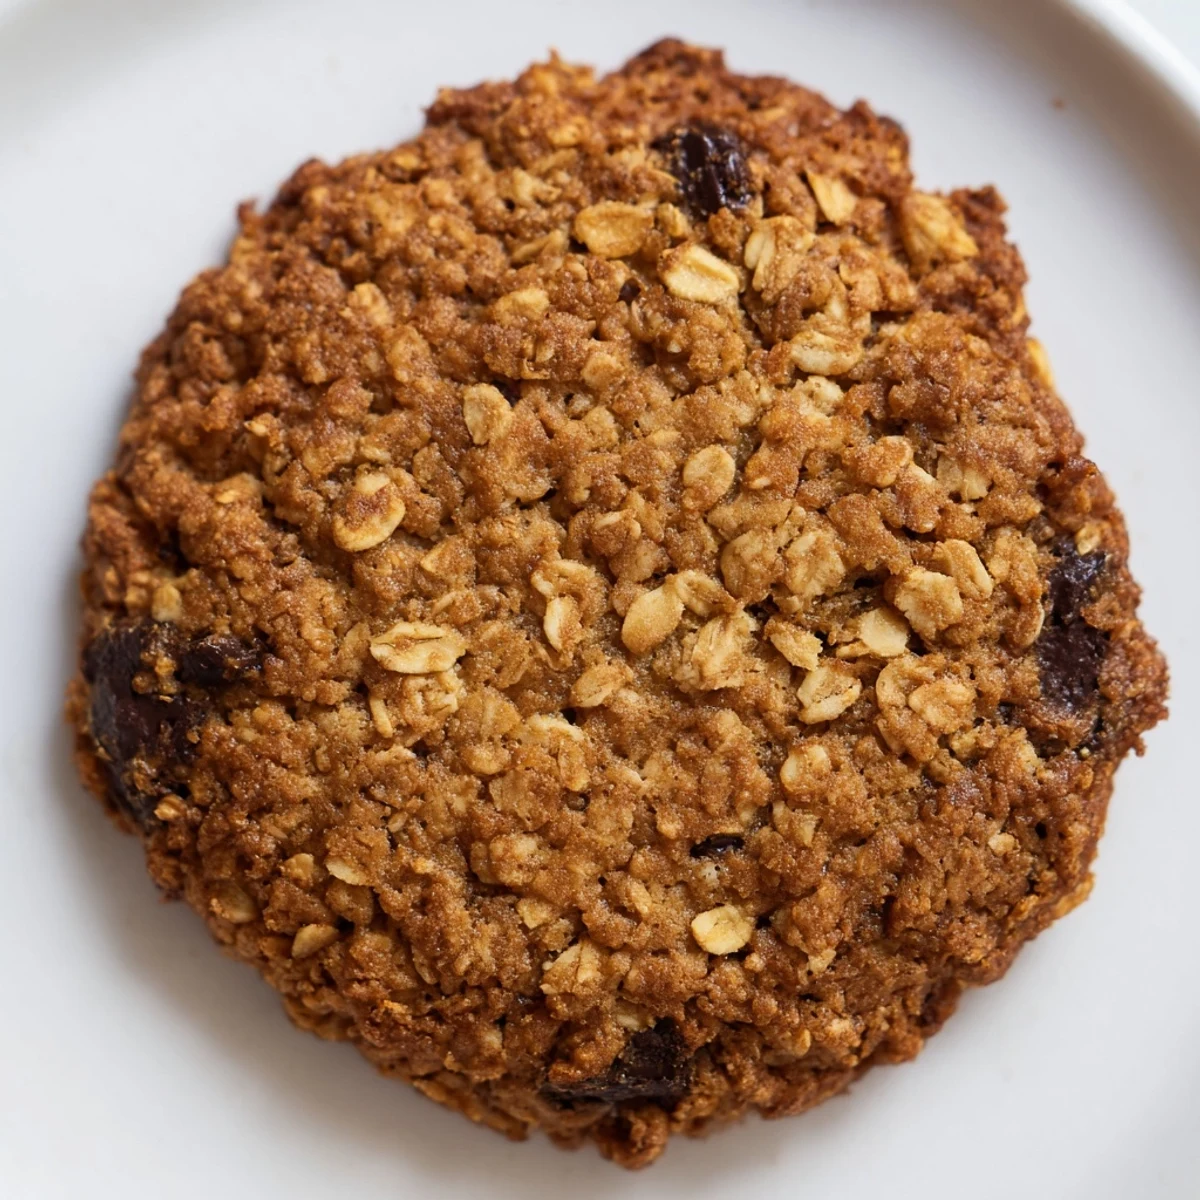
Save These crispy chocolate oat cookies come together with just pantry staples—rolled oats, dark chocolate chips, melted butter, and brown sugar. The result is wonderfully crunchy with a rich chocolate flavor in every bite.
Simply mix the dry ingredients, bind with melted butter and brown sugar, then bake until golden edges form. The natural sweetness from brown sugar complements the bittersweet chocolate, while toasted oats provide satisfying texture.
Perfect for beginner bakers or when you need a quick treat without fancy ingredients. Customize with different chocolate varieties or add sea salt for a gourmet touch.
Rainy Sunday afternoons were made for kitchen experiments, and this particular discovery happened during one of those "what can I make with what's actually in my pantry" moments. The chocolate had been sitting in the cupboard since holiday baking season, and I'd bought oats with good intentions that never quite materialized into overnight oats. Sometimes the best recipes come from refusing to go to the grocery store.
My roommate walked in when these were cooling on the counter and immediately asked what bakery I'd visited. The look on her face when I told her there were four ingredients total was priceless. Those cookies disappeared within hours, and now they're my go-to when I need something homemade but don't want to measure twelve different things.
Ingredients
- Old-fashioned rolled oats: These create the best texture because they hold their shape during baking, giving you that satisfying crunch in every bite
- Dark chocolate chips: The slight bitterness balances the sweetness from the brown sugar, and dark chocolate chips tend to hold their shape better than milk chocolate
- Unsalted butter, melted: Melting it first helps coat every oat evenly and creates those crispy edges we all love in a cookie
- Brown sugar, packed: The molasses in brown sugar adds depth and helps create that irresistible caramelized flavor during baking
Instructions
- Get your oven ready:
- Preheat to 350°F and line a baking sheet with parchment paper so nothing sticks and cleanup is effortless
- Combine the dry ingredients:
- Dump your oats and chocolate chips into a large bowl and give them a quick toss so the chocolate gets distributed throughout
- Mix in the wet ingredients:
- Pour in the melted butter and brown sugar, then stir until you can see every oat is coated and the mixture starts to clump together when you press it
- Shape the cookies:
- Scoop tablespoon portions onto your prepared sheet and flatten each one slightly with the back of a spoon because they won't spread much on their own
- Bake until golden:
- Slide the sheet into the oven for 12 to 15 minutes, watching for those edges to turn a beautiful golden brown
- Cool completely:
- Let them rest on the baking sheet for 5 minutes before moving them to a wire rack where they'll finish crisping up
 Save
Save Last winter when my sister came over stressed about finals, I made a batch while she vented about her classes. There's something about the smell of oats and chocolate baking that just makes a kitchen feel like a safe place. She left with a container full and a significantly better mood.
Getting The Perfect Crunch
The first time I made these, I didn't toast the oats and they were still delicious. Then I tried toasting them in a dry skillet for just a few minutes before mixing, and the difference in texture was like night and day. It's an extra step that's completely optional but worth it if you want next-level crunchiness.
Customization Ideas
While the original four-ingredient version is pretty perfect, sometimes I'll add a pinch of flaky sea salt on top before baking if I'm feeling fancy. The salt brings out the chocolate flavor in ways that surprise people who haven't tried sweet and salty combinations before. My niece calls them the fancy cookies when I do this.
Storage And Make-Ahead Tips
These cookies actually get better after a day or two as the flavors meld together. I've kept them in an airtight container for a week and they stayed perfectly crispy, though in my house they rarely last more than 48 hours. You can also freeze the baked cookies and they'll thaw beautifully on the counter in about 15 minutes.
- Make a double batch because they disappear faster than you'd expect
- Press the dough into a parchment-lined pan and cut into bars if you want something faster than individual cookies
- Package them in a clear bag tied with twine for an effortless homemade gift
 Save
Save Simple recipes like these remind me that sometimes less really is more, and the best things in life only require four ingredients and 25 minutes.
Recipe FAQs
- → Why do my cookies fall apart?
-
Ensure the mixture is pressed firmly together before baking. The brown sugar and butter need to coat all oats evenly. If the dough feels too dry, add an extra teaspoon of melted butter to help bind everything.
- → Can I use quick oats instead of old-fashioned?
-
Old-fashioned rolled oats work best for achieving that desired crispy texture. Quick oats may make the cookies softer and less crunchy. If you only have quick oats, reduce the baking time by 2-3 minutes.
- → How do I know when they're done baking?
-
Look for golden brown edges around the cookies. The centers should appear set, not doughy or wet. They'll continue to crisp up as they cool on the baking sheet, so don't overbake.
- → Can I double this batch?
-
Absolutely. Simply multiply all ingredients by two. You may need to use two baking sheets or bake in batches. The baked cookies freeze well for up to 3 months in an airtight container.
- → What's the best way to store these cookies?
-
Keep in an airtight container at room temperature for up to one week. Place parchment paper between layers to prevent sticking. For longer storage, freeze individually wrapped cookies and thaw at room temperature.