 Save
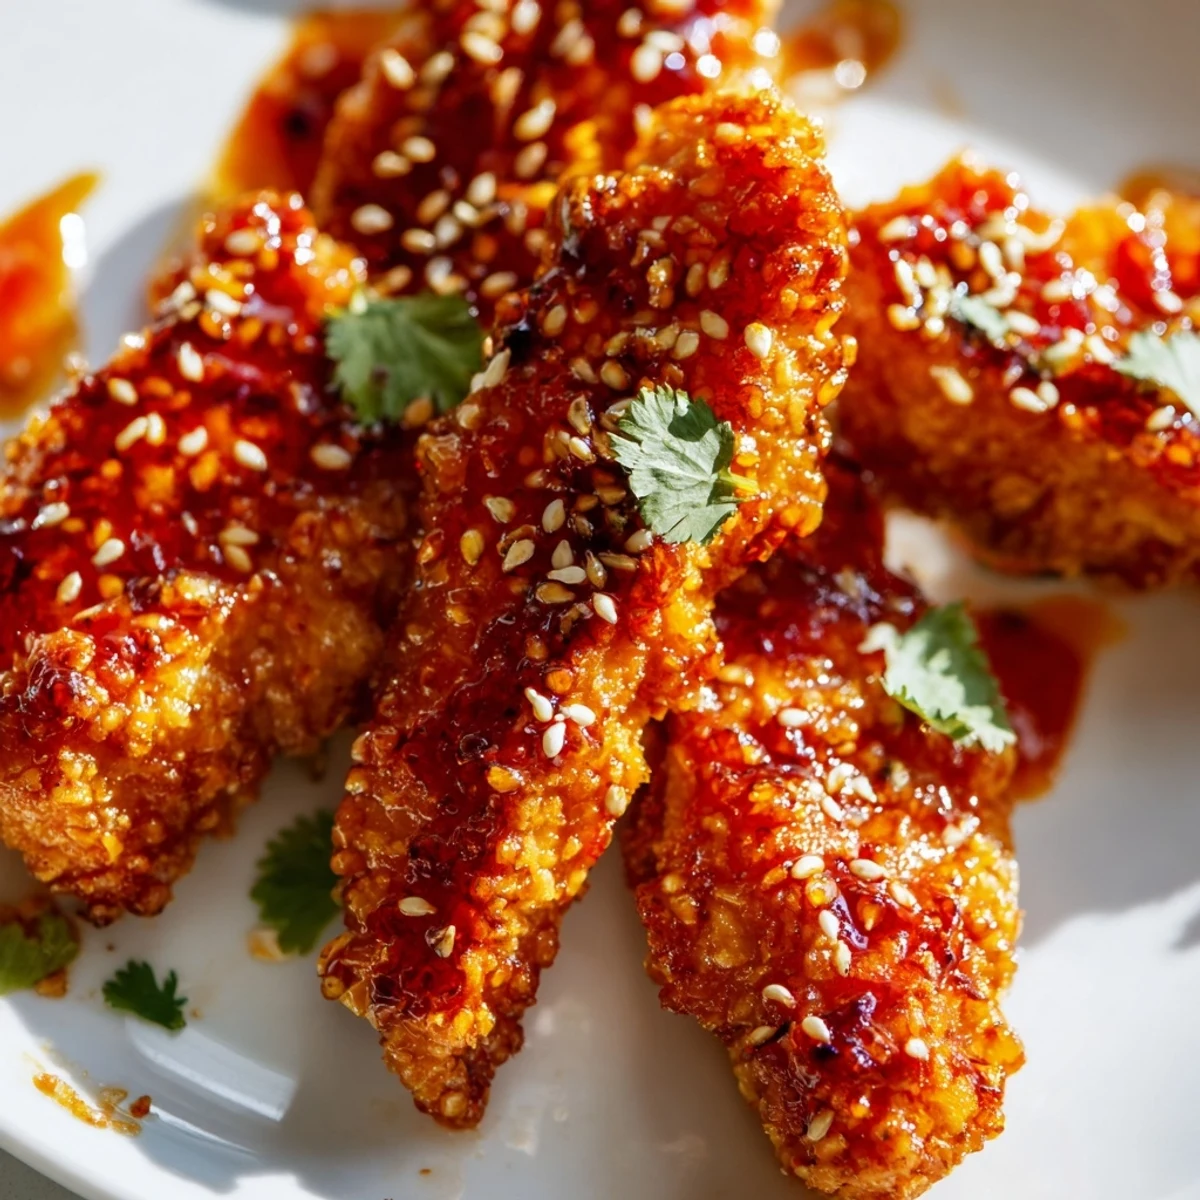
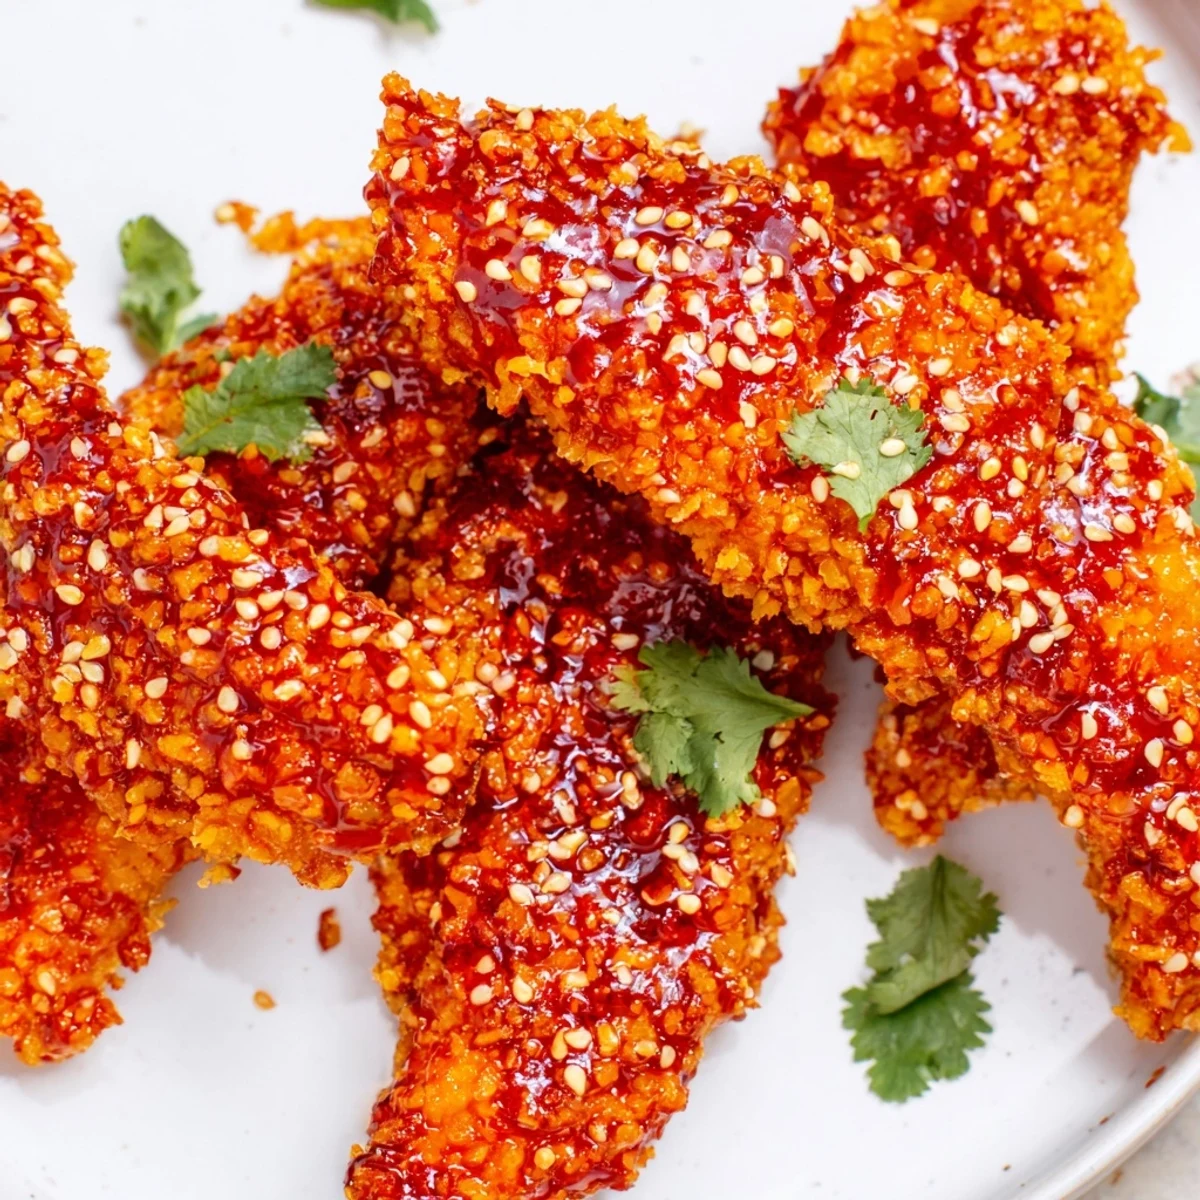
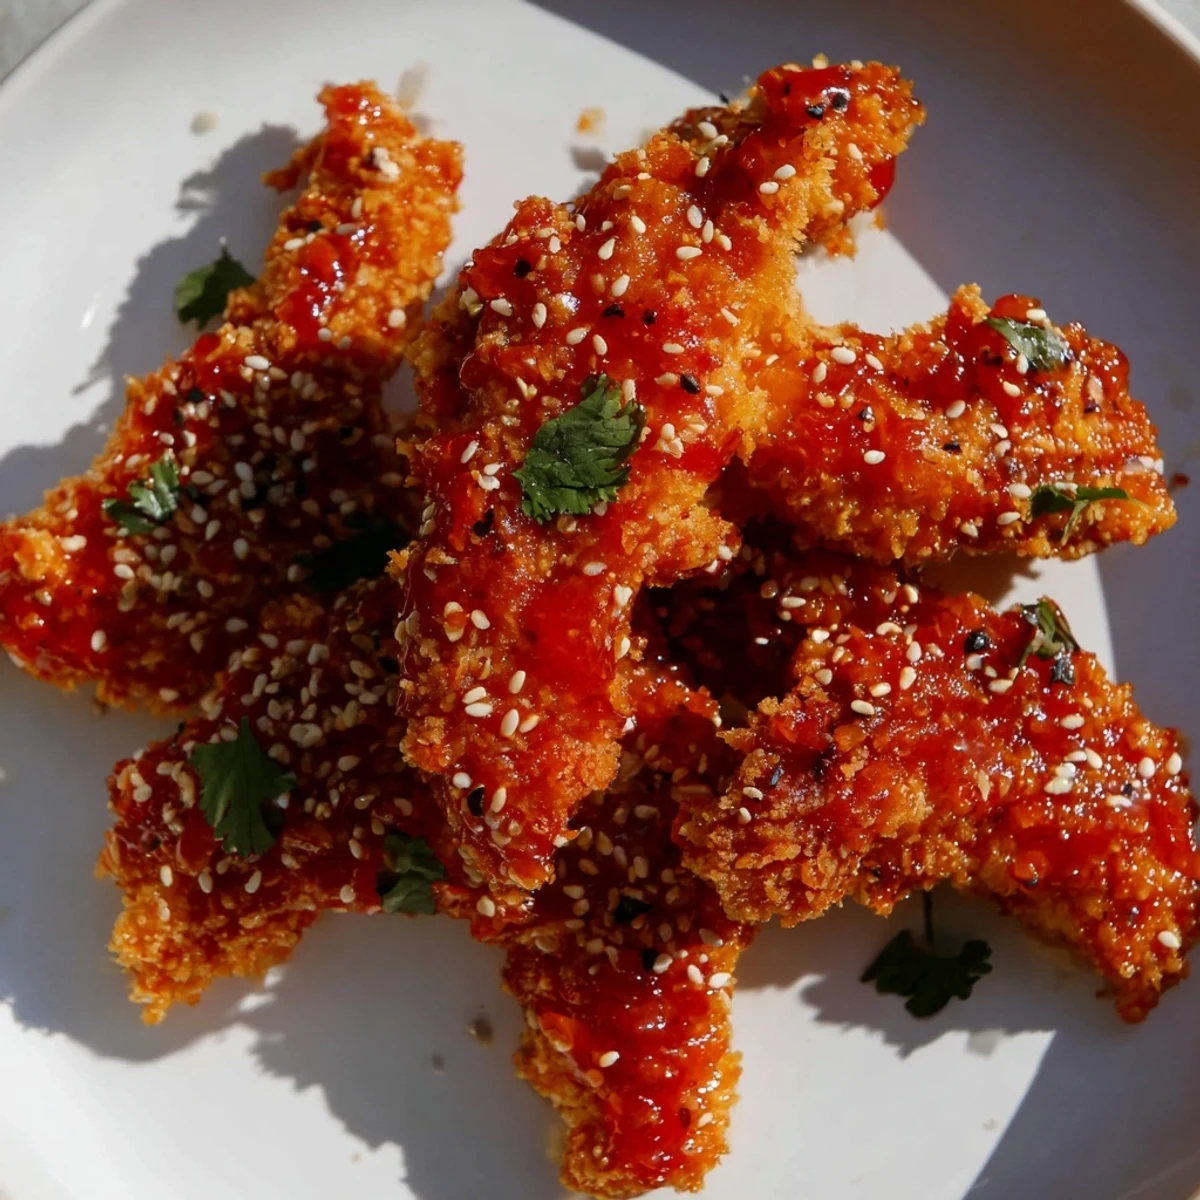
Save These chicken fingers start with tender strips coated in a crispy panko and coconut breading, baked until golden brown. While they cook, simmer together sweet chili sauce, soy sauce, honey, rice vinegar, sriracha, garlic, ginger, and fresh lime juice to create a glossy sticky glaze. Toss the hot crispy chicken in the sauce until coated, then finish with fresh cilantro, toasted sesame seeds, and lime wedges.
The first time I made these sticky chicken fingers, my kitchen smelled like my favorite Thai takeout place. My roommate walked in mid-toss, eyes wide, asking what restaurant I'd ordered from. When I told her I'd made them, she immediately grabbed a fork and helped me finish the batch right off the baking sheet.
Last Super Bowl, I doubled the recipe thinking I'd have leftovers for lunch the next day. By halftime, the platter was empty and my friends were actually licking the sticky sauce off their fingers. Now it's the most requested thing at every gathering.
Ingredients
- Chicken tenders: Fresh tenders work best, but slicing breasts into strips works perfectly too
- Salt and pepper: Don't skip this simple seasoning step
- All-purpose flour: Creates the perfect base for the egg to stick to
- Large eggs: Room temperature eggs coat more evenly
- Panko breadcrumbs: These Japanese breadcrumbs stay crunchier longer than regular ones
- Shredded coconut: Optional but adds this incredible subtle sweetness and extra crunch
- Sweet chili sauce: The backbone of the glaze, find it in the Asian aisle
- Soy sauce: Adds that essential salty umami depth
- Honey: Balances the heat and helps the sauce cling to the chicken
- Rice vinegar: Cuts through all that sweetness with brightness
- Sriracha: Adjust this to your heat tolerance level
- Fresh garlic and ginger: Grating the ginger releases way more flavor than mincing
- Fresh lime juice: Adds a pop of acidity that makes everything sing
- Fresh cilantro: The finishing touch that makes it taste restaurant quality
- Toasted sesame seeds: Toast them in a dry pan for 2 minutes first
Instructions
- Get your oven ready:
- Crank that oven to 220°C (425°F) and line your baking sheet with parchment paper for easy cleanup.
- Prep the chicken:
- Pat those strips completely dry with paper towels, then season generously with salt and pepper on all sides.
- Set up your breading station:
- Grab three shallow bowls and arrange them like an assembly line: flour first, then beaten eggs, then panko mixed with coconut.
- Coat each strip:
- Dredge in flour, shake off excess, dip in egg, then press firmly into the panko mixture until fully coated.
- Bake until golden:
- Arrange on your prepared sheet, give them a quick spray of oil, and bake for 20-25 minutes, flipping once halfway through.
- Make the magic sauce:
- While chicken bakes, whisk all sauce ingredients in a small saucepan and simmer for 3-4 minutes until slightly thickened.
- The toss:
- Drop those hot crispy fingers right into the sauce and toss gently until every piece is beautifully coated.
- Finish with flair:
- Arrange on your serving platter and sprinkle generously with cilantro and sesame seeds.
 Save
Save My niece who claims she hates anything spicy tried one of these and proceeded to eat five. When I asked about it later, she said 'the coconut makes it friendly.' Kids and their food logic.
Making It Your Own
Sometimes I swap the sriracha for sambal oelek when I want a chunkier texture to the sauce. Other times I'll add a splash of fish sauce for that authentic Thai depth. Both directions work beautifully.
Serving Ideas
I love serving these over jasmine rice with some quick pickled cucumbers on the side. The cool crunch balances the sticky sweet heat perfectly. Or just pile them high with plenty of napkins nearby.
Make Ahead Magic
You can bread the chicken strips up to 6 hours ahead and keep them refrigerated on a parchment lined tray. The sauce can be made 2 days in advance and gently reheated before tossing.
- Let refrigerated breaded chicken sit at room temp for 15 minutes before baking
- If the sauce gets too thick in the fridge, add 1 teaspoon warm water
- Never sauce the chicken until you're ready to serve or it will lose its crunch
 Save
Save These have become my go-to for feeding a crowd without spending hours in the kitchen. Something about that sticky sweet spicy combo just makes people happy.
Recipe FAQs
- → Can I make these ahead of time?
-
Bread the chicken up to 24 hours in advance and store refrigerated. Bake fresh when ready to serve, or bake fully and reheat at 200°C for 8-10 minutes. Toss in sauce just before serving to maintain crispiness.
- → What can I use instead of panko?
-
Regular breadcrumbs work, though they'll be less crispy. Crushed cornflakes or even crushed plain potato chips create excellent crunch. For a gluten-free version, use almond flour or crushed rice cereal.
- → How do I store leftovers?
-
Keep sauced chicken in an airtight container for up to 3 days. Reheat in a 180°C oven for 10 minutes or air fryer at 180°C for 5 minutes to restore crispiness. The texture softens slightly after refrigeration.
- → Can I make the sauce less spicy?
-
Reduce or omit the sriracha to mellow the heat. You can also add extra honey or a touch of brown sugar to balance the spice. The sweet chili sauce provides mild sweetness on its own.
- → What sides pair well with these?
-
Serve over jasmine rice, alongside Asian slaw, or with steamed bok choy and snap peas. They also work well in lettuce wraps or paired with a cool cucumber salad to balance the sweet-spicy flavors.
- → Can I deep fry instead of bake?
-
Absolutely. Heat oil to 180°C and fry breaded strips for 3-4 minutes until golden brown. Drain on paper towels before tossing in sauce. Deep frying yields extra crispy results.