 Save
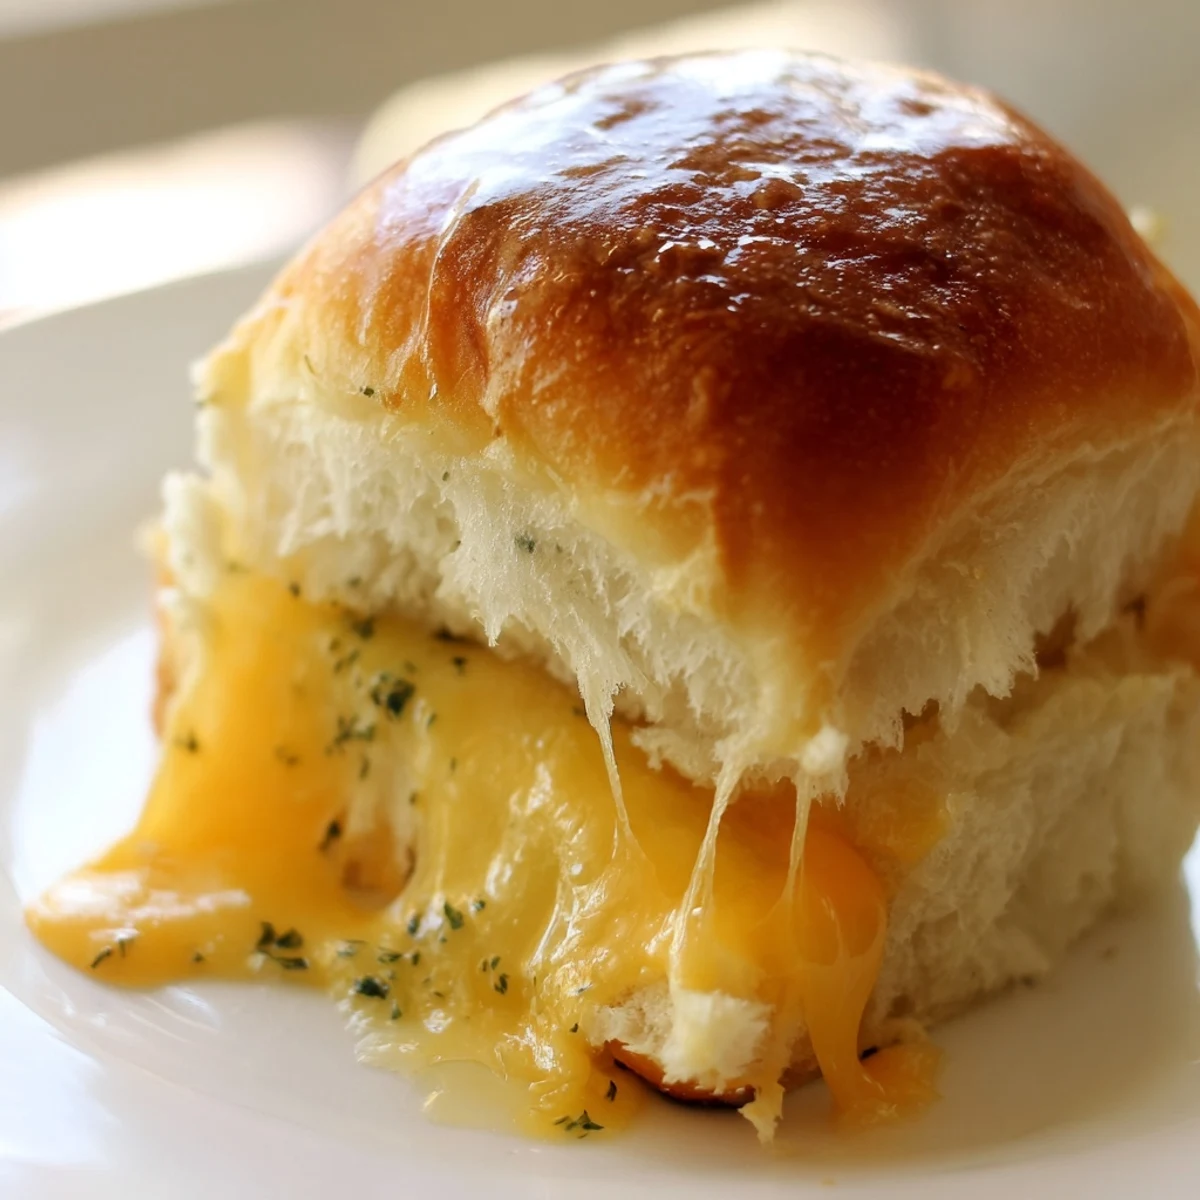
Save These bite-sized sliders combine sweet Hawaiian rolls with savory melted cheddar, brushed with garlic butter and baked until golden and crispy. The rolls stay connected while baking, making preparation effortless—just slice, fill, and pop in the oven.
The sweetness of the rolls pairs perfectly with sharp cheddar, while garlic butter adds rich flavor. Ideal for feeding a crowd, these handheld treats disappear fast at parties and gatherings.
The smell of butter and garlic hitting hot rolls in the oven stops everyone in their tracks. I started making these for game day gatherings, but now they appear at everything from Tuesday night dinner to midnight snack attacks when friends linger too long at the table.
Last winter my neighbor smelled these baking through our shared wall and actually knocked on the door to investigate. Now she shows up with empty containers every time I mention Im making them, claiming quality control testing purposes.
Ingredients
- 12 Hawaiian rolls: The natural sweetness makes these special and creates that perfect sweet-savory contrast that regular sandwich bread cannot achieve
- 12 slices cheddar cheese: Sharp cheddar cuts through the sweetness but mozzarella or provolone work beautifully for a milder taste
- 4 tablespoons unsalted butter, melted: Salted butter works too but adjust the added salt slightly to prevent overseasoning
- 1 teaspoon garlic powder: Fresh garlic can burn quickly so powder distributes flavor more evenly across the tops
- 1 teaspoon dried parsley: Mostly for color but adds a subtle herb note that complements the garlic
- 1/4 teaspoon salt: Just enough to enhance the garlic without overpowering the natural roll sweetness
Instructions
- Preheat and prep:
- Heat your oven to 350°F and line a baking sheet with parchment paper for easier cleanup later if the cheese bubbles over.
- Prepare the rolls:
- Slice the entire connected slab of Hawaiian rolls horizontally at once like you are making a giant sandwich then keep them attached.
- Add the cheese:
- Lay cheese slices across the bottom roll halves letting them drape naturally over the edges to ensure full coverage.
- Reassemble:
- Place the tops back on and press gently so everything settles together before the butter mixture goes on.
- Make the garlic butter:
- Whisk together melted butter garlic powder parsley and salt until completely combined.
- Brush generously:
- Use a pastry brush to coat the roll tops evenly getting into all the crevices for maximum golden color.
- Bake to perfection:
- Bake 12 to 15 minutes until the cheese bubbles and the tops turn deep golden brown.
- Separate and serve:
- Let them cool just a few minutes then use a sharp knife to cut between individual rolls and serve while still warm.
 Save
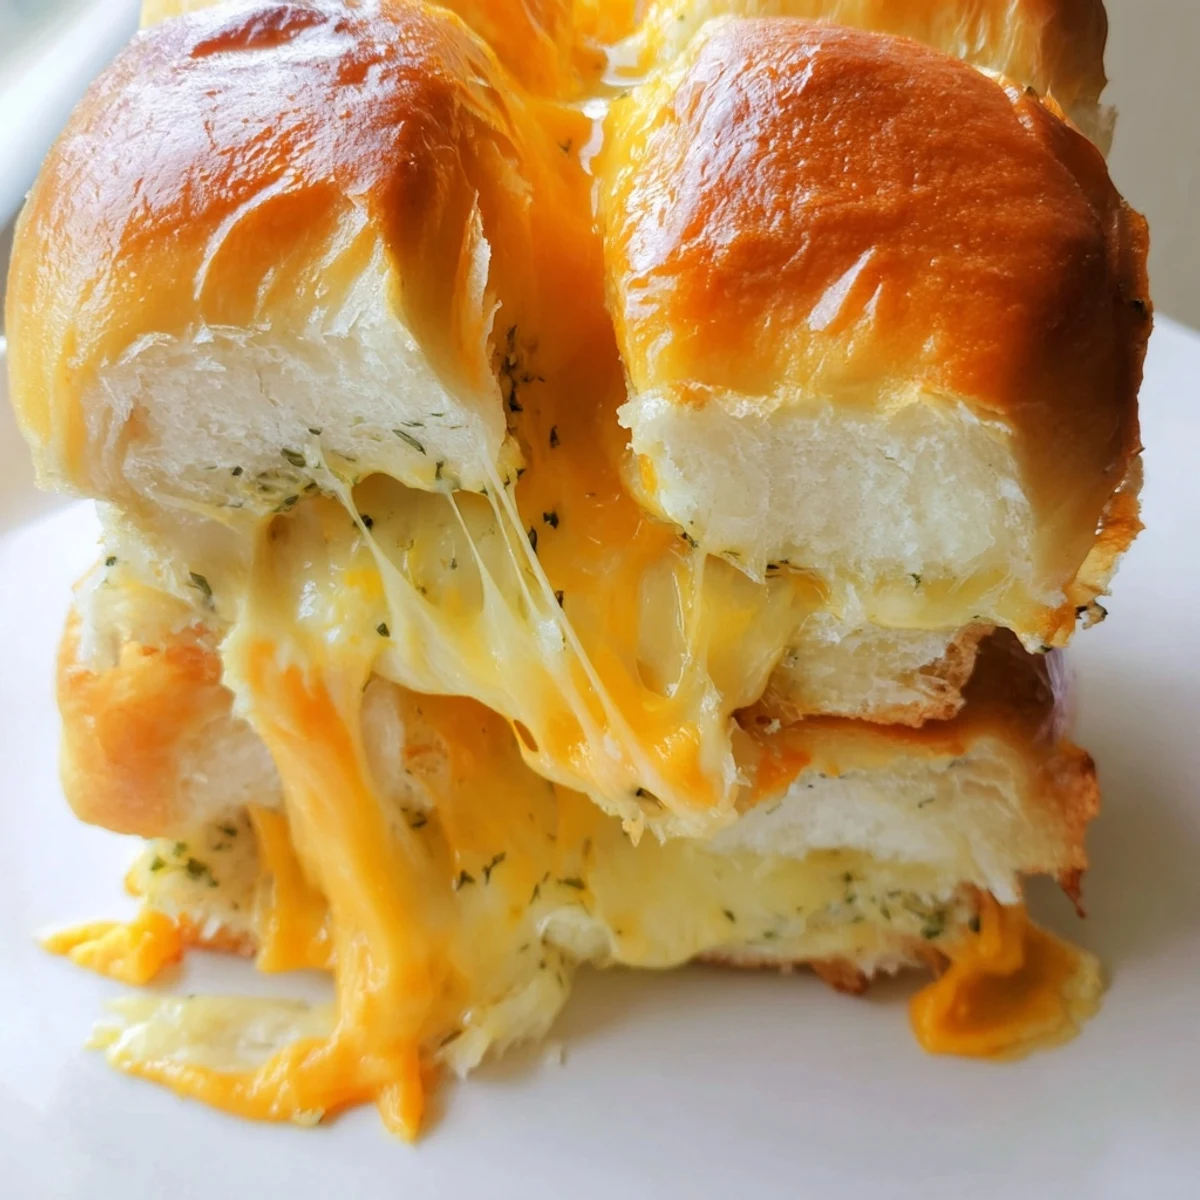
Save These have become the thing my actual child asks for instead of birthday cake, which still surprises me every single year. Something about the handheld size and the way the cheese stretches when you pull them apart makes everyone feel like a kid again.
Making Ahead
I have assembled these hours before guests arrived and kept them covered on the counter then added the butter mixture right before baking. The cheese layer stays perfectly fine and actually allows time for flavors to meld.
Cheese Variations
Pepper jack adds a gentle heat that works beautifully with the sweet rolls. Sometimes I mix mozzarella with parmesan for that classic pizza flavor profile that people cannot quite identify but love immediately.
Serving Suggestions
These disappear fastest when served alongside a warm bowl of tomato soup for dipping. The combination transforms a simple appetizer into an actual comfort meal that feels like a hug.
- Cut them in half for smaller bites if serving as part of a larger appetizer spread
- Have extra napkins ready because the cheese gets gloriously messy
- They reheat surprisingly well in a 300°F oven for about 5 minutes if you somehow have leftovers
 Save
Save These little sandwiches have saved more last-minute gatherings and weeknight dinner emergencies than I can count. Simple familiar food made just slightly special is often exactly what everyone needs.
Recipe FAQs
- → Can I make these ahead of time?
-
Assemble the sliders up to 4 hours before baking, cover tightly, and refrigerate. Add the garlic butter just before baking for best results.
- → What other cheeses work well?
-
Mozzarella creates extra stretch, provolone adds mild flavor, Swiss brings nuttiness, or try pepper jack for a spicy kick. Mix cheeses for custom flavor combinations.
- → How do I store leftovers?
-
Keep in an airtight container in the refrigerator for 2-3 days. Reheat in a 350°F oven for 5-8 minutes to restore crispiness. Microwaving makes them soggy.
- → Can I freeze these before baking?
-
Yes! Assemble without butter, wrap tightly in plastic and foil, and freeze for up to 1 month. Thaw overnight, add butter, and bake as directed.
- → How many rolls per person?
-
Plan for 2-3 sliders per person as appetizers, or 4-6 if serving as a main course with soup or salad. The batch yields 12 total pieces.
- → Can I add meat?
-
Thinly sliced ham, turkey, or cooked bacon layer perfectly between the cheese. Use thinly sliced deli meat to maintain proper melting and texture.