 Save
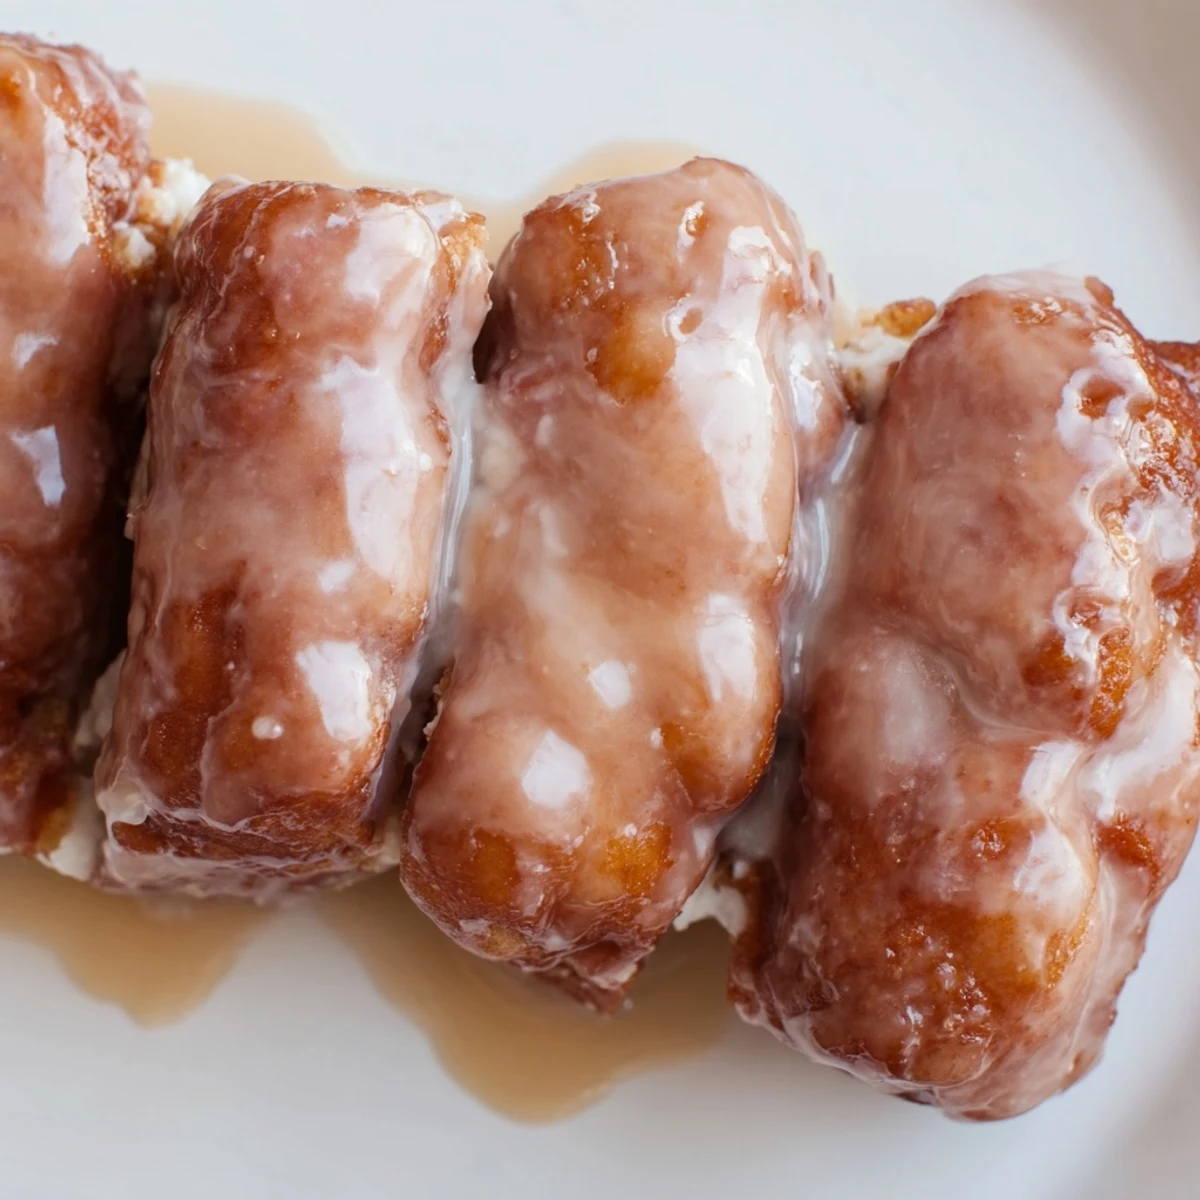
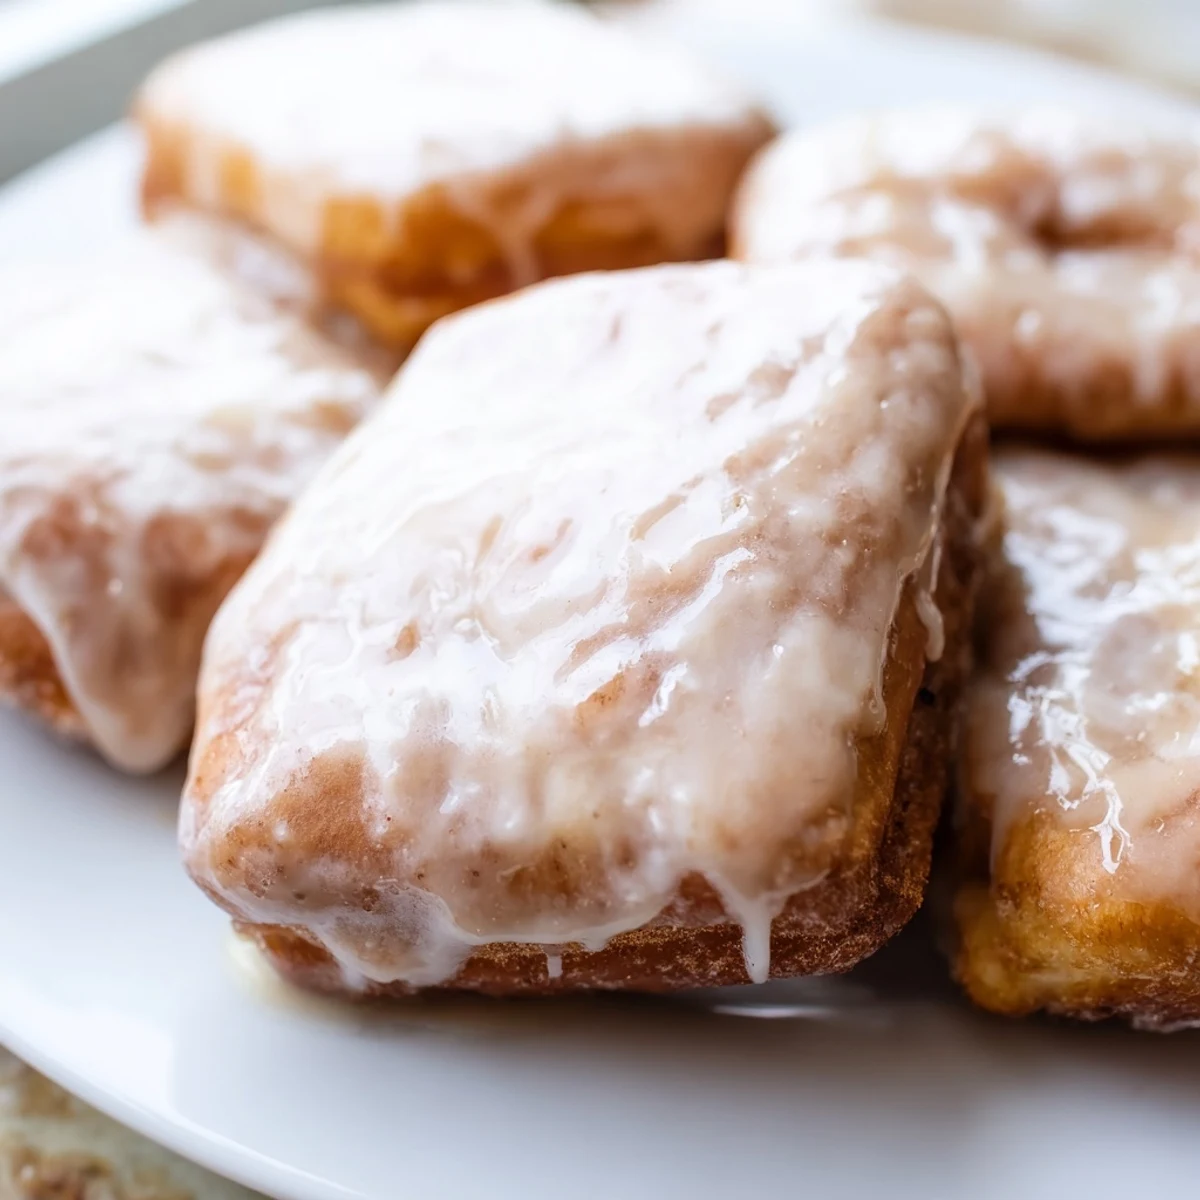
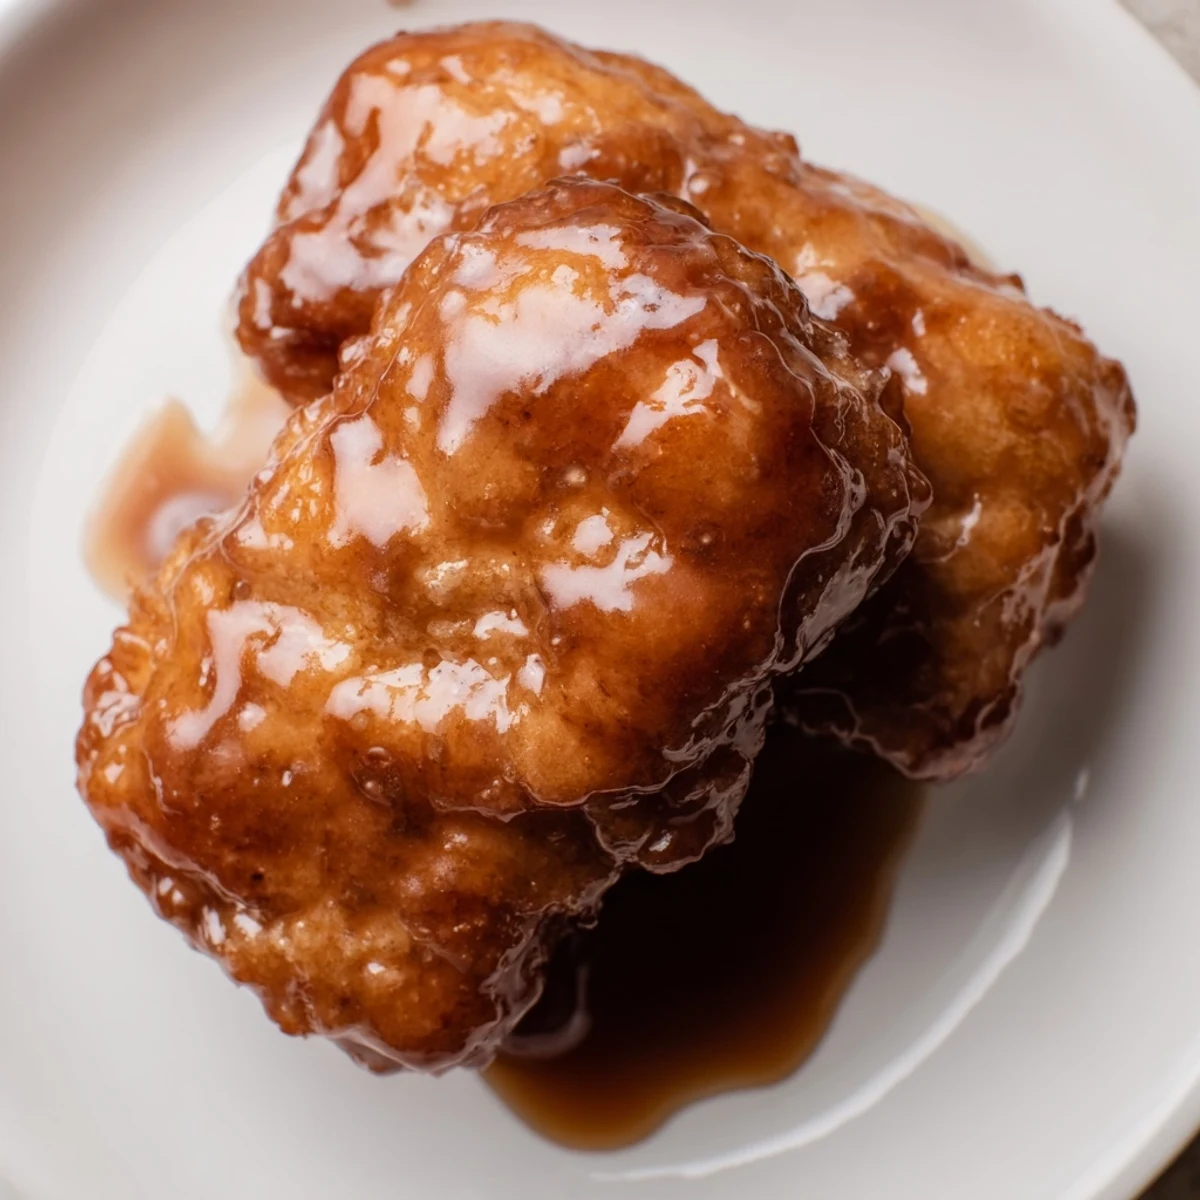
Save These soft, pillowy bars feature the classic flavors of yeast-raised donuts with the irresistible sweetness of real maple syrup. The bakery-style treats are topped with a rich maple glaze that perfectly complements the tender, golden-brown fried dough. Ideal for breakfast or as an indulgent afternoon snack, these bars offer the perfect balance of sweet and comforting flavors.
My tiny apartment kitchen still smells like maple syrup and warm dough the morning after I first attempted these. I'd been craving bakery-style donuts but didn't want the mess of cutting out dozens of rings, so bars seemed like the perfect lazy compromise. The first batch came out slightly lopsided, but that first bite of still-warm dough with pooling glaze made me forget about appearances entirely. Now they've become my go-to whenever I need something that feels impressive but actually comes together pretty easily.
Last fall, my sister came over unexpectedly when I had a batch rising on the counter. She ended up staying for three hours, just watching the dough puff up and hovering near the fryer like a patient hawk. We ate them warm on the floor of my kitchen, burnt fingers and sticky chins, talking about everything and nothing. That's the thing about homemade donuts, they turn an ordinary Tuesday into something worth remembering.
Ingredients
- All-purpose flour: Gives the dough structure while keeping it tender and light
- Active dry yeast: The magic ingredient that creates those signature air pockets inside
- Whole milk: Adds richness and helps the dough develop a soft, pillowy crumb
- Unsalted butter: Contributes to both flavor and that tender, melt-in-your-mouth texture
- Real maple syrup: Use the good stuff here, it's the star of the glaze
- Powdered sugar: Creates that thick, glossy coating that sets up beautifully
- Vegetable oil: Neutral oil won't compete with the delicate maple flavor
Instructions
- Wake up the yeast:
- Combine warm milk and water with yeast in your mixing bowl and let it foam up for about 5 minutes, giving it time to come alive before moving forward
- Build the dough base:
- Stir in the sugar, melted butter, eggs, and salt until everything's incorporated, then slowly add your flour while mixing
- Knead until smooth:
- Work the dough for 5 to 7 minutes until it feels like silk and springs back when you poke it gently
- Let it rise:
- Place the dough in a greased bowl, cover it, and find a warm corner where it can double in size over the next hour or so
- Shape into bars:
- Roll the dough to half an inch thick and cut into rectangles about 4 inches long and 1.5 inches wide
- Second rise:
- Set your bars on parchment paper and let them puff up again for 30 to 40 minutes until they look pillowy and relaxed
- Heat the oil:
- Get your oil to 350 degrees, using a thermometer to be sure since temperature makes all the difference
- Fry to golden:
- Cook the bars for 1 to 2 minutes per side until they're deep golden, then drain them on paper towels
- Whisk the glaze:
- Combine powdered sugar with maple syrup, milk, vanilla, and salt until completely smooth
- Dip and set:
- While bars are still slightly warm, dip the tops in glaze and let them firm up on a wire rack
 Save
Save My friend swears these are better than anything from our local donut shop, and honestly, I'm starting to agree with her. Something about making them yourself, the whole house smelling like maple, watching them bob in the hot oil, it's just magic.
Getting The Rise Right
Yeast can be finicky, and I've definitely had my share of dough that refused to budge. Find the warmest spot in your kitchen, maybe near a sunny window or on top of a running dryer. If your house runs cool, you can create a little proofing box by turning your oven light on and letting the dough rise inside with the door closed. The warmth from the bulb is usually just right.
Frying Without Fear
Deep frying intimidates so many home cooks, but it's surprisingly forgiving once you get the hang of it. Use a heavy pot to maintain temperature, and never walk away while the oil is heating up. I keep a bowl of baking soda nearby just in case, though honestly, the biggest danger is eating too many while they're still hot.
Perfect Maple Glaze Every Time
The glaze consistency is everything, too thick and it clumps, too thin and it drips right off. Start with less milk than you think you need, adding more gradually until it coats a spoon but still flows slowly. If you want that professional look, glaze them while they're still warm, the heat helps everything adhere beautifully.
- For extra maple depth, add a half teaspoon of maple extract to the glaze
- If your glaze starts to set up too quickly, whisk in another teaspoon of milk
- These disappear fast, so consider doubling the recipe if you're feeding a crowd
 Save
Save There's something deeply satisfying about pulling a tray of these from the fryer, watching the glaze set up all glossy and perfect. Hope they bring as much joy to your kitchen as they've brought to mine.
Recipe FAQs
- → Can I make these bars without frying?
-
Yes, you can bake the bars instead of frying. Preheat your oven to 375°F (190°C) and bake for 12-15 minutes until golden brown, then proceed with the maple glaze as directed.
- → How can I enhance the maple flavor?
-
For a stronger maple flavor, add 1/2 teaspoon of maple extract to the glaze mixture. This will intensify the maple notes without altering the texture.
- → What's the best way to store these bars?
-
Store the bars in an airtight container at room temperature for up to 2 days. They're best enjoyed the same day they're made for optimal freshness and texture.
- → Can I use different types of syrup?
-
While maple syrup provides the authentic flavor, you can substitute with pancake syrup or honey. However, pure maple syrup offers the best flavor profile for this recipe.
- → Do I need a stand mixer for this recipe?
-
A stand mixer is helpful but not essential. You can mix and knead the dough by hand using a large mixing bowl and your hands or a dough whisk.