 Save
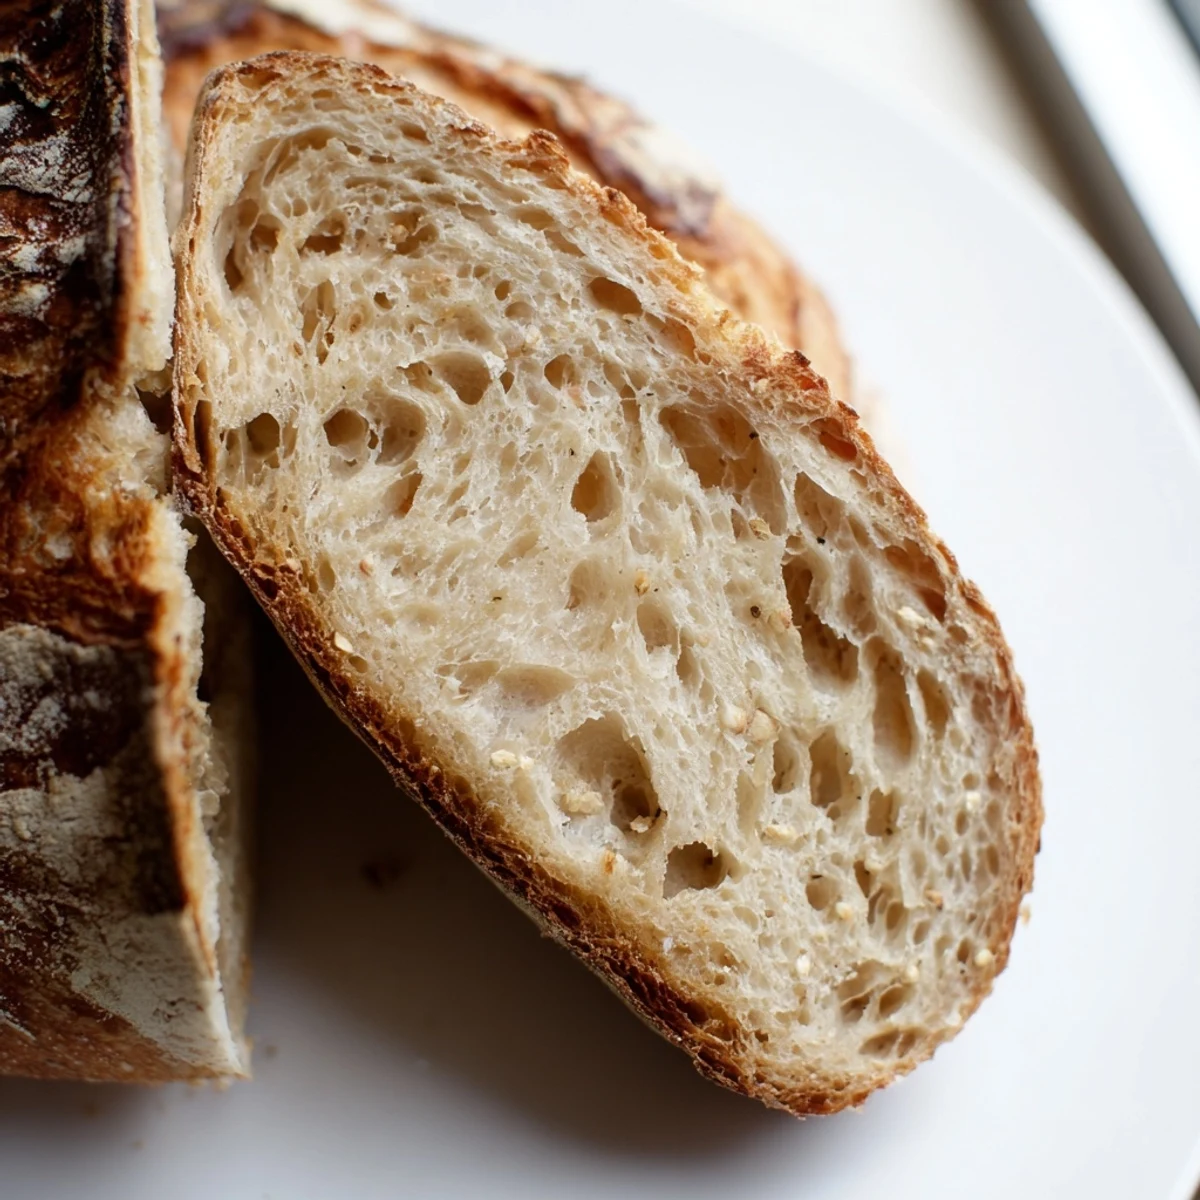
Save Master the art of traditional sourdough baking with wild yeast fermentation. This timeless method produces a crackling golden crust protecting an open, airy crumb with distinctive tangy notes. The process combines simple ingredients—flour, water, salt, and active starter—through patient fermentation and careful handling. Expect deeply developed flavors and professional bakery results from your home kitchen.
My first sourdough starter was a gift from a neighbor who had been nurturing hers for seven years. She handed it over in a glass jar with a handwritten note about feeding schedules and told me it was like having a pet that didnt need walking. That night, I sat at my kitchen table watching bubbles form through the glass, completely mesmerized by the idea that wild yeast floating around my apartment had found a home.
Last winter, I made this bread every Sunday for three months straight. My roommates started timing their mornings around the bake, wandering into the kitchen in pajamas when the Dutch oven lid came off. Theres something deeply satisfying about turning flour, water, and salt into something so alive and transforming your home into the place everyone wants to be.
Ingredients
- 100 g active sourdough starter: This living culture does all the heavy lifting, so make sure its fed and bubbling enthusiastically before you begin
- 375 g bread flour: High protein content creates that signature chewy crumb structure we all chase
- 25 g whole wheat flour: Adds complexity and a subtle nutty note that rounds out the flavor
- 275 g water room temperature: Hydration levels affect everything, so measure precisely for consistent results
- 10 g sea salt: Dont skip this, as it controls fermentation and deepens the overall taste
Instructions
- Autolyse the dough:
- Mix bread flour, whole wheat flour, and water until just combined, then cover and let rest for 1 hour to develop gluten structure
- Incorporate starter and salt:
- Add starter and salt to your rested dough, mixing by hand until fully incorporated and smooth
- Bulk fermentation:
- Cover and let ferment at room temperature for 4 to 5 hours, performing stretch and folds every 30 to 45 minutes to build strength
- Pre shape the loaf:
- Turn dough onto a floured surface, shape gently into a round, cover, and rest for 20 minutes
- Final shaping:
- Shape into a tight round loaf and place seam side up in a well floured proofing basket
- Proof the dough:
- Cover and let rise at room temperature for 2 to 3 hours, or refrigerate overnight for deeper sour flavor
- Preheat your oven:
- Place a Dutch oven inside and preheat to 250°C (480°F) for at least 30 minutes to get that oven spring
- Score and bake:
- Invert dough onto parchment, score with a sharp blade, then bake covered for 20 minutes before uncovering and reducing temperature to 220°C (430°F) for 25 more minutes
- Cool completely:
- Let the bread rest on a wire rack until fully cooled to avoid gummy texture inside
 Save
Save This bread became my go to housewarming gift after I realized how rarely people receive something homemade anymore. I delivered a loaf to my friend Sarah the day she moved into her first apartment, and we sat on the floor among unpacked boxes just tearing off pieces with our hands, no plates necessary.
Understanding Your Starter
Starter behavior changes with seasons and kitchen conditions, so dont get discouraged if your timing needs adjustment. Ive learned to follow the doughs cues rather than strict schedules, watching for bubbles and size changes instead of watching the clock. The most patient bakers tend to make the best bread, and some days your starter will just be slower than others.
The Secret to Great Scoring
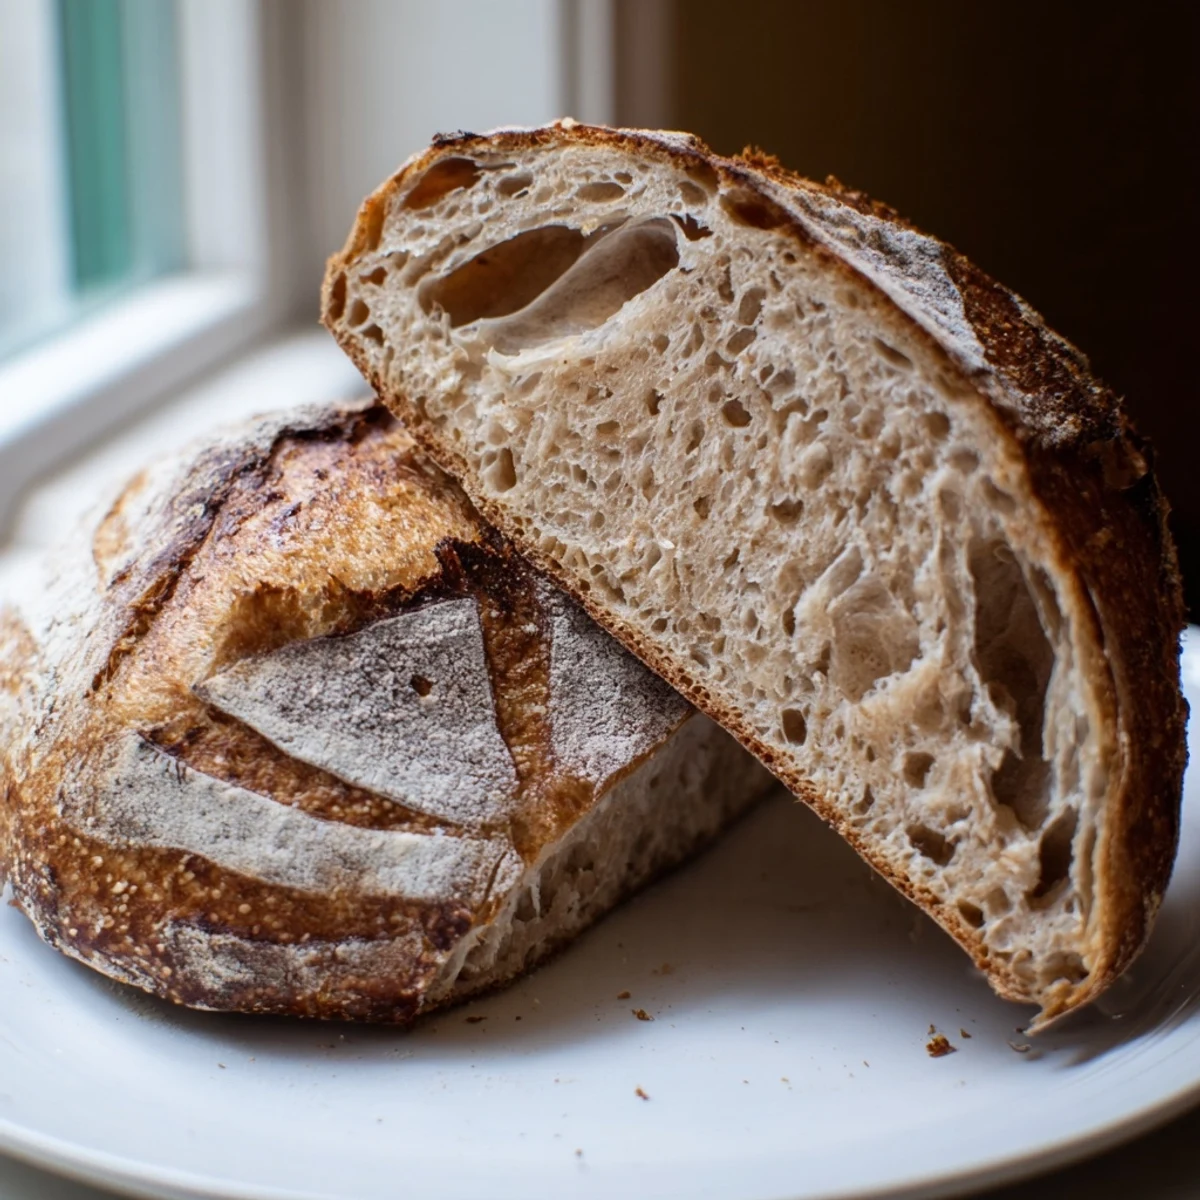
A sharp blade makes all the difference between an artistic bloom and a ragged tear. I keep a dedicated razor blade just for bread, and I practice my scoring pattern on parchment paper first when Im trying something new. The angle matters almost as much as the cut, holding the lame at about 45 degrees for that beautiful ear that forms during baking.
Storing and Refreshing
Fresh sourdough stays beautiful on the counter for two days wrapped in a cloth bag. After that, I slice what remains and freeze it, toasting slices directly from frozen which somehow makes them taste even better. Never store bread in the refrigerator unless you want it to stale faster, a lesson I learned the hard way after losing a particularly perfect loaf to the cold.
- Revive day old crust with a 10 minute stint in a 180°C oven
- Stale sourdough makes the most incredible French toast youve ever tasted
- Save your heels for making breadcrumbs that will transform any pasta dish
 Save
Save There is something profoundly honest about making bread with just flour, water, and salt. No shortcuts, no tricks, just patience and attention paying off in the most delicious way possible.
Recipe FAQs
- → What makes sourdough different from regular bread?
-
Sourdough uses wild yeast naturally present in flour rather than commercial yeast. This creates lactic acid during fermentation, giving the loaf its characteristic tangy flavor and longer shelf life. The slow fermentation also breaks down gluten, making nutrients more accessible and improving digestibility.
- → How long does it take to make sourdough?
-
The entire process spans 14–20 hours. Active preparation takes about 25 minutes, while baking requires 45 minutes. The remaining time involves fermentation (4–5 hours) and proofing (2–3 hours or overnight). Refrigerating overnight develops deeper flavor and makes scheduling more flexible.
- → Can I skip the Dutch oven?
-
A Dutch oven creates steam essential for crust development. Without one, place a metal pan on the bottom oven rack while preheating, then pour ice cubes into it immediately after loading the dough. This mimics the steam environment, though results may vary slightly.
- → Why did my loaf turn out dense?
-
Dense results usually stem from underproofed dough, insufficient starter activity, or inadequate gluten development. Ensure your starter doubles in size within 4–6 hours after feeding. Perform adequate stretch and folds during bulk fermentation. The dough should increase by 50–75% and show bubbles on the surface before shaping.
- → How should I store fresh sourdough?
-
Store completely cooled bread in a paper bag or wrapped in a cotton cloth at room temperature for up to 3 days. Avoid plastic bags, which trap moisture and soften the crust. For longer storage, slice and freeze in an airtight container. Reheat frozen slices in a toaster or oven at 180°C for 5 minutes.
- → What flour works best for sourdough?
-
Bread flour with 11–13% protein creates strong gluten networks for optimal rise. Whole wheat or rye flour adds flavor and fermentation activity but shouldn't exceed 20–30% of total flour. High-extraction flours work well. Always use flour without additives like ascorbic acid or conditioners.