 Save
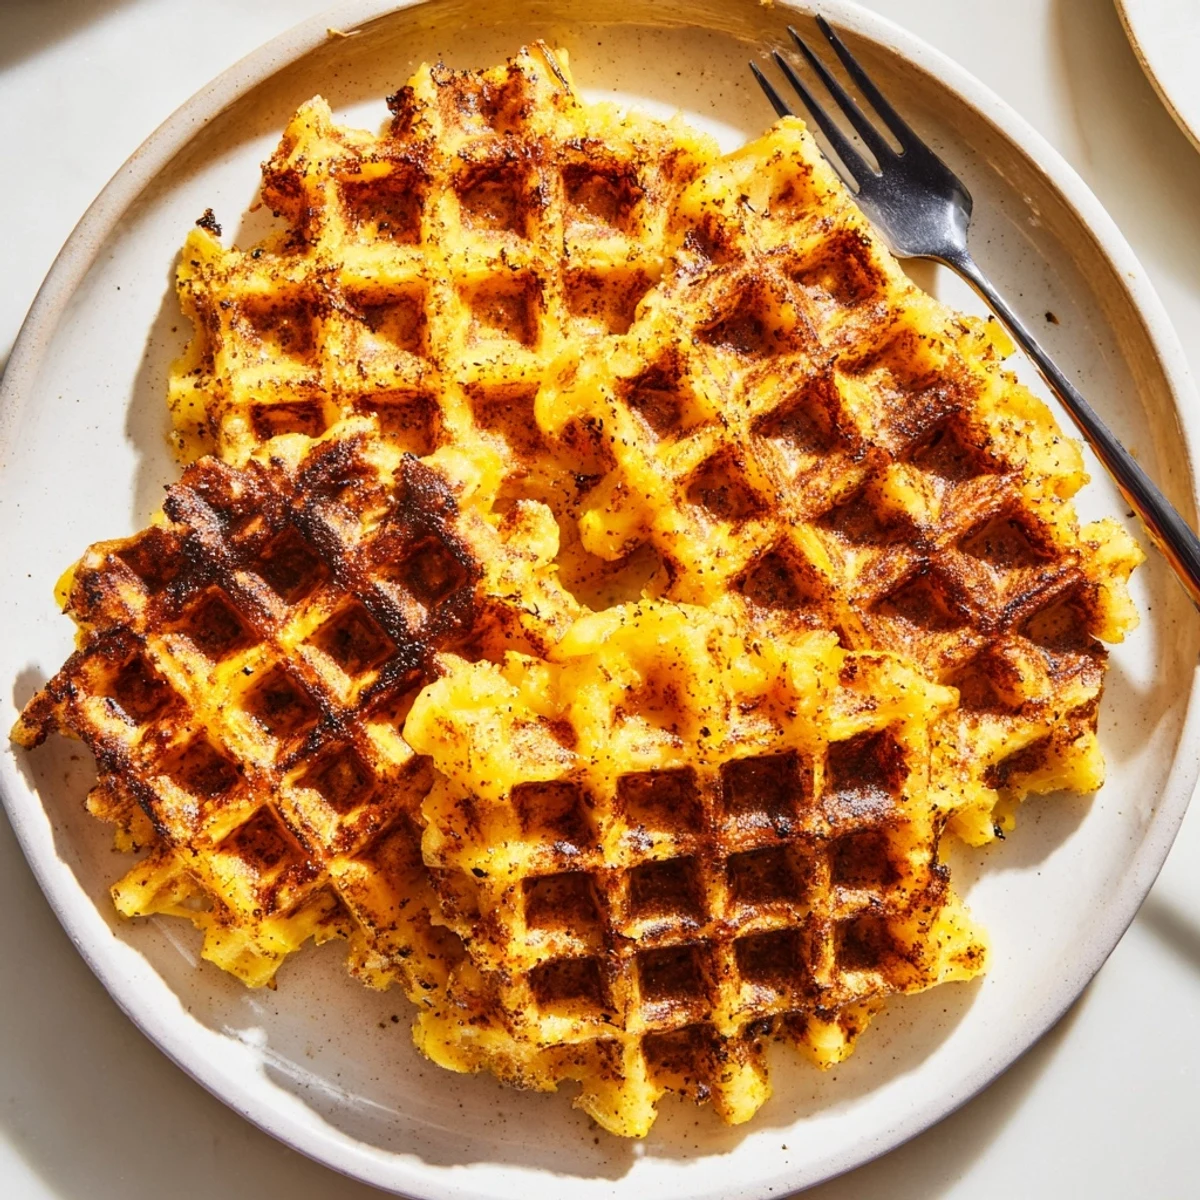
Save Transform russet potatoes into golden, crispy waffle-shaped hashbrowns using your waffle iron. The grated potato mixture combines onion, egg, and seasonings for perfectly seasoned sides that cook in just 10-12 minutes per batch.
Squeeze excess moisture from potatoes for maximum crunch, then spread evenly across the preheated iron. The waffle pattern creates extra surface area for superior crispiness compared to traditional pan-frying methods.
Last Sunday morning, I stood in my kitchen staring at a bag of potatoes and a waffle iron, wondering what would happen if they met. My husband walked in, looked at the setup, and said I had either lost my mind or discovered something brilliant. Turns out it was the latter. Those first crispy, golden squares that emerged made us both forget we were even supposed to be making traditional hashbrowns.
My teenage daughter, who normally claims to hate breakfast foods, wandered into the kitchen when she smelled the butter and onions hitting the hot iron. She skeptically tried one square, then promptly ate three more standing right there at the counter. Now she specifically requests waffle iron hashbrowns for weekend breakfasts, calling them breakfast pizzas because of their perfectly portioned shape.
Ingredients
- Potatoes: Russets are essential here because their high starch content creates that exterior crunch while staying fluffy inside, and peeling them ensures even browning.
- Onion: Finely grated yellow onion melts into the potatoes, providing sweetness in every bite without any raw onion texture.
- Egg and flour: These two work together as binding agents that keep the hashbrowns from falling apart when you open the waffle iron.
- Garlic powder: Unlike fresh garlic, powder distributes evenly throughout the mixture and wont burn during the longer cooking time.
- Butter and oil: Using both gives you the flavor of butter with the high-heat stability needed for deep crisping.
Instructions
- Preheat your waffle iron:
- Set it to medium-high heat and let it fully come to temperature while you prepare the potatoes, about 5 minutes.
- Prepare the potatoes:
- Grate them using the large holes of a box grater, then wrap them tightly in a clean kitchen towel and squeeze until you have extracted as much liquid as possible, about 2 to 3 minutes of vigorous squeezing.
- Mix the batter:
- In a large bowl, combine the squeezed potatoes with grated onion, egg, flour, garlic powder, salt, and pepper, mixing until everything is evenly coated.
- Add richness:
- Stir in the melted butter until incorporated throughout the mixture, which helps achieve that golden color.
- Grease the iron:
- Lightly brush both sides of the preheated waffle iron with vegetable oil or nonstick spray, getting into all the crevices.
- Cook the hashbrowns:
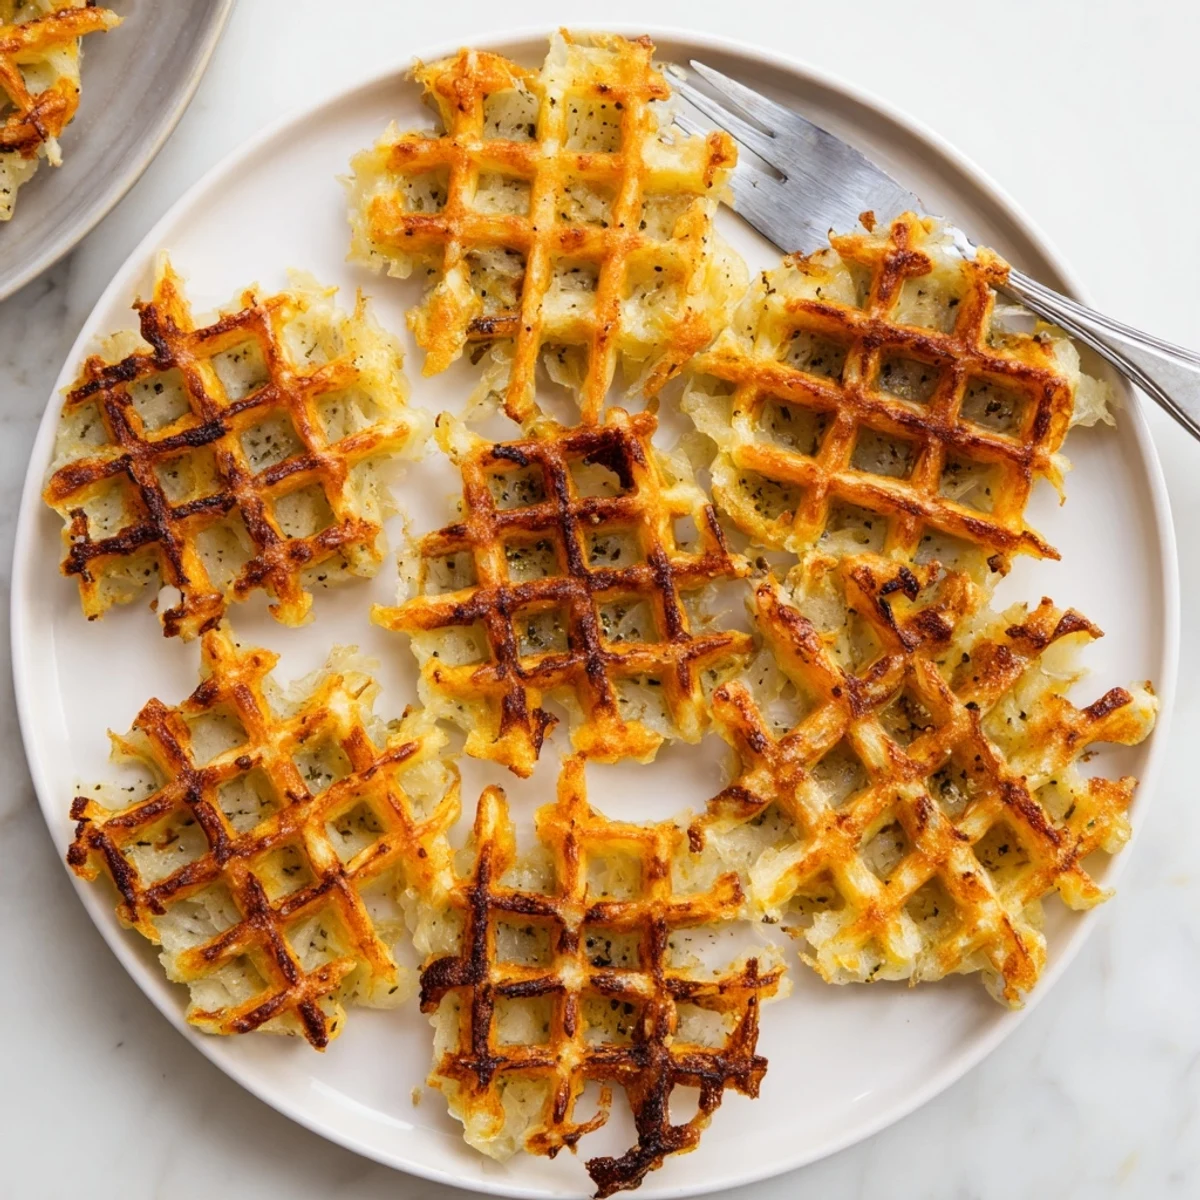
- Spread an even layer of potato mixture over the bottom plate, not quite reaching the edges, then close and cook for 10 to 12 minutes until deep golden brown.
- Remove and repeat:
- Use a fork to carefully lift the hashbrown onto a plate, then repeat with the remaining mixture, regreasing the iron as needed.
- Serve immediately:
- These are best enjoyed right away while the exterior is at its crispest and the interior is steaming hot.
 Save
Save The first time I served these at a family brunch, my brother-in-law, who is notoriously particular about his hashbrowns, actually asked what restaurant I had ordered them from. When I showed him the waffle iron, he looked at me like I had revealed a magic trick. Now every family breakfast includes a station where people can customize their own hashbrown squares with different toppings.
Making Them Ahead
You can grate and squeeze the potatoes up to 4 hours ahead, storing them in a bowl of cold water in the refrigerator to prevent oxidation. Just drain and squeeze them again before mixing with the other ingredients.
Customization Ideas
Mix shredded sharp cheddar or grated Parmesan directly into the potato mixture for an extra savory version. For a spicy kick, add diced jalapeños or a pinch of cayenne pepper to the batter.
Serving Suggestions
These hashbrowns pair perfectly with fried or poached eggs, as the waffle shape creates perfect little pockets for the yolks. They also work beautifully as a base for eggs Benedict or topped with smoked salmon and crème fraîche.
- Keep cooked hashbrowns warm in a 200°F oven on a wire rack so they stay crispy while you finish the remaining batches.
- Try swapping half the russet potatoes for sweet potatoes for a colorful variation that pairs well with maple syrup.
- If your waffle iron tends to stick, season it between uses by rubbing with a paper towel dipped in vegetable oil while still warm.
 Save
Save Who knew a waffle iron could become your breakfast secret weapon, turning simple potatoes into something that feels like a weekend treat?
Recipe FAQs
- → Why squeeze liquid from grated potatoes?
-
Removing excess moisture ensures the hashbrowns become crispy rather than soggy. The starch releases liquid when grated, and squeezing this out allows the potatoes to brown properly and develop that desirable crunch.
- → Can I prepare the potato mixture ahead?
-
Yes, grate and squeeze the potatoes up to 4 hours ahead. Store in the refrigerator covered with water to prevent oxidation, then squeeze dry again before mixing with other ingredients and cooking.
- → What potatoes work best for waffle iron hashbrowns?
-
Russet potatoes are ideal due to their high starch content, which creates the crispiest results. Yukon Gold potatoes offer a creamier texture but may be slightly less crunchy.
- → How do I prevent sticking in the waffle iron?
-
Preheat the iron thoroughly, then grease generously with vegetable oil or nonstick spray. The melted butter in the mixture also helps prevent sticking while adding flavor.
- → Can I freeze leftover cooked hashbrowns?
-
Cooled hashbrowns freeze well for up to 3 months. Reheat in a 400°F oven or toaster oven until hot and crispy to restore texture. Avoid microwaving as they become soft.