 Save
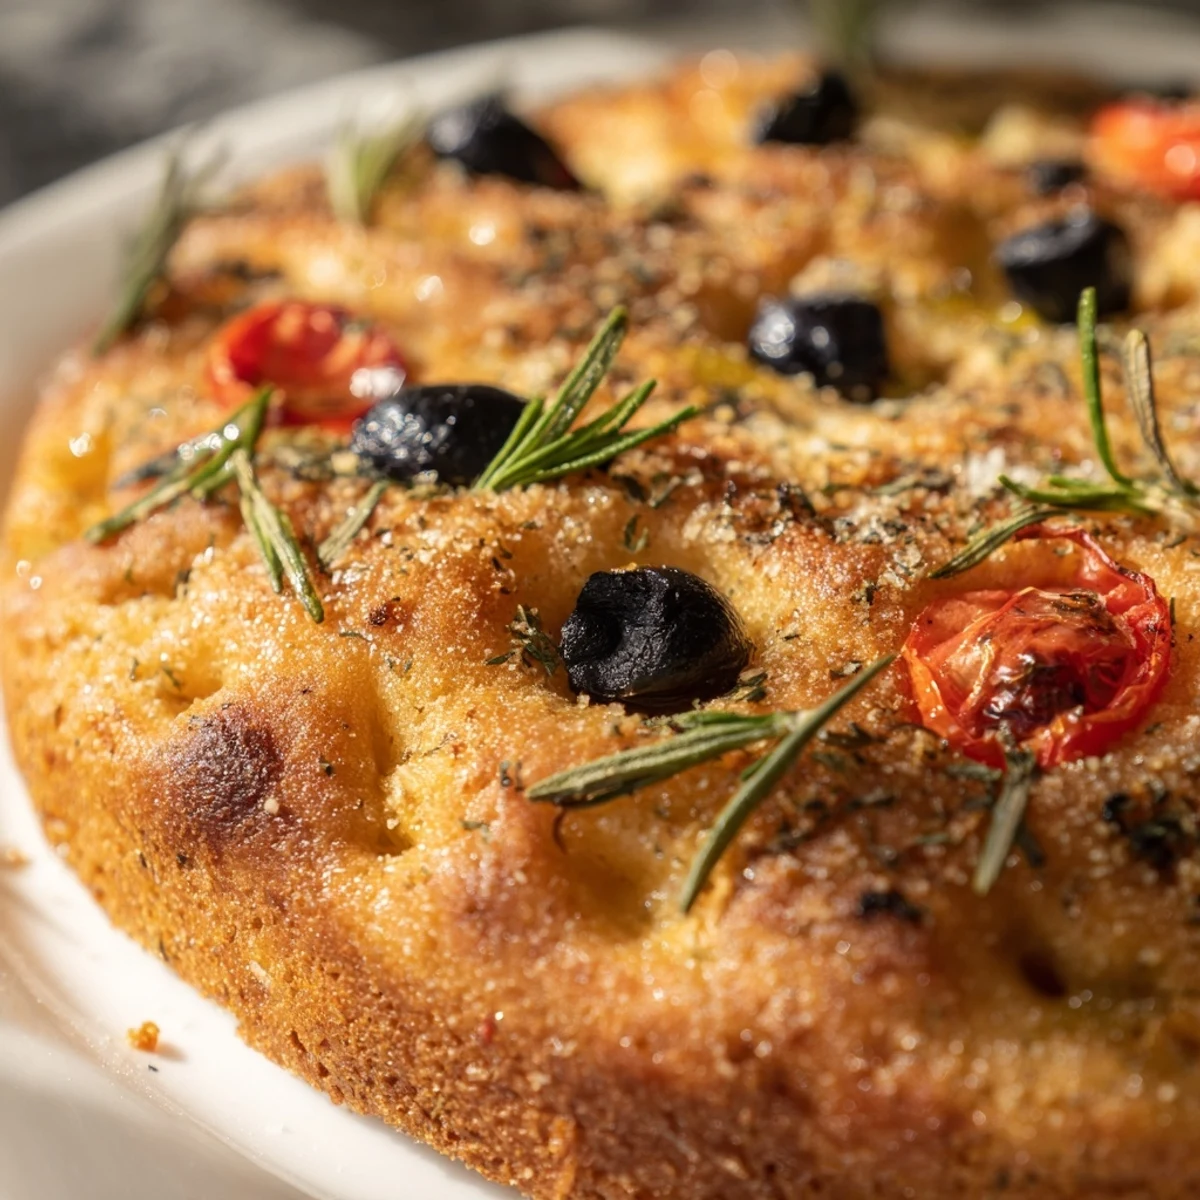
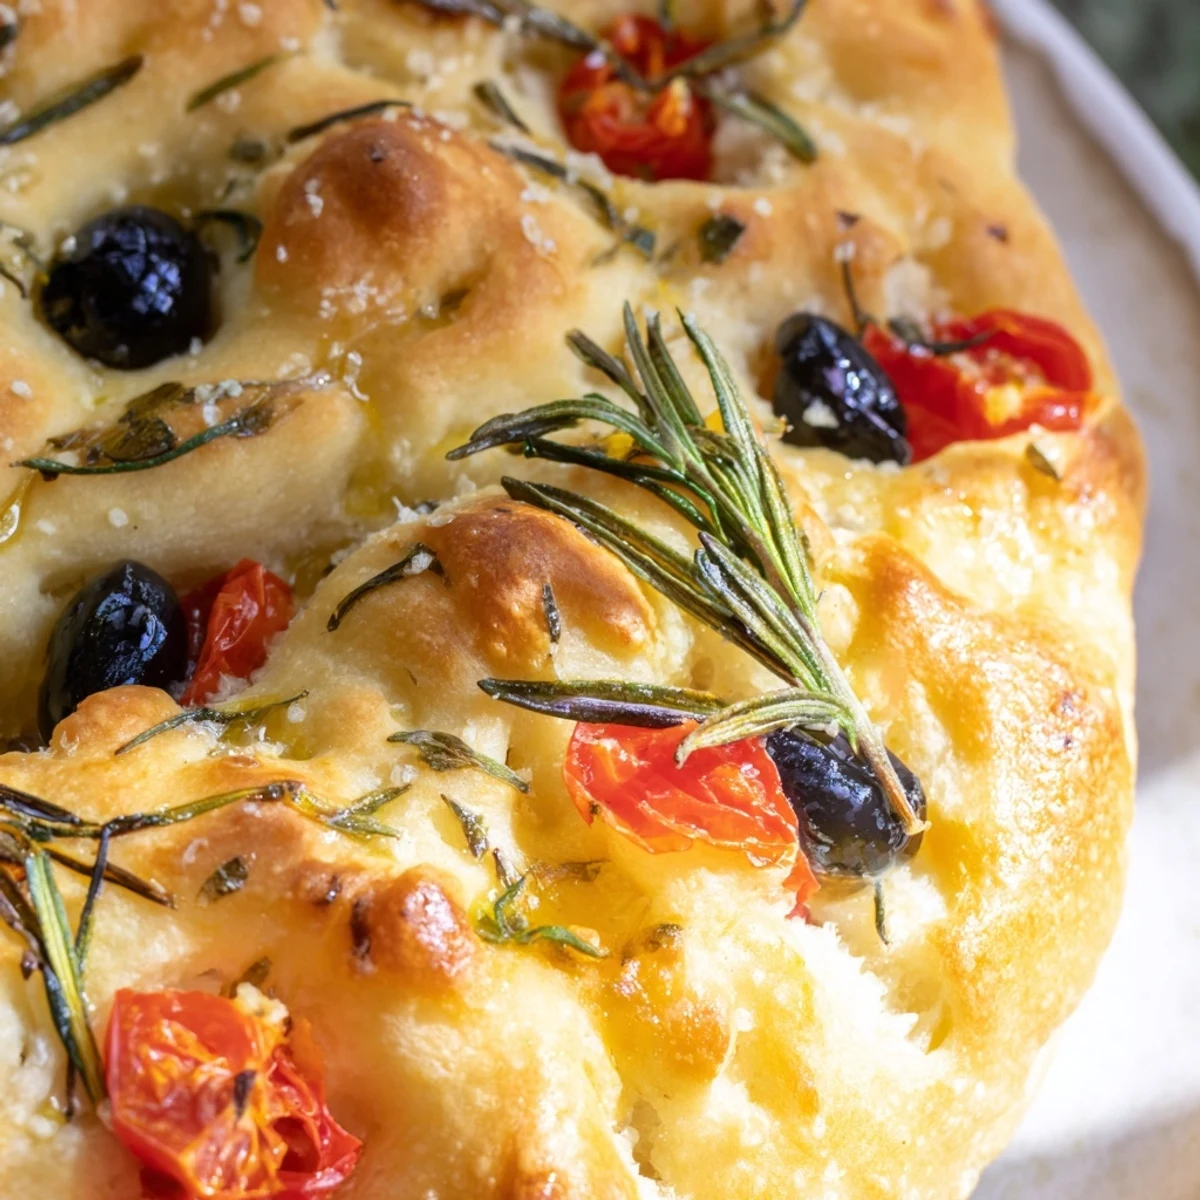
Save These golden mini focaccia deliver perfectly crispy exteriors with light, airy interiors infused with rosemary and olive oil. The individual portions are ideal for sharing, featuring dimpled surfaces topped with flaky salt, fresh herbs, and optional cherry tomatoes or olives. Baking at high heat creates that signature crunch while keeping the inside tender and aromatic.
The smell of rosemary hitting hot olive oil still takes me back to my tiny apartment kitchen, where I first attempted focaccia and accidentally set off the smoke detector. These mini versions came later, discovered when I needed something portable for a picnic but couldn't bear to sacrifice those signature dimples and that impossible crisp-chewy ratio. Now they're my go-to for everything from dinner parties to midnight snacks.
Last summer I made these for a rooftop gathering with friends, setting up a little assembly line so people could customize their own toppings. We ended up with everything from classic tomatoes and olives to experimental bits of goat cheese and honey. Watching everyone hover around the cooling rack, picking at still-warm pieces while the sun went down, reminded me that some foods are just meant to be shared fresh out of the oven.
Ingredients
- All-purpose flour: Creates the perfect structure for that pillowy interior while still allowing the crust to crisp up beautifully
- Lukewarm water: Should feel like bath temperature to activate the yeast without killing it
- Active dry yeast: The magic behind those gorgeous air pockets and rise
- Fine sea salt: Dissolves evenly through the dough for consistent seasoning
- Extra-virgin olive oil: Adds that signature Mediterranean richness and helps achieve the golden crust
- Sugar: Feeds the yeast and helps with browning
- Flaky sea salt: Provides those satisfying crunchy bursts on top
- Fresh rosemary: Woody and aromatic, this herb transforms in the oven into something almost savory-sweet
- Cherry tomatoes and olives: Optional toppings that add brightness and brine
Instructions
- Wake up the yeast:
- Combine lukewarm water, sugar, and yeast in a large bowl, letting it sit for 5 minutes until it develops a foamy layer on top
- Mix the dough:
- Add flour, salt, and 1 tbsp olive oil to the yeast mixture, stirring until it forms a shaggy, sticky dough that pulls away from the sides of the bowl
- Knead until smooth:
- Transfer dough to a lightly floured surface and knead for 5 to 7 minutes until it transforms from rough and tacky to smooth and elastic
- Let it rise:
- Place dough in a lightly oiled bowl, cover with a damp cloth, and let rise in a warm place for 1 hour until doubled in size
- Prep for baking:
- Preheat oven to 425°F (220°C) and line a baking sheet with parchment paper
- Shape individual rounds:
- Punch down risen dough and divide it into 8 equal pieces, then shape each piece into a small round or oval and place on the prepared baking sheet
- Create those signature dimples:
- Use your fingers to press deep indentations into each round, then brush generously with olive oil so it pools in the little wells
- Add the toppings:
- Sprinkle with flaky sea salt, rosemary, and top with cherry tomatoes and olives if using
- Bake until golden:
- Bake for 18 to 20 minutes until the tops are golden and crisp, with the edges turning a deep brown
- Cool slightly:
- Remove from oven and let cool for just a few minutes before serving warm
 Save
Save These became my daughters favorite after-school snack, which she started requesting when she was barely tall enough to reach the counter. Now she can make them almost entirely by herself, leaving a trail of flour across the kitchen floor that I dont even mind anymore.
Getting The Crust Just Right
The key to that restaurant-quality crunch is a hot oven and generous olive oil brushing. I've learned that brushing after dimpling, not before, allows the oil to settle into those little wells and create extra-crispy spots.
Make Ahead Magic
You can prepare the dough through the first rise, then refrigerate it overnight for extra flavor development. Just bring it to room temperature before shaping and baking.
Endless Topping Possibilities
Beyond the classic rosemary and salt, try caramelized onions for sweetness, sundried tomatoes for intensity, or grated parmesan for a salty finish. Some of my best combinations came from cleaning out the refrigerator.
- Go easy on toppings because too many can make the dough soggy
- Press toppings gently into the dimples so they adhere during baking
- Let the focaccia cool for at least 5 minutes before biting into avoid burning your mouth on hot olive oil
 Save
Save These little breads have a way of disappearing faster than expected, so consider making a double batch if you're feeding a crowd.
Recipe FAQs
- → What makes focaccia crispy on the outside?
-
High oven temperature at 425°F combined with generous olive oil brushing creates a golden, crispy crust while maintaining soft interior texture.
- → Can I prepare the dough ahead of time?
-
Yes, prepare dough through first rise then refrigerate overnight. Bring to room temperature before shaping and baking for best results.
- → Why do you dimple focaccia dough?
-
Dimpling creates pockets for olive oil to pool, adds texture, and helps maintain that signature bubbly appearance while baking.
- → What toppings work well with mini focaccia?
-
Fresh rosemary, flaky sea salt, cherry tomatoes, olives, caramelized onions, sun-dried tomatoes, or grated parmesan all enhance flavor beautifully.
- → How do I know when focaccia is done baking?
-
The surface should be golden brown with crisp edges, and the interior should sound hollow when tapped. Typically 18-20 minutes at 425°F.