 Save
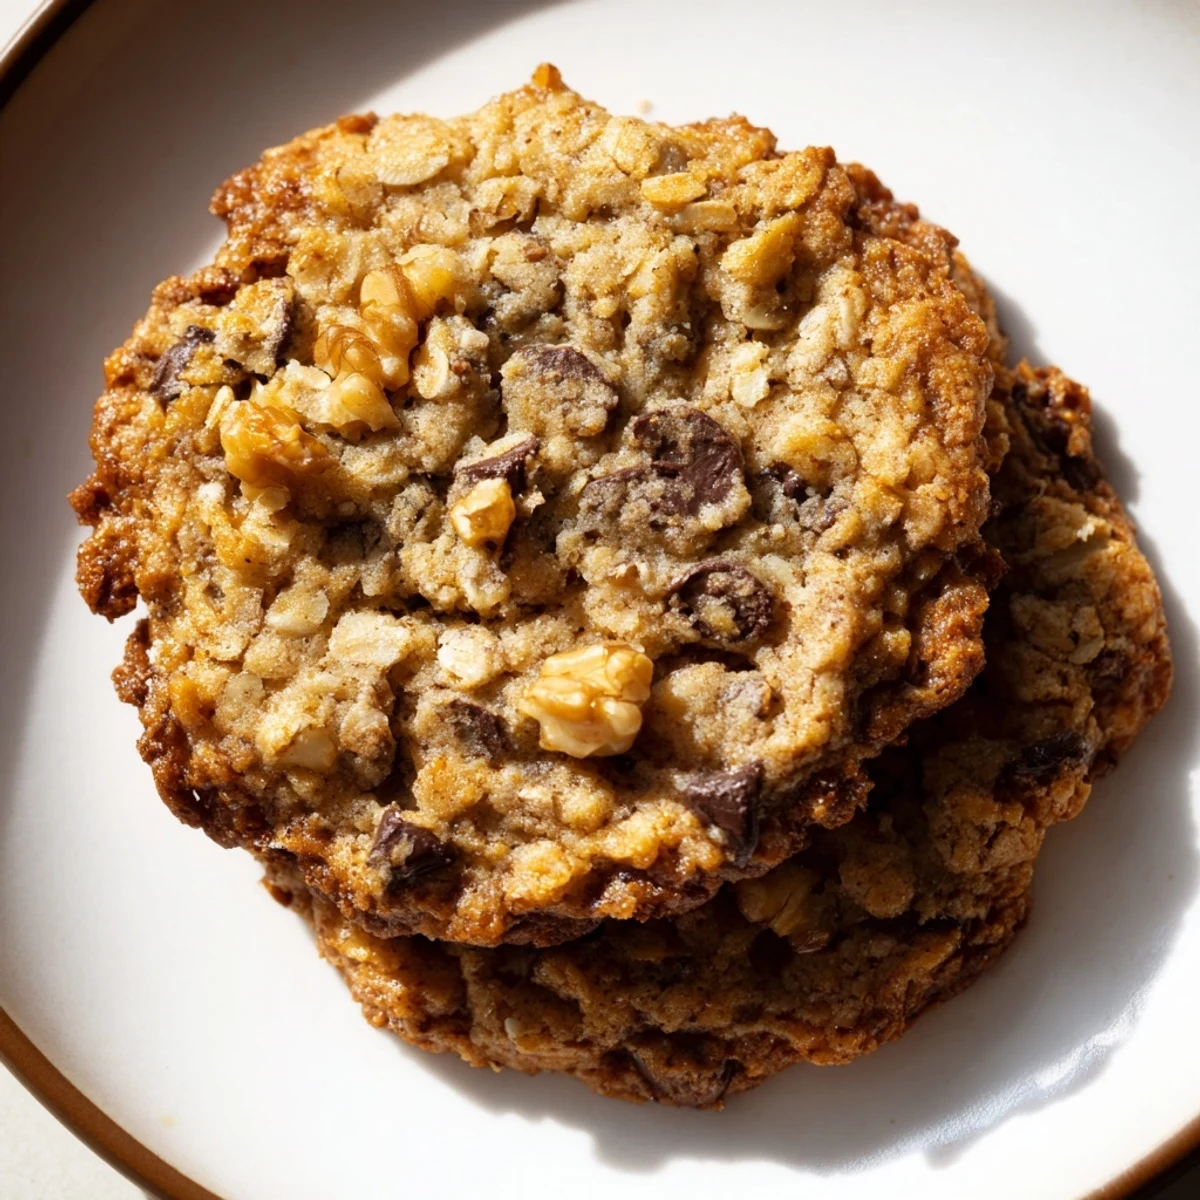
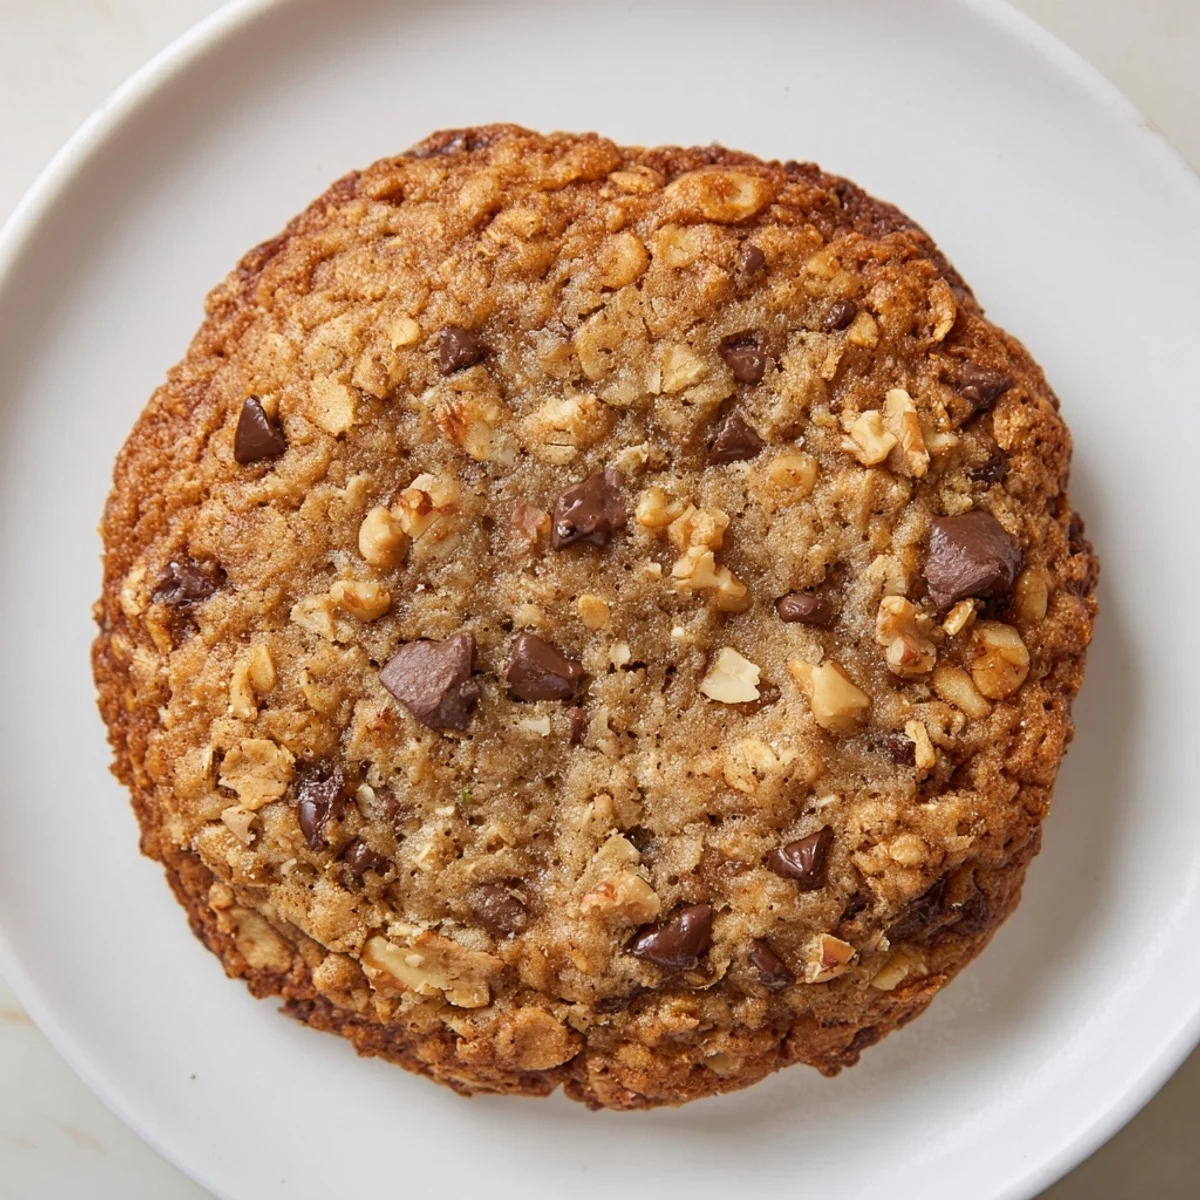
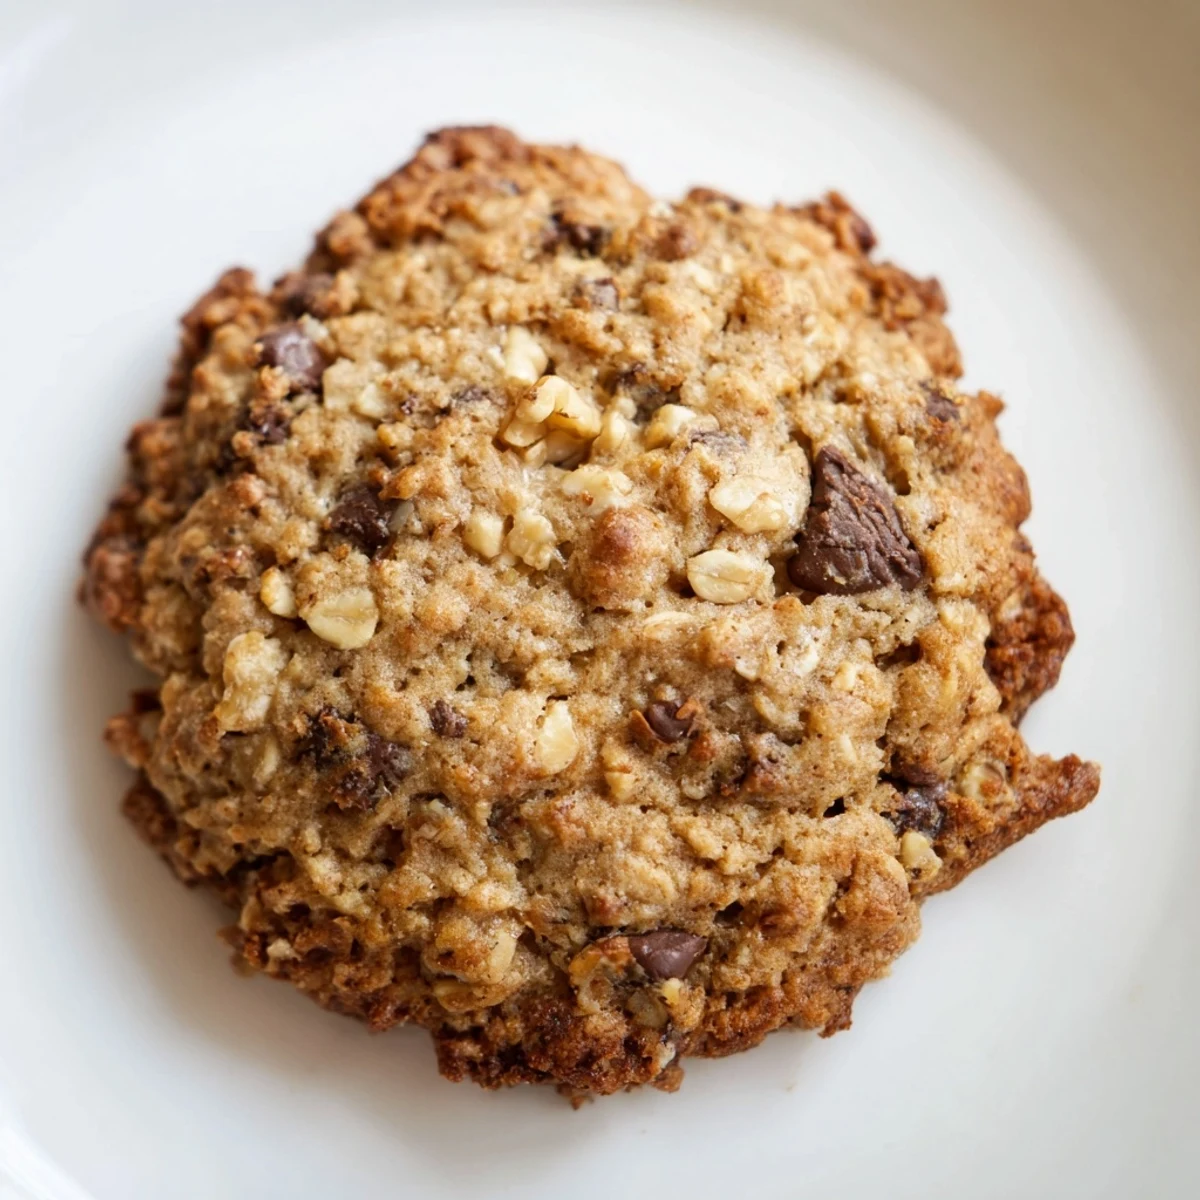
Save These chewy Irish oat cookies feature the rich, nutty flavor of browned butter combined with hearty old-fashioned oats. The process involves cooking butter until golden and deeply aromatic, then whipping it with brown sugar for a caramel-like sweetness. Each cookie bakes to perfection with crisp edges and tender centers. Optional add-ins like chocolate chips, raisins, or toasted nuts enhance the texture and flavor profile.
The dough comes together quickly, requiring just 20 minutes of prep time before scooping and baking. The key is achieving that deep golden color on the butter—it's what gives these cookies their distinctive toasted flavor. Perfect with tea or coffee, these treats bridge Irish and American baking traditions.
The smell of brown butter bubbling away on the stove is one of those kitchen moments that stops you in your tracks. I first stumbled onto this technique during a rainy Sunday afternoon when regular cookies just would not satisfy the craving. There is something about those toasted milk solids that transforms ordinary oatmeal cookies into something completely different.
My roommate walked in while I was melting that butter and immediately hovered over the stove asking what smelled so amazing. Those first batches disappeared faster than anything I had baked before. Now whenever I need a cookie that feels special but does not require hours of work, this is the recipe I turn to.
Ingredients
- 1 1/4 cups all-purpose flour: The structure that holds everything together without making the cookies tough
- 1 1/2 cups old-fashioned Irish oats: These steel-cut oats give such a satisfying chew and nutty flavor
- 1/2 tsp baking soda: Helps the cookies spread just right while maintaining their chewy center
- 1/2 tsp salt: Balances all that brown sugar and brings out the toffee notes
- 1/2 tsp ground cinnamon: Optional but pairs so beautifully with the brown butter flavor
- 1 cup unsalted butter: Browning this is the secret ingredient that makes these unforgettable
- 1 cup packed light brown sugar: Adds moisture and deep caramel flavor
- 1/4 cup granulated sugar: Creates crisp edges while keeping centers soft
- 2 large eggs: Room temperature eggs incorporate better into the browned butter
- 2 tsp vanilla extract: Do not skimp here since vanilla amplifies all the toasted flavors
- 1 cup chocolate chips or raisins: Totally up to you but chocolate feels like the right choice here
- 1/2 cup chopped walnuts or pecans: Another optional add-in that adds even more crunch
Instructions
- Get your oven ready:
- Preheat to 350°F and line two baking sheets with parchment paper so nothing sticks
- Make the magic butter:
- Cook the butter in a medium saucepan over medium heat until it foams then turns deep golden brown with the most incredible nutty aroma
- Mix the dry team:
- Whisk together the flour oats baking soda salt and cinnamon in a medium bowl so everything is evenly distributed
- Combine the wet ingredients:
- Beat the browned butter with both sugars until well mixed then add eggs one at a time and stir in the vanilla
- Bring it all together:
- Gradually add the dry ingredients to the wet mixing just until combined then fold in any chocolate chips or nuts you are using
- Scoop and space:
- Drop rounded tablespoons onto the prepared sheets leaving about two inches between each cookie for spreading
- Bake to golden perfection:
- Bake for 10 to 12 minutes until edges are golden and centers are just set then let them cool on the trays for five minutes
 Save
Save These have become my go-to for new neighbors and office potlucks because they look unassuming but the flavor surprise keeps people coming back for seconds. Something about serving warm cookies makes any gathering feel more like home.
Making Them Your Own
Dried cranberries instead of chocolate chips give these a wonderful tartness that cuts through all that brown butter richness. I have also tried swapping the walnuts for pecans which adds this lovely sweetness that really works.
Storage Secrets
These stay fresh in an airtight container for about four days though they rarely last that long in my house. The texture actually improves slightly on day two as the flavors meld together.
Perfect Pairings
A strong Irish breakfast tea cuts through the sweetness perfectly while cold milk brings out all those toasted butter notes. They also work surprisingly well alongside a dark roast coffee.
- Serve them slightly warmed for the ultimate experience
- The dough freezes beautifully if you want to bake just a few at a time
- These travel well if you are shipping treats to someone far away
 Save
Save Hope these bring as much joy to your kitchen as they have to mine.
Recipe FAQs
- → What makes Irish oats different from regular oats?
-
Irish oats, also known as steel-cut or old-fashioned oats, are less processed than quick oats. They maintain a hearty texture and nutty flavor that holds up beautifully during baking, creating a more satisfying chew in these cookies.
- → Can I make the dough ahead of time?
-
Yes, the dough can be refrigerated for up to 48 hours. Chilling actually enhances the flavor development and prevents excessive spreading during baking. Let the dough come to room temperature for 10 minutes before scooping.
- → Why do I need to brown the butter first?
-
Browning butter transforms its flavor profile by toasting the milk solids, creating deep nutty notes and a rich aroma. This step elevates these cookies from ordinary to exceptional, adding complexity that pairs perfectly with the hearty oats.
- → How do I know when the butter is properly browned?
-
Watch for the butter to foam, then listen for it to sizzle quietly. The milk solids will turn golden brown and release a nutty aroma. This typically takes 4-6 minutes. Remove from heat immediately once you see that deep golden color.
- → Can I freeze these cookies?
-
Absolutely. Bake and cool completely, then store in an airtight container or freezer bag for up to 3 months. Thaw at room temperature for 30 minutes. You can also freeze scooped dough balls and bake fresh whenever the craving strikes.
- → What's the secret to extra chewy texture?
-
Slightly underbake is the key—remove from the oven when edges are golden but centers still appear slightly soft. They'll continue setting on the hot baking sheet. Using brown sugar instead of all white sugar also contributes to that desirable chewiness.