Save
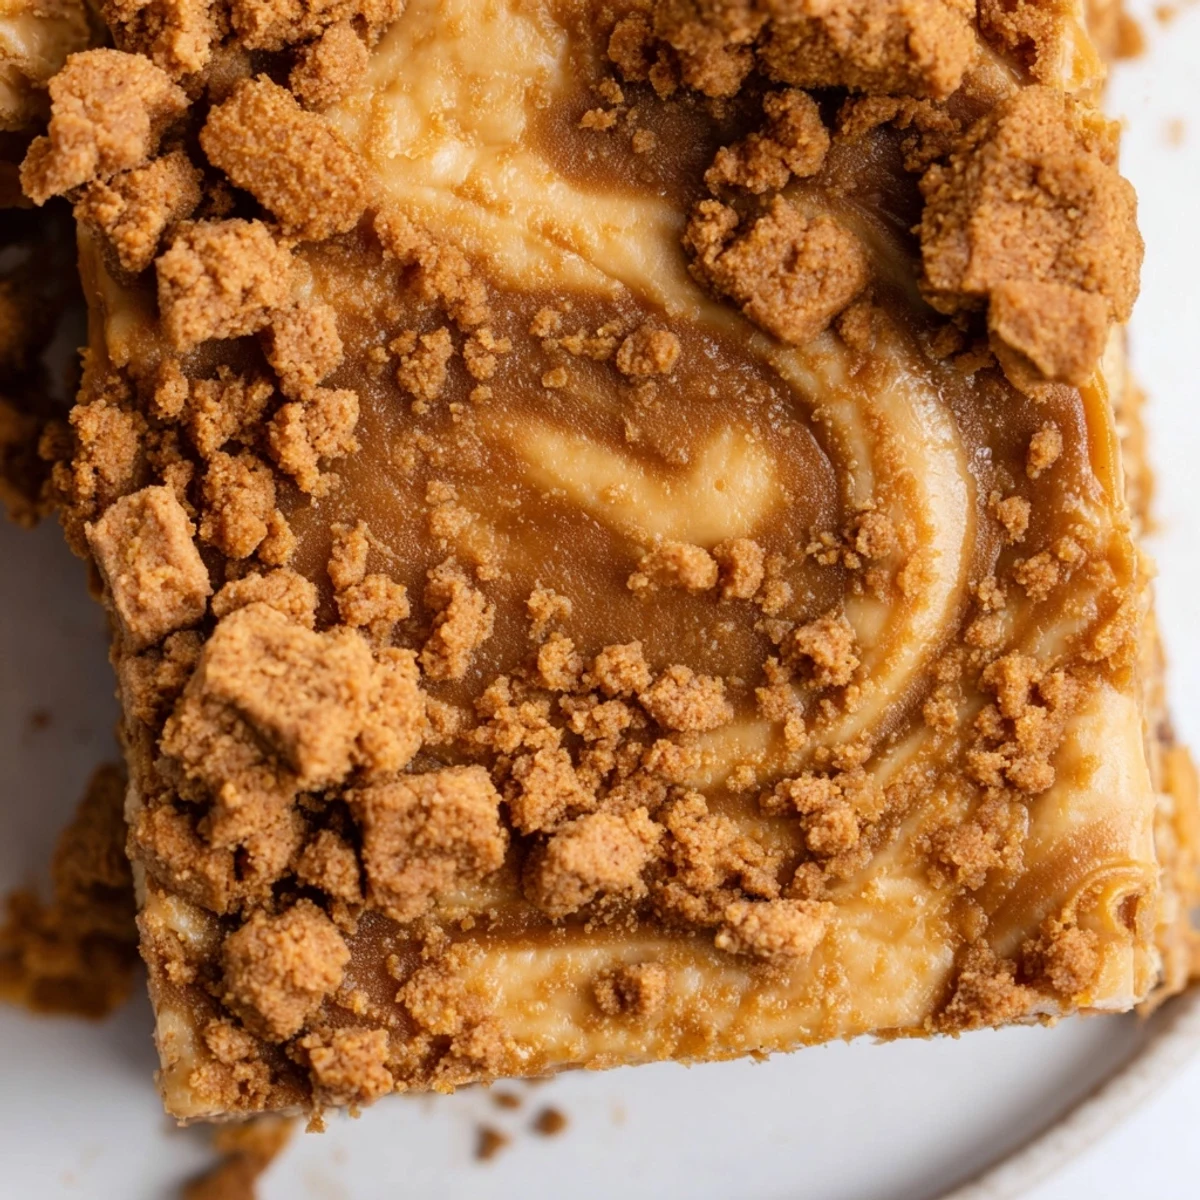
Save These indulgent blondies combine the deep, nutty flavor of browned butter with the caramelized spiced sweetness of Biscoff cookie butter. The result is a rich, chewy bar with a fudgy interior and crisp edges, swirled with creamy cookie butter and studded with crunchy Biscoff cookies for texture contrast.
The technique involves cooking butter until golden and fragrant, then whipping it with sugars for maximum chewiness. A simple swirl of warmed Biscoff spread creates beautiful marbling throughout the blondies, while chopped cookies on top add satisfying crunch.
Perfect for cookie butter enthusiasts, these bars come together in just 45 minutes and can be customized with white chocolate chips or toasted pecans. Serve slightly warm with vanilla ice cream for an extra decadent dessert experience.
The smell of brown butter bubbling on the stove still stops me in my tracks every single time. I discovered these blondies during a rainy weekend baking marathon when I was craving something different from the usual chocolate. My entire apartment smelled like toasted nuts and caramel, and I knew I was onto something special before they even came out of the oven.
I brought a batch to my friend's potluck last month, and honestly, I felt a little guilty accepting all the compliments. Everyone kept asking what the secret ingredient was, and I just smiled and said butter and time. Now they request these for every gathering, and I've learned to always keep an extra jar of Biscoff in the pantry.
Ingredients
- Unsalted butter: Browning the butter transforms it into something magical with caramel notes you cannot get any other way
- Light brown sugar: This brings moisture and that classic molasses depth that makes blondies chewy instead of cakey
- Granulated sugar: Balances the brown sugar and helps create that gorgeous crackly top we all love
- Eggs: Room temperature eggs incorporate better and help create that fudgy texture we are after
- Vanilla extract: Pure vanilla makes everything taste better and rounds out all the flavors
- All-purpose flour: Provides structure without making these heavy or dry
- Baking powder: Just enough lift to keep these from being dense while still staying fudgy
- Sea salt: Enhances all the flavors and balances out the sweetness perfectly
- Biscoff cookie butter: The star of the show that adds that distinctive spiced cookie flavor everyone goes crazy for
- Biscoff cookies: Chopped on top for that irresistible crunch and visual appeal
Instructions
- Preheat your oven and prepare the pan:
- Line your baking pan with parchment paper and let it hang over the edges like little handles for easy removal later
- Brown the butter like a pro:
- Melt the butter in a saucepan over medium heat and keep stirring until it turns golden brown and smells wonderfully nutty then immediately pour it into a bowl to stop the cooking
- Build the sweet base:
- Whisk both sugars into your browned butter until completely dissolved and the mixture feels smooth and glossy
- Add the wet ingredients:
- Beat in your eggs and vanilla until the mixture looks silky and emulsified
- Incorporate the dry ingredients:
- Gently fold in the flour baking powder and salt just until you no longer see streaks of flour
- Spread and swirl:
- Get the batter into your pan in an even layer then warm your Biscoff spread and dollop it over the top before swirling it through with a knife
- Add the crunch:
- Scatter those chopped Biscoff cookies all over the top so they get beautifully toasted in the oven
- Bake to perfection:
- Slide the pan into the oven and bake until the edges are golden but the center still has a slight wobble
- The hardest part:
- Let these cool completely before slicing because they need time to set properly and develop that perfect fudgy texture
 Save
Save My sister called me from her kitchen at midnight last week after making these for the first time. She said she had to physically stop herself from eating half the pan straight from the oven, and honestly I have been there more times than I care to admit.
Getting That Perfect Swirl
I used to just drop spoonfuls of Biscoff on top and call it a day until I realized warming it first changes everything. Thirty seconds in the microwave makes it pourable and creates those beautiful ribbons throughout the blondies instead of just distinct pockets.
The Texture Secret
After making dozens of batches I learned that mixing the flour just until combined is absolutely crucial. The moment you see the last streaks of flour disappear stop mixing and you will be rewarded with the most tender fudgy texture imaginable.
Make Ahead And Storage
These actually taste better on day two when all the flavors have had time to meld together. I sometimes make them the night before a gathering and keep them hidden away until it is time to serve.
- Wrap the entire pan tightly with plastic wrap and store at room temperature for up to four days
- For longer storage freeze individual squares wrapped in plastic then foil for up to three months
- Always bring them to room temperature before serving for the best texture and flavor
 Save
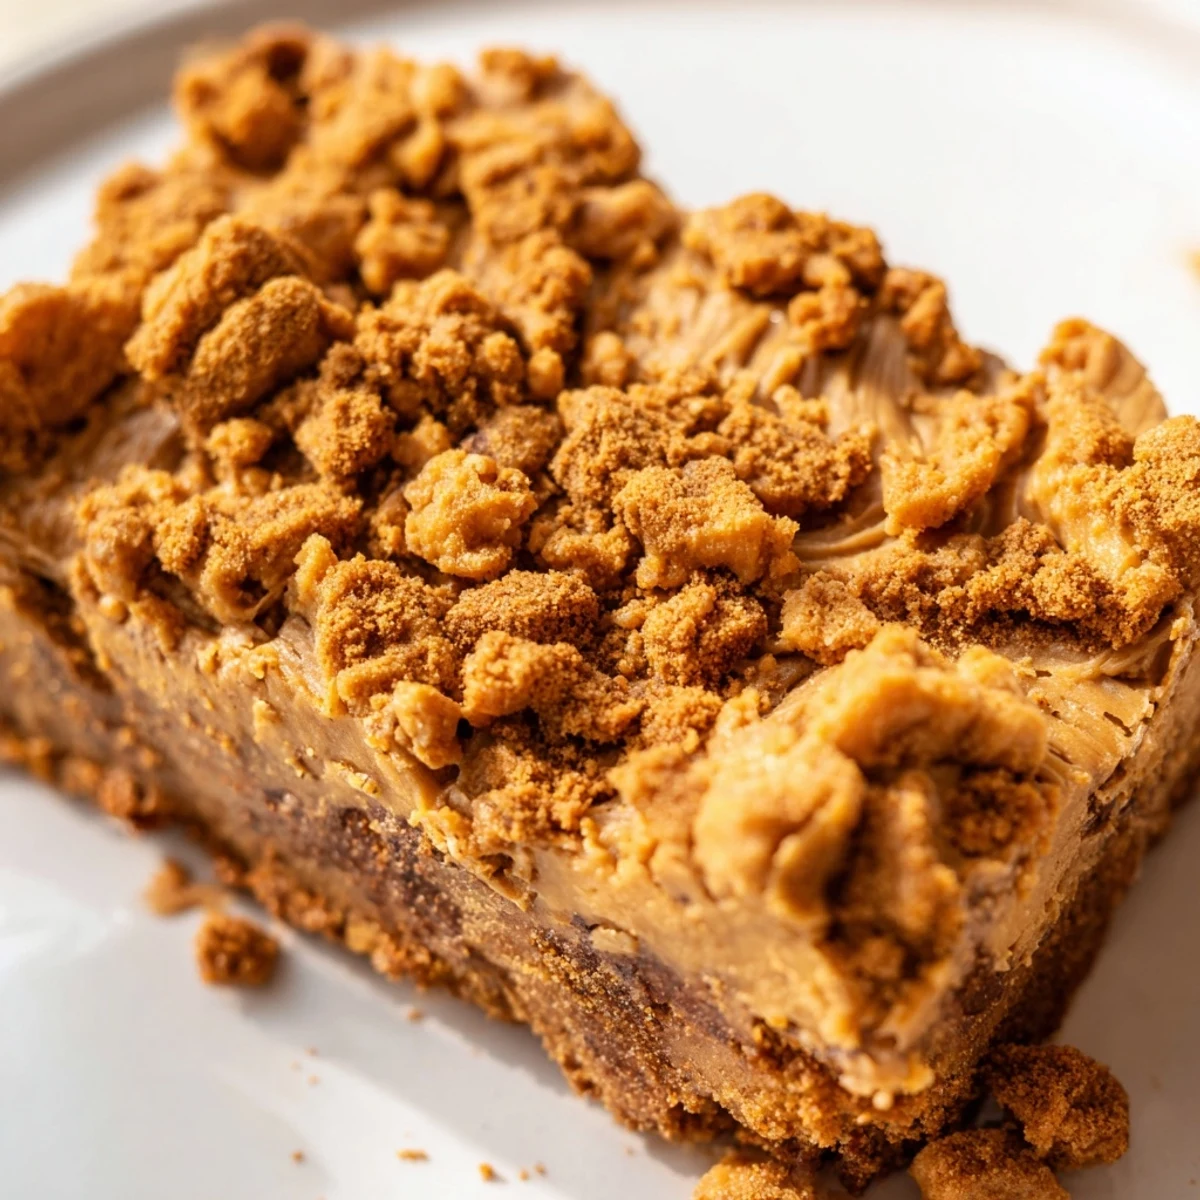
Save There is something so satisfying about cutting into a pan of these and seeing those gorgeous swirls of cookie butter. Hope these become your new go to treat for whenever you need to bake something impressive.
Recipe FAQs
- → What makes these blondies chewy?
-
The combination of brown butter and both brown and granulated sugars creates a dense, chewy texture. Brown butter adds moisture while the sugars develop a tender crumb that stays soft even after cooling.
- → Can I use cookie butter other than Biscoff?
-
Yes, any smooth cookie butter or speculoos spread will work well. You could also try other nut butters like peanut or almond for a different flavor profile, though the taste will vary from the original.
- → How do I know when blondies are done baking?
-
The edges should be golden brown and set, while the center may still look slightly soft. A toothpick inserted should come out with moist crumbs rather than wet batter. They'll continue to set as they cool.
- → Why should I warm the Biscoff before swirling?
-
Warming the cookie butter makes it more fluid and easier to drizzle over the batter. This creates smoother, more defined swirls without tearing the blondie batter underneath.
- → How should I store these blondies?
-
Keep in an airtight container at room temperature for up to 4 days. They can also be frozen for up to 3 months—wrap individually in plastic wrap and thaw at room temperature before serving.
- → What size pan works best?
-
A 9x9-inch square pan creates thick, fudgy blondies. An 8x8-inch pan will yield even thicker bars with a longer bake time, while a 9x13-inch pan will make thinner, crispier edges.